
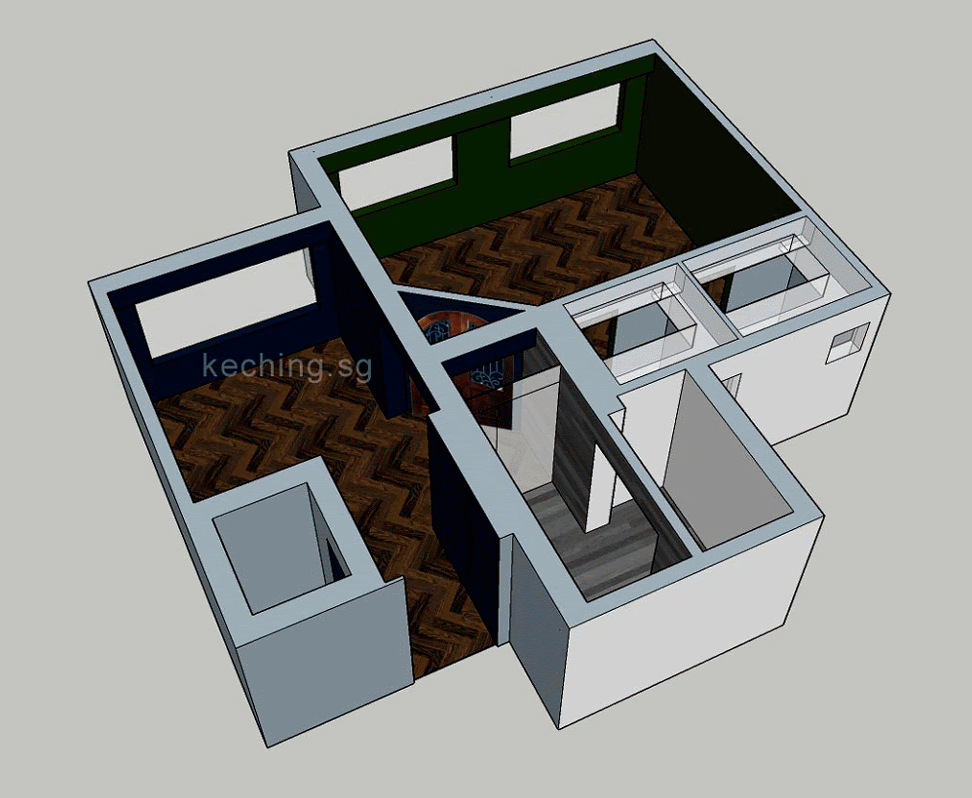
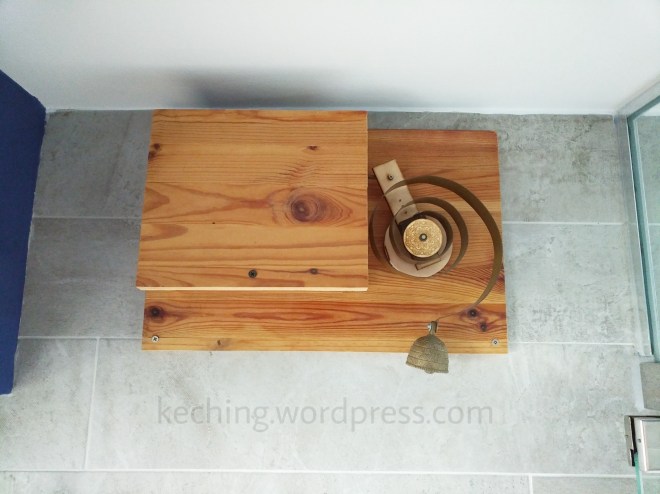
Page 1 Page 2
Back in page 1:
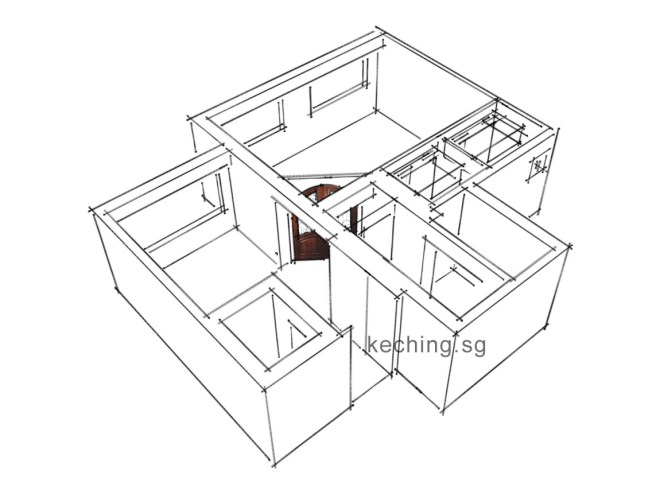
… continuing …
Ming Sing Construction IG
All that I drew, Ming Sing Construction renovated our 3 room bto flat accordingly. Please do visit their IG at your convenience by tapping the following photos.
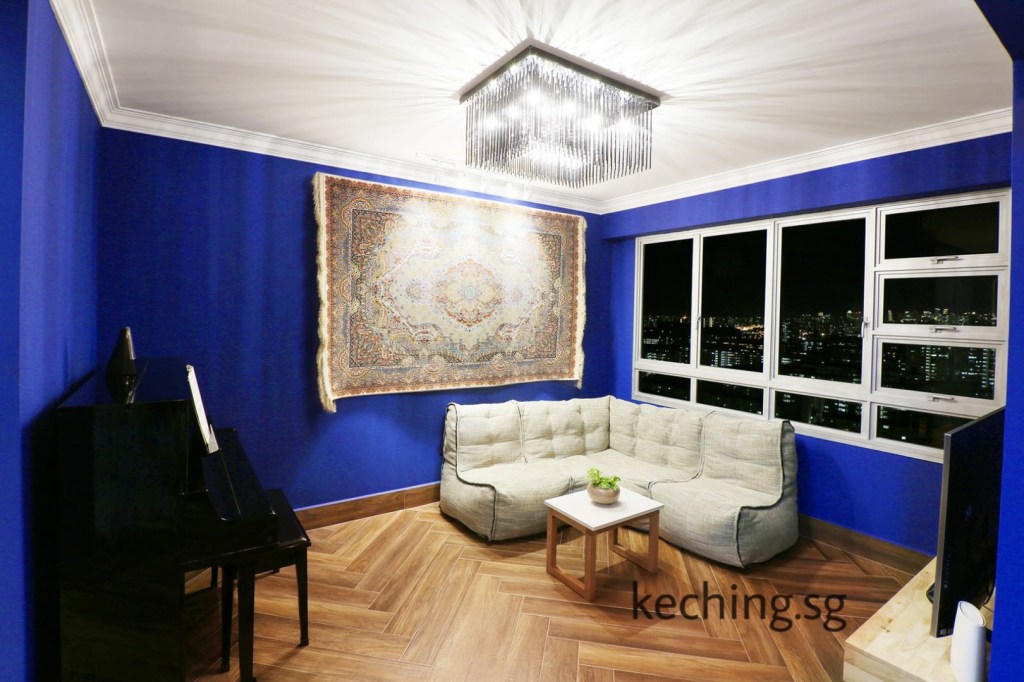
Our living room
Our bedroom

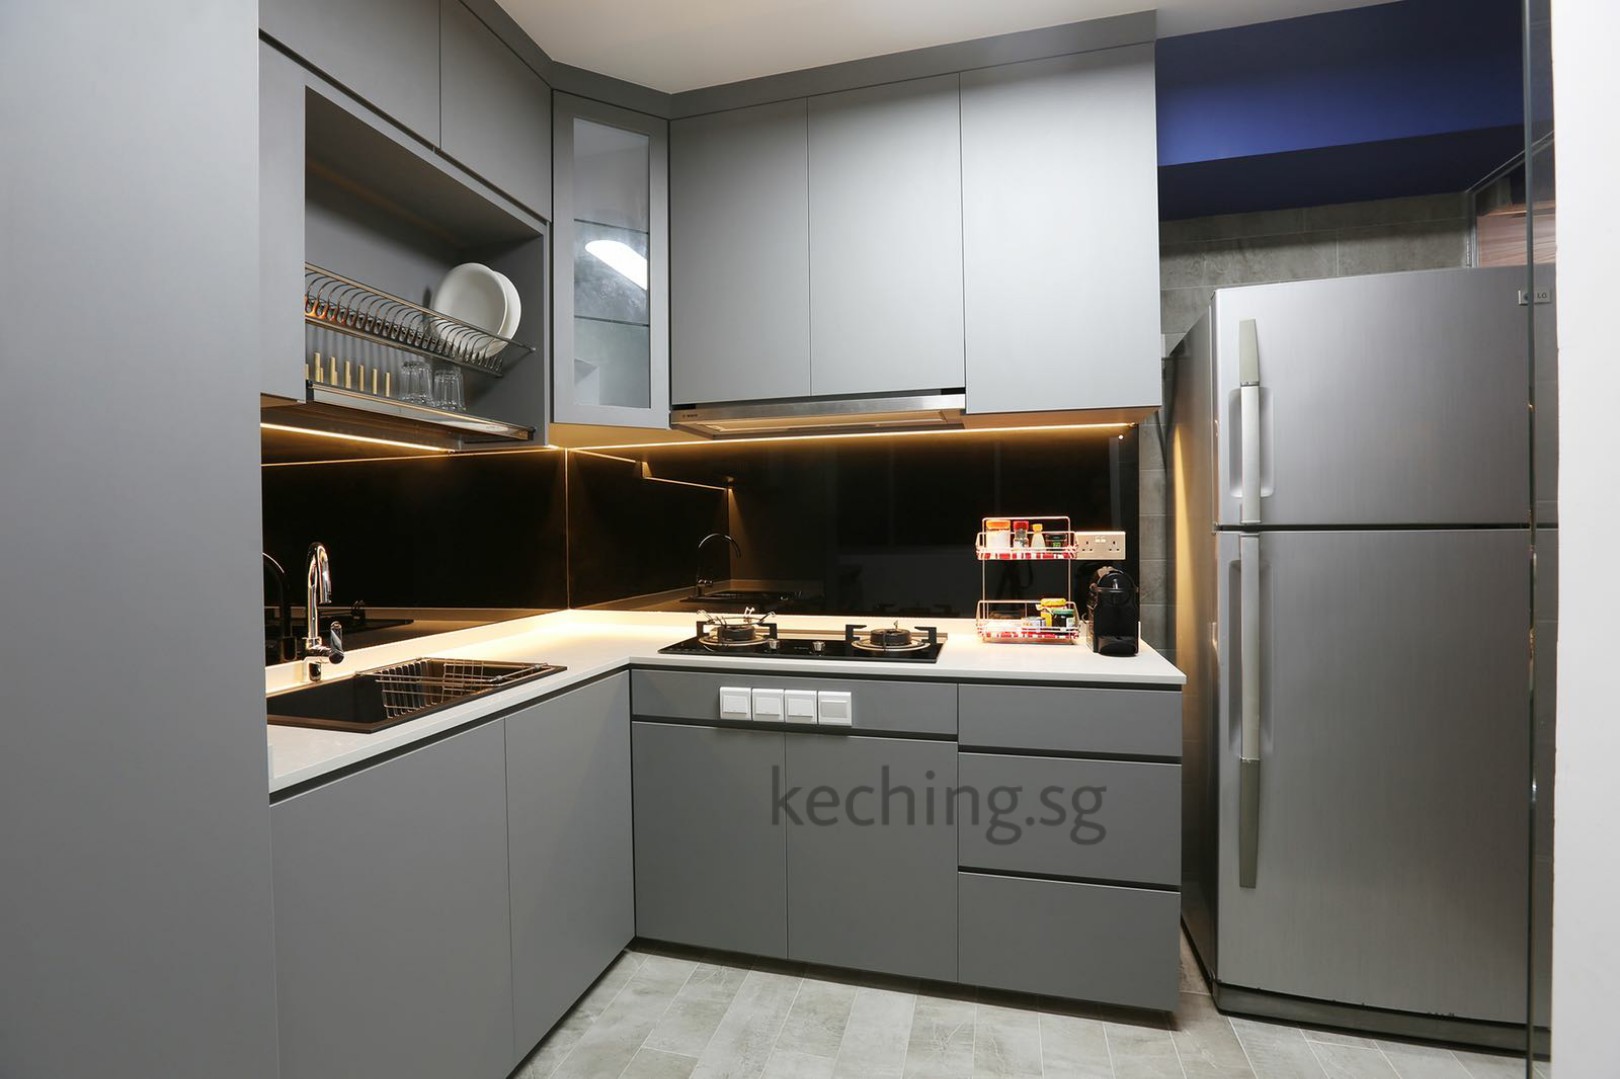
Our kitchen
you might be interested
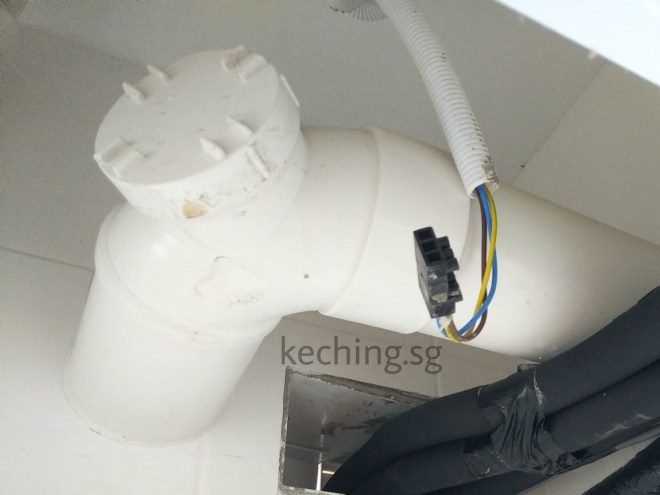
My bto ceiling pipe leaking water
Catching the subcontractors at work
While the first part of my BTO renovation journey was about design using SketchUp (see above), this second part is about the trade and craft practised by the people we don’t always see, working behind the scenes.
I tried my best to catch every individual subcontractor at work on my humble 3 room flat. They are respectable craftsmen and many are micro businesses in their own right.
Apart from documenting the laborious process of my bto’s renovation for future remembrance, it is to help me pay attention to the intriguing nitty gritties of every craft that transpired during the course of the renovation.
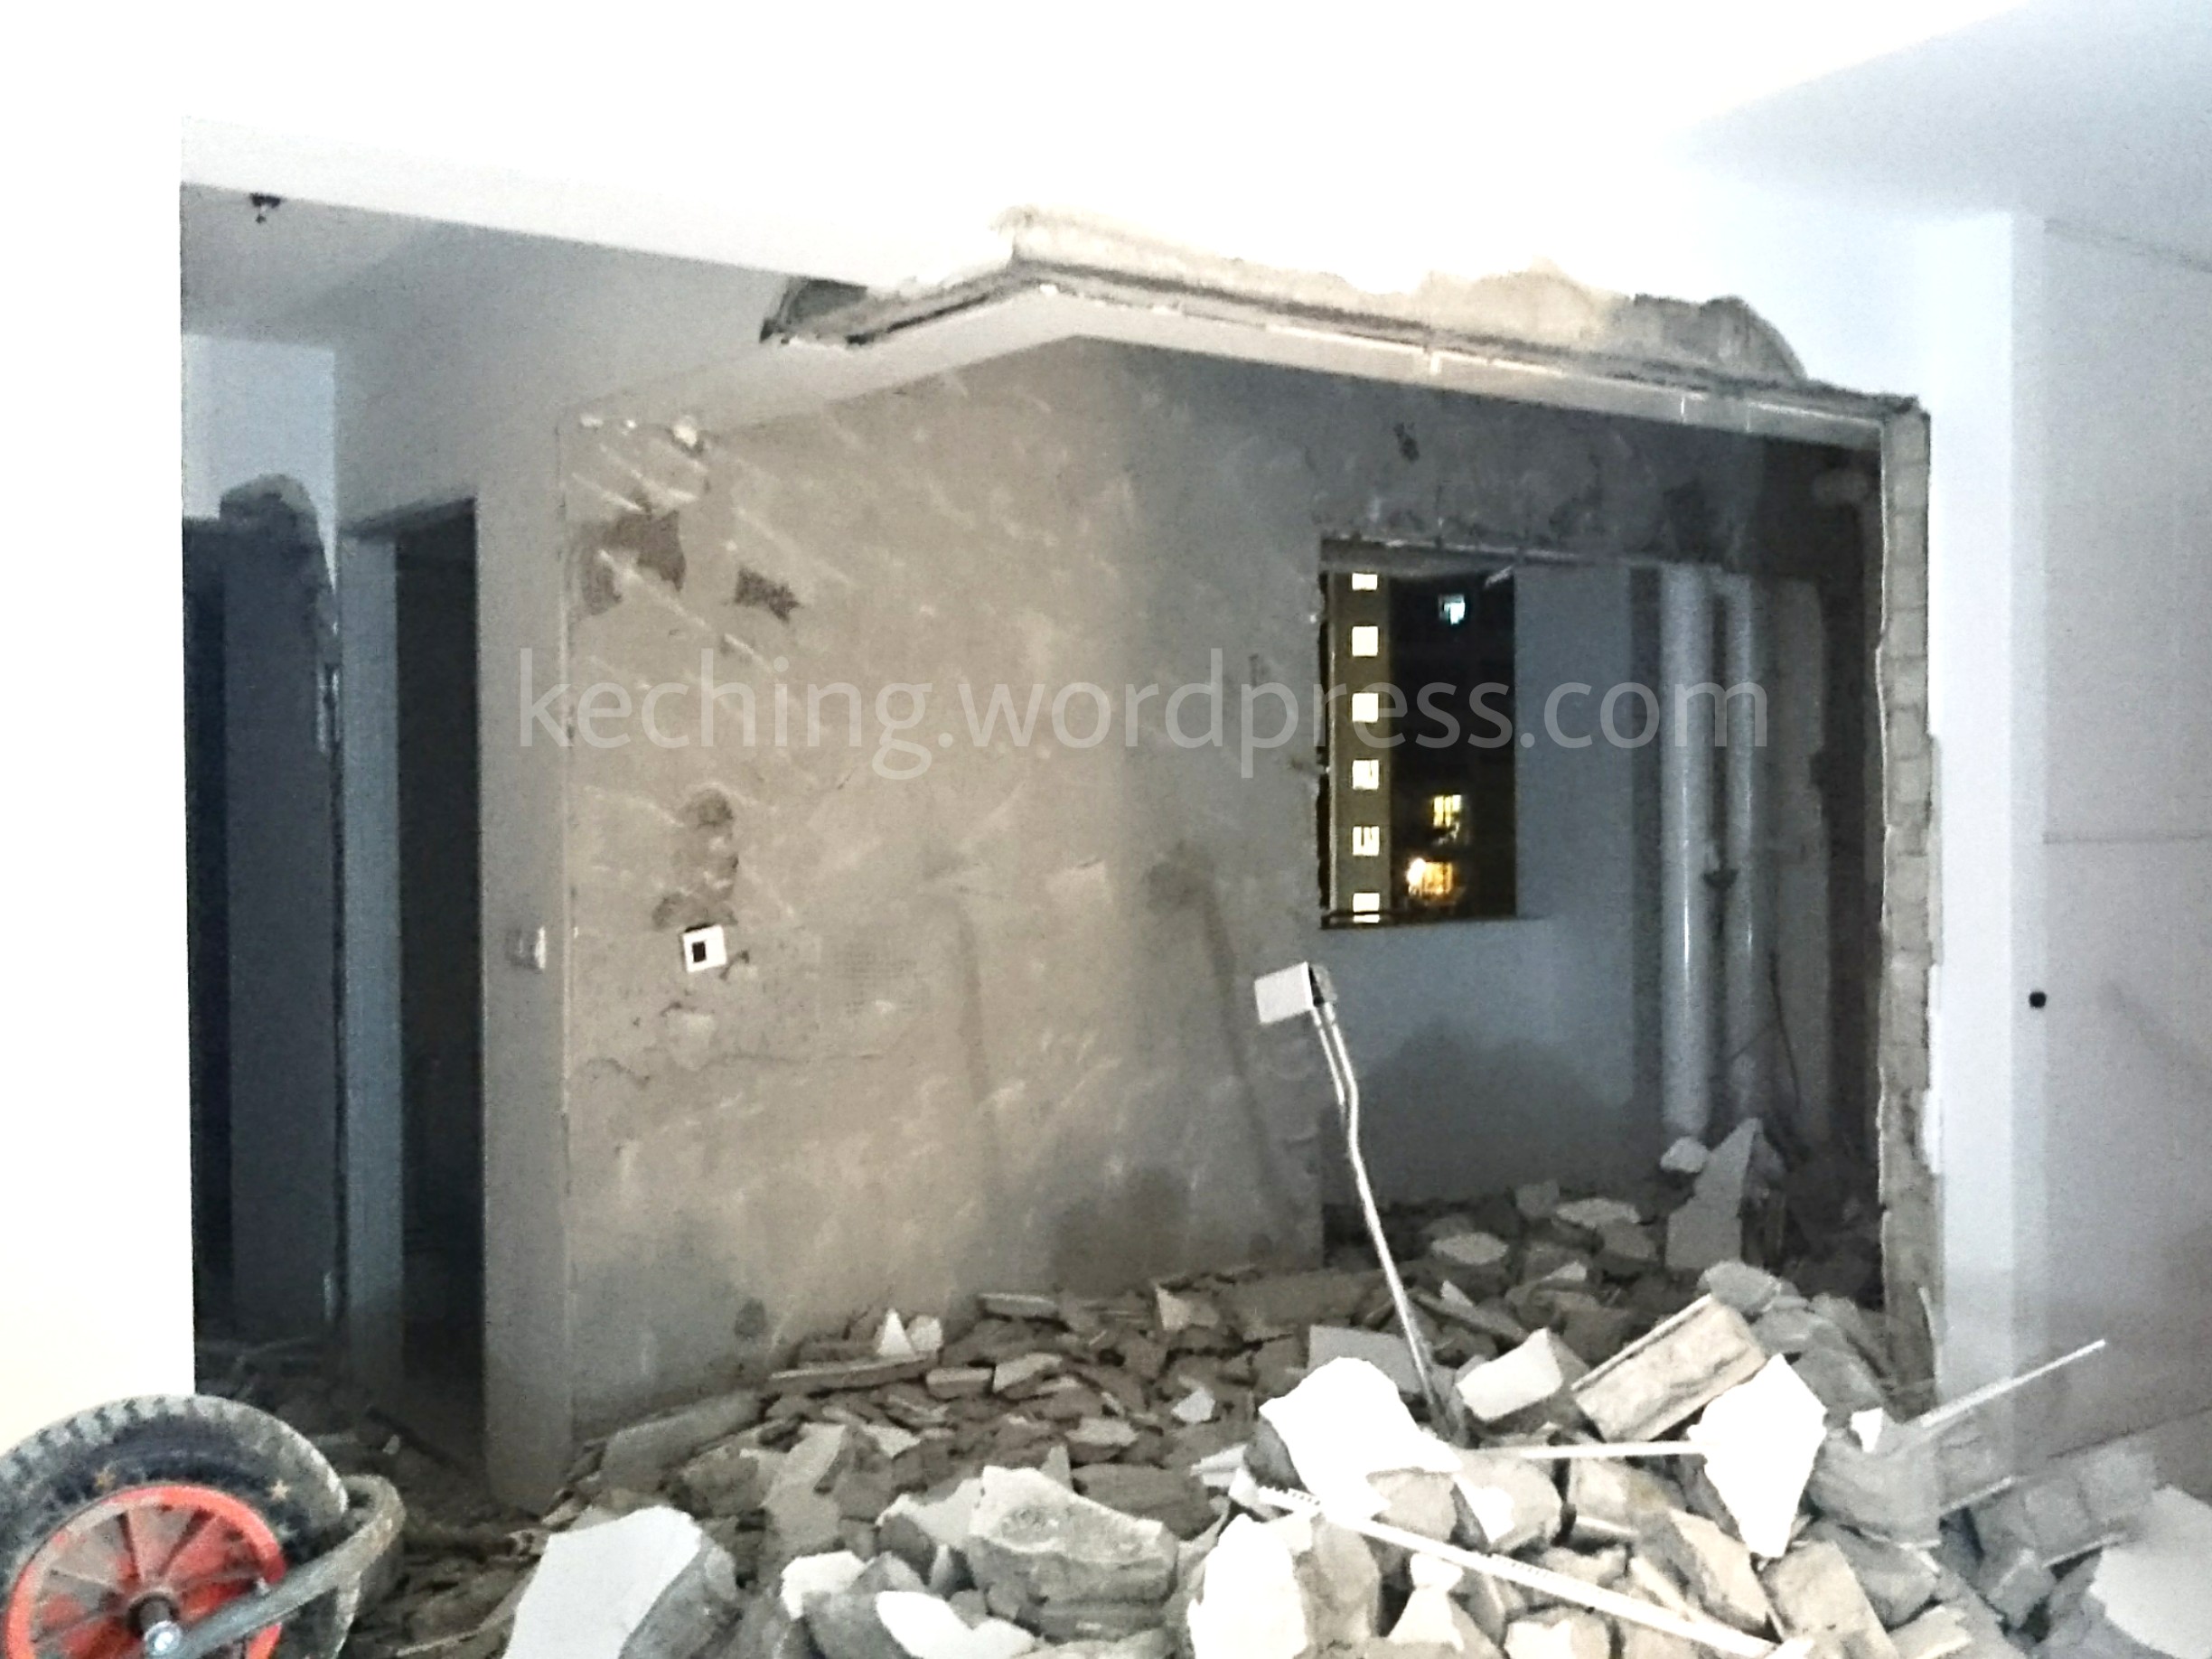
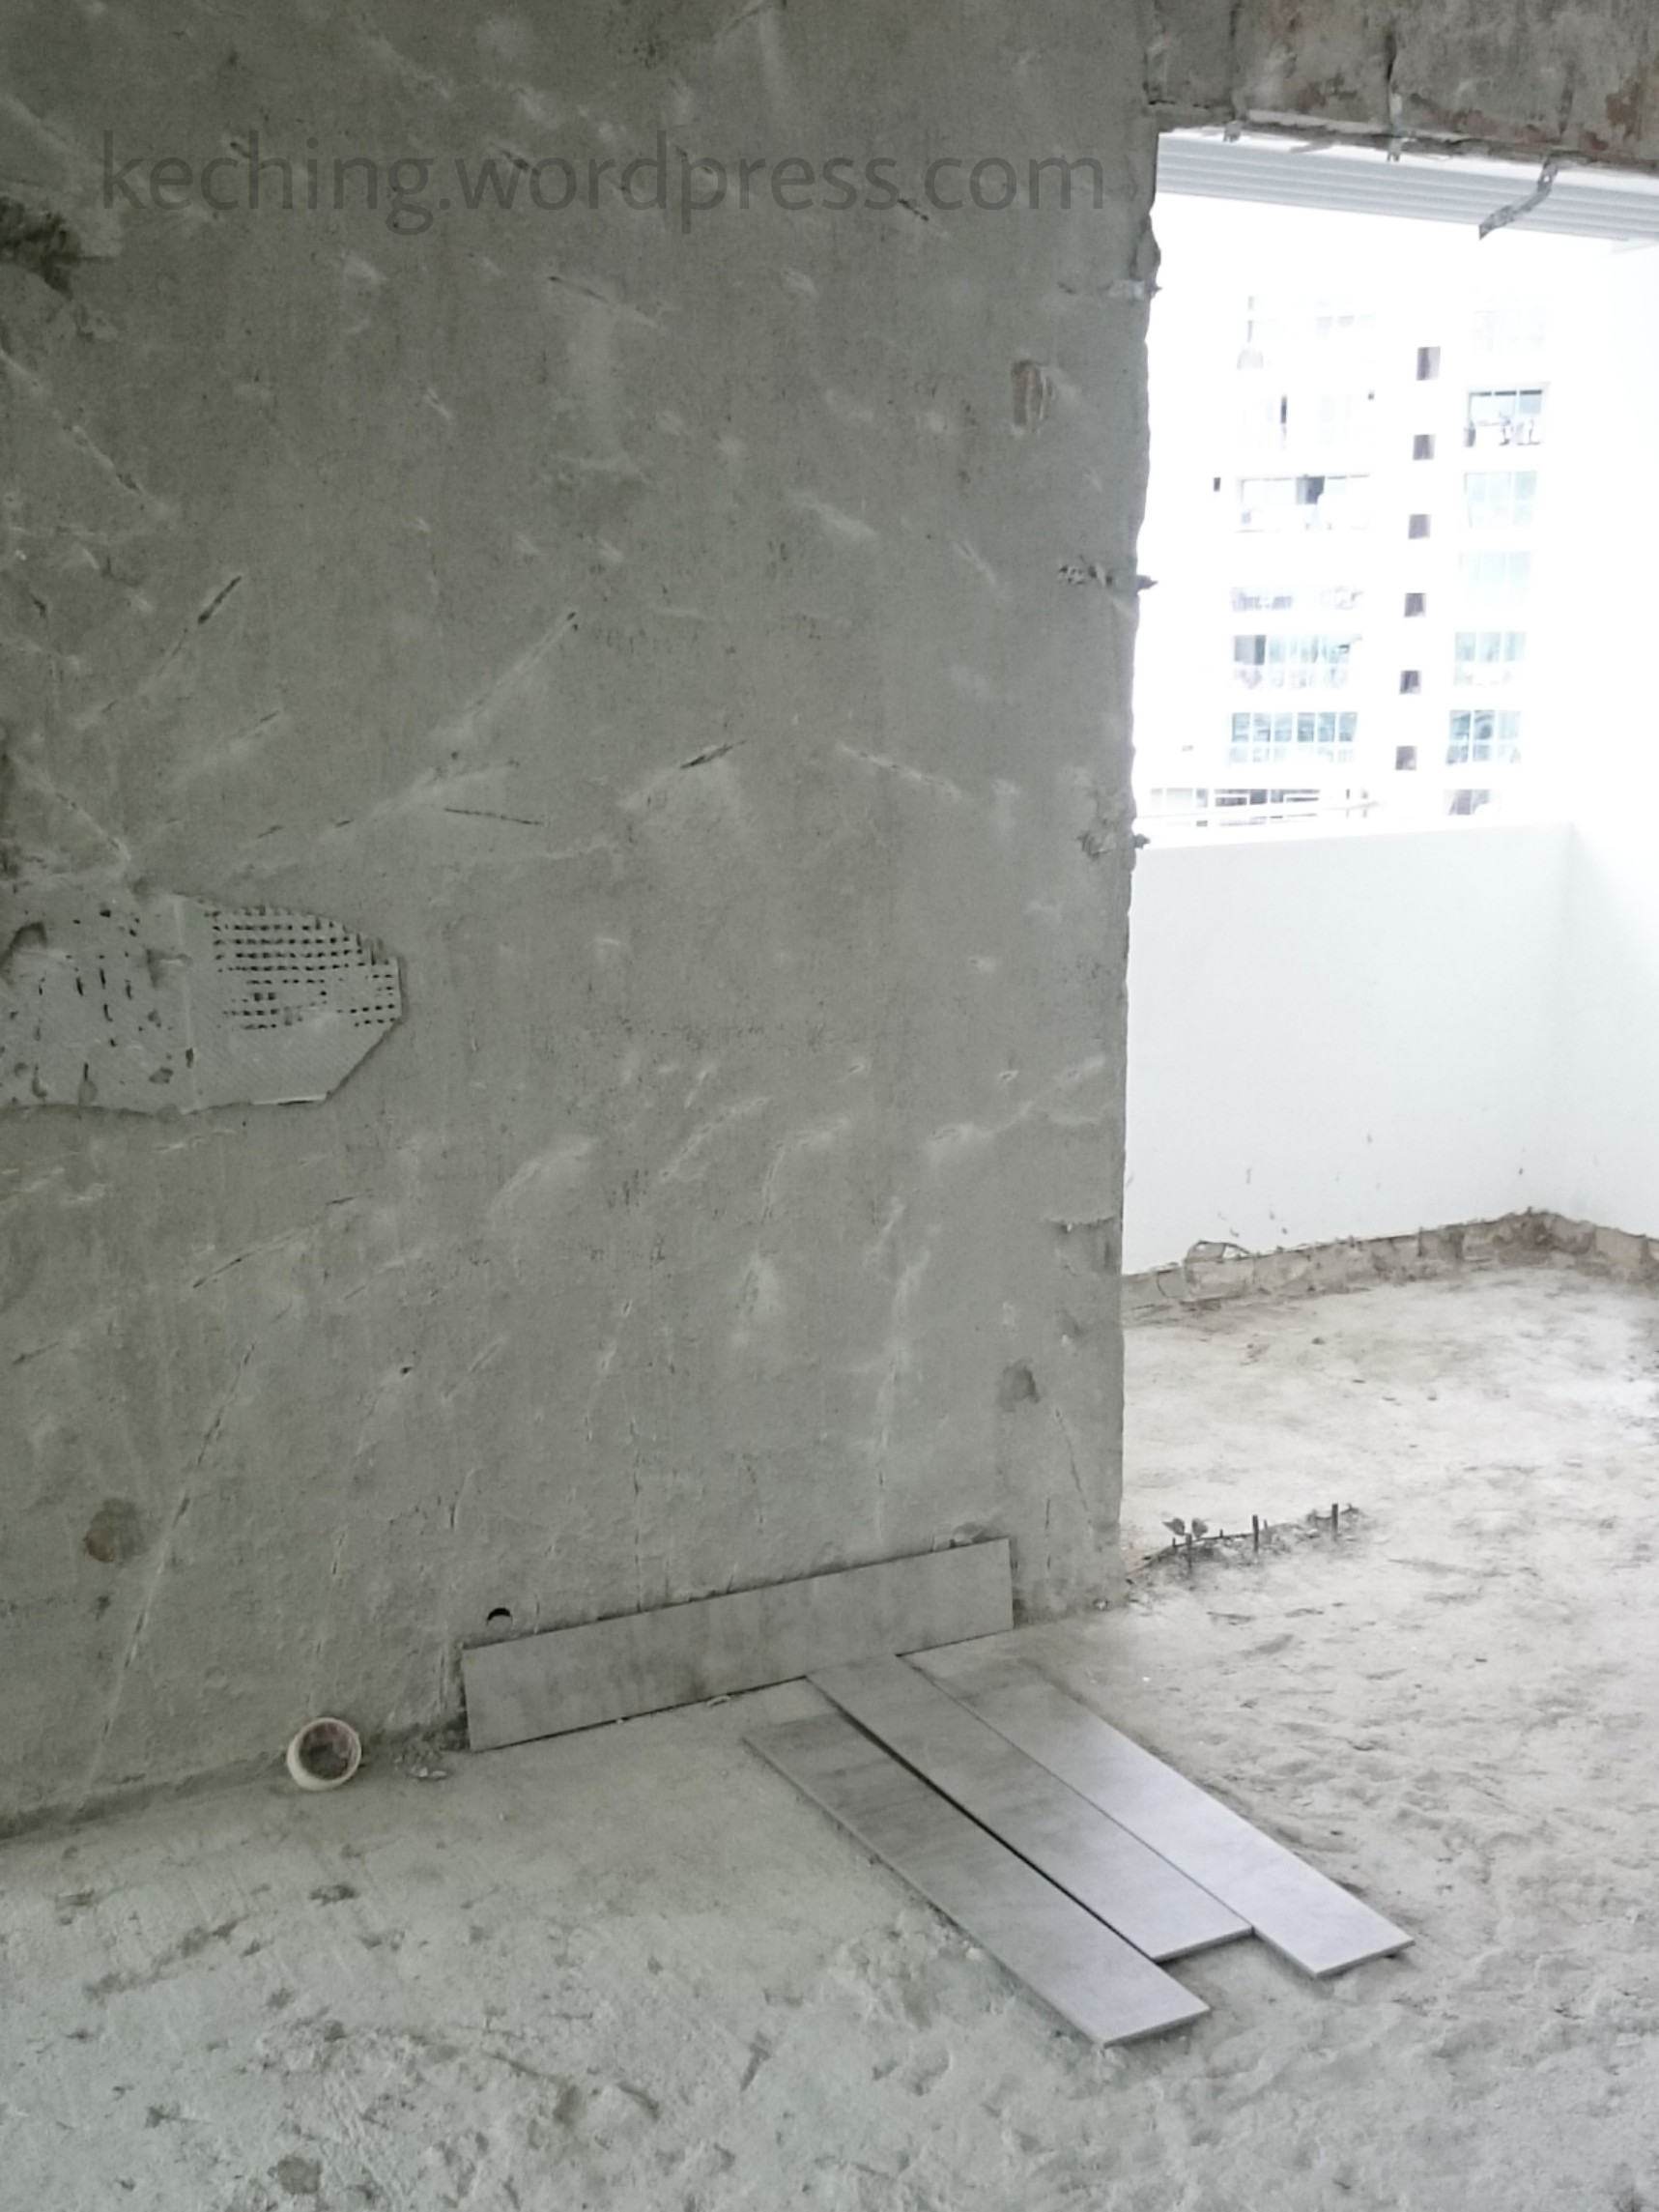
Hacking the bedroom and kitchen walls
The first part of our renovation plan was to hack away unnecessary walls. In this photo, the kitchen walls (follow the L-shape exposed concrete in the overhead beam) have been hacked.
Good review of our CASE TRUST ACCREDITED reliable contractor
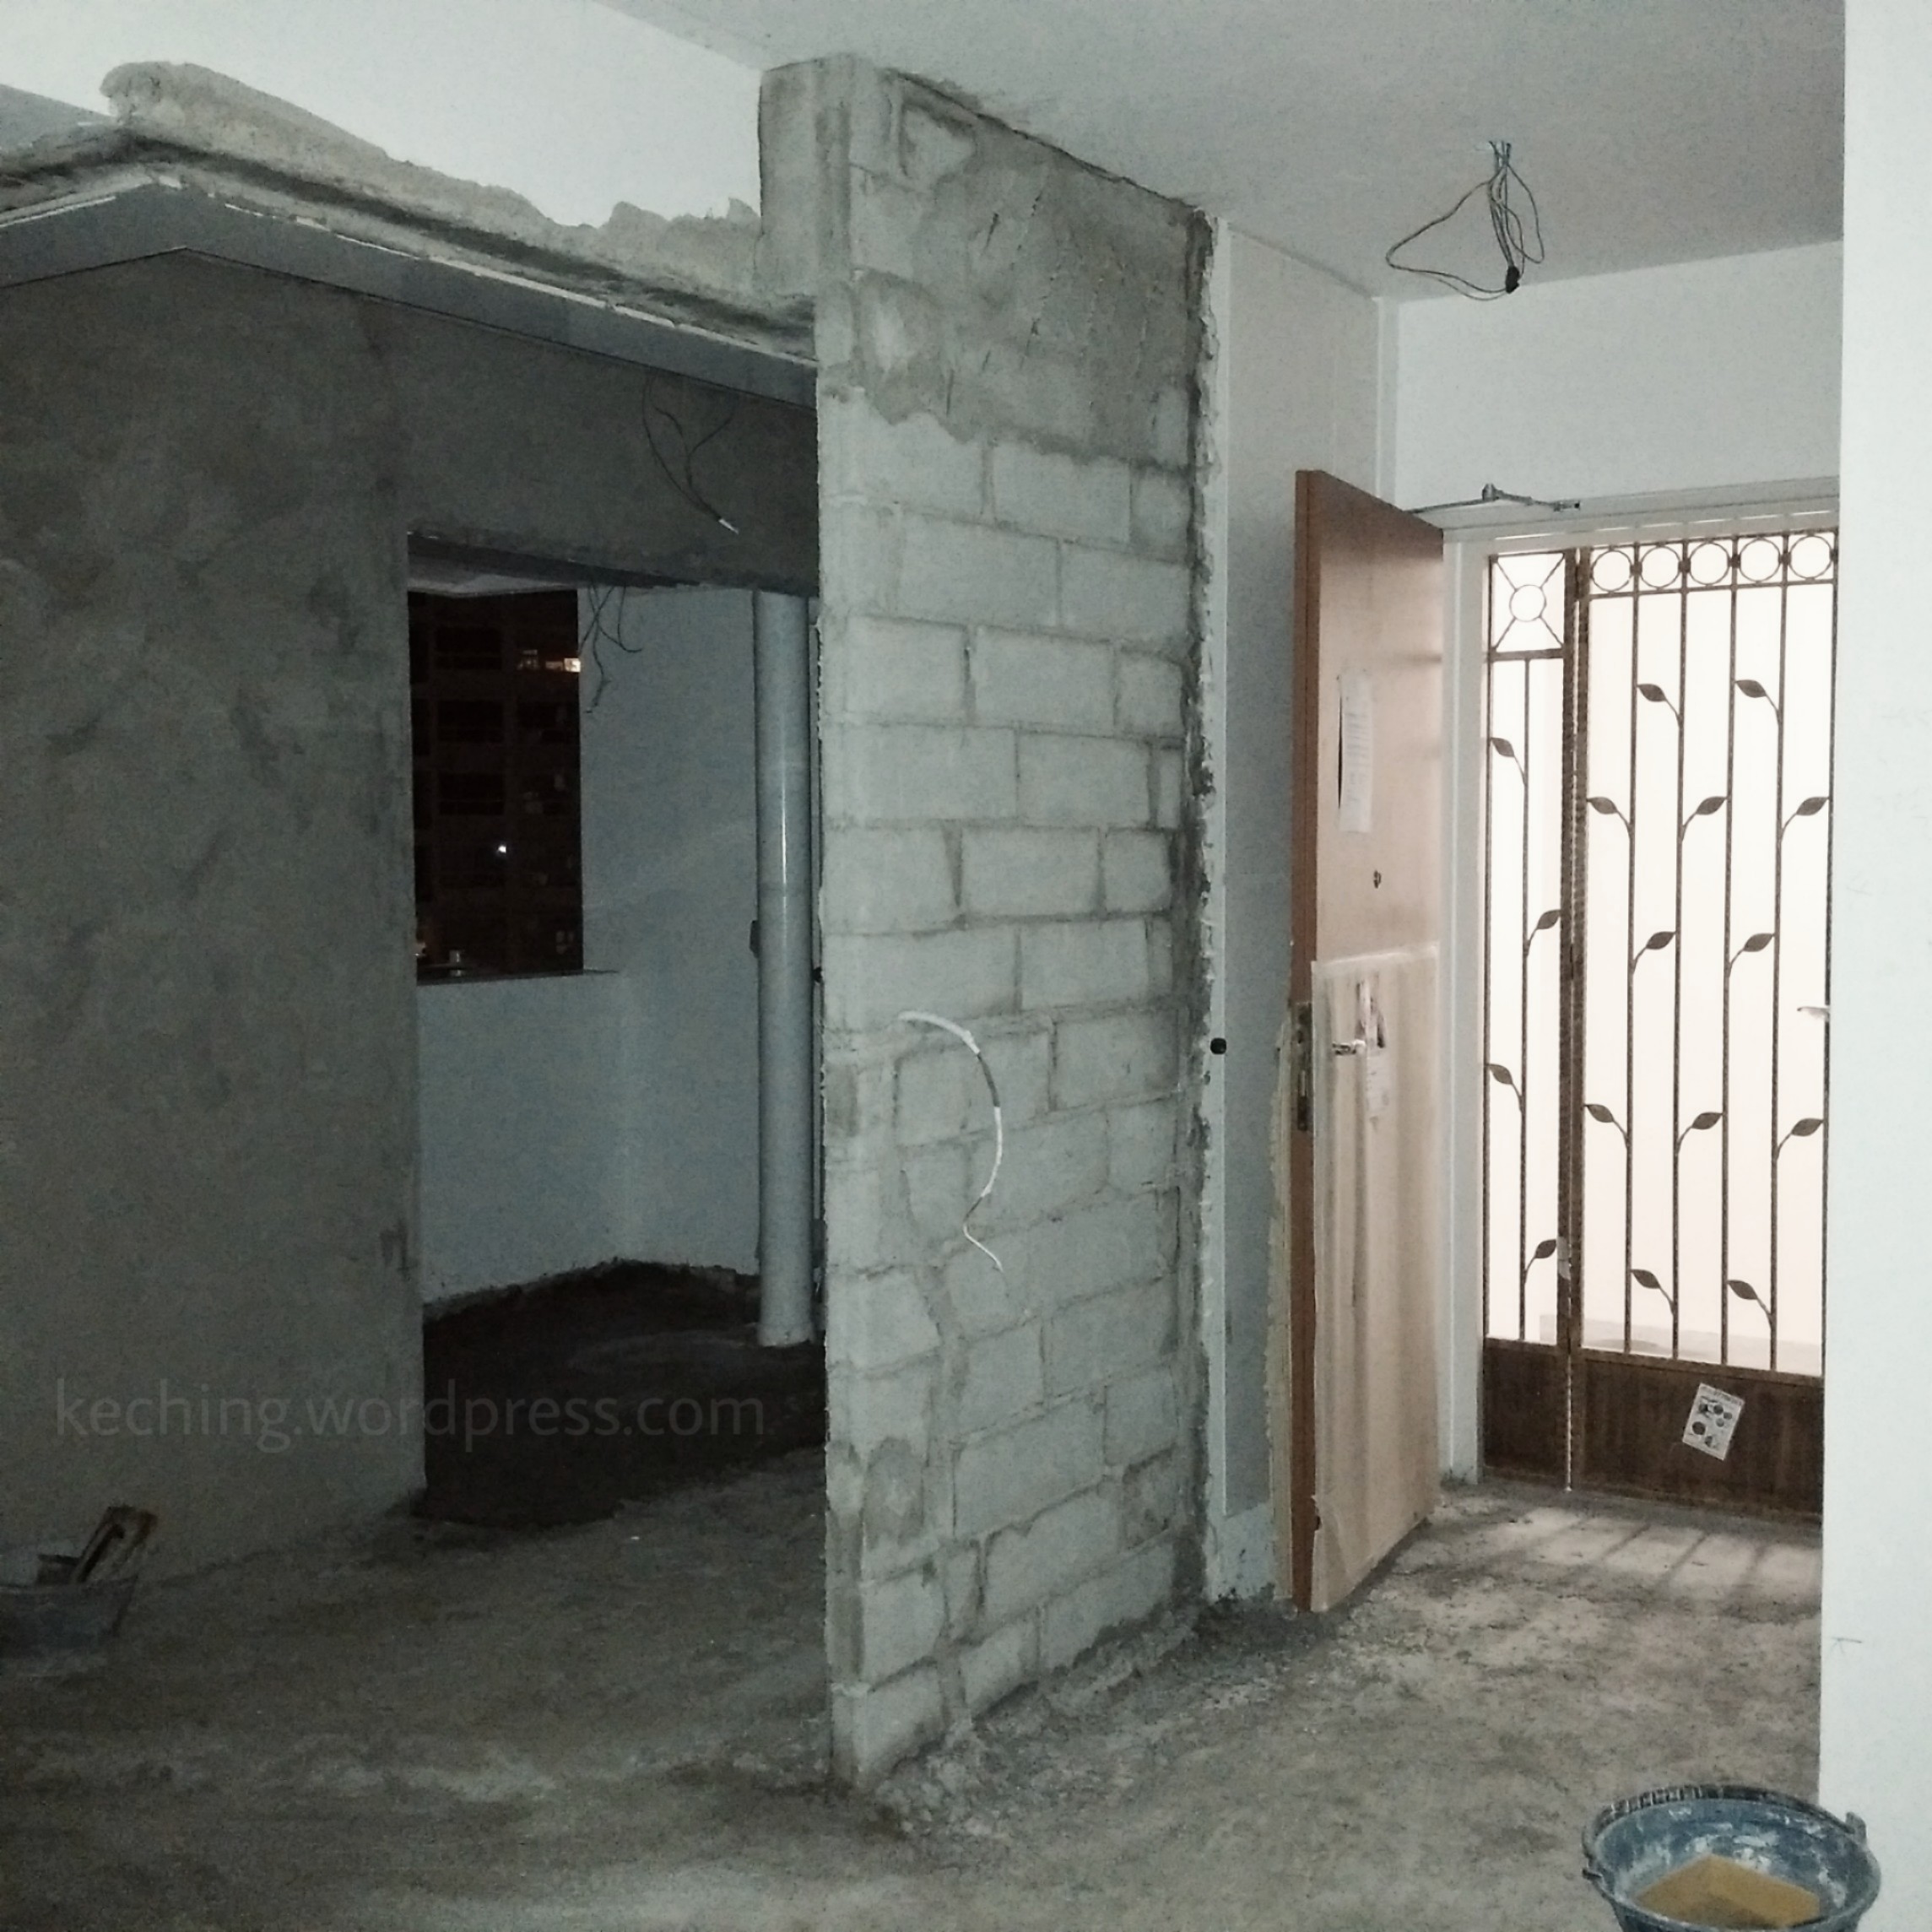
The bedroom walls have not been hacked yet, but the two door frames perpendicular to each other, ie the master bedroom door frame and guest room door frame, have been removed.

Photo is taken from inside the guest room. The bedroom walls have been partially hacked. Directly opposite is the guest toilet. The entrance into the master bedroom is on the left, just before entering the guest toilet. As mentioned, the bedroom door frames have been removed.
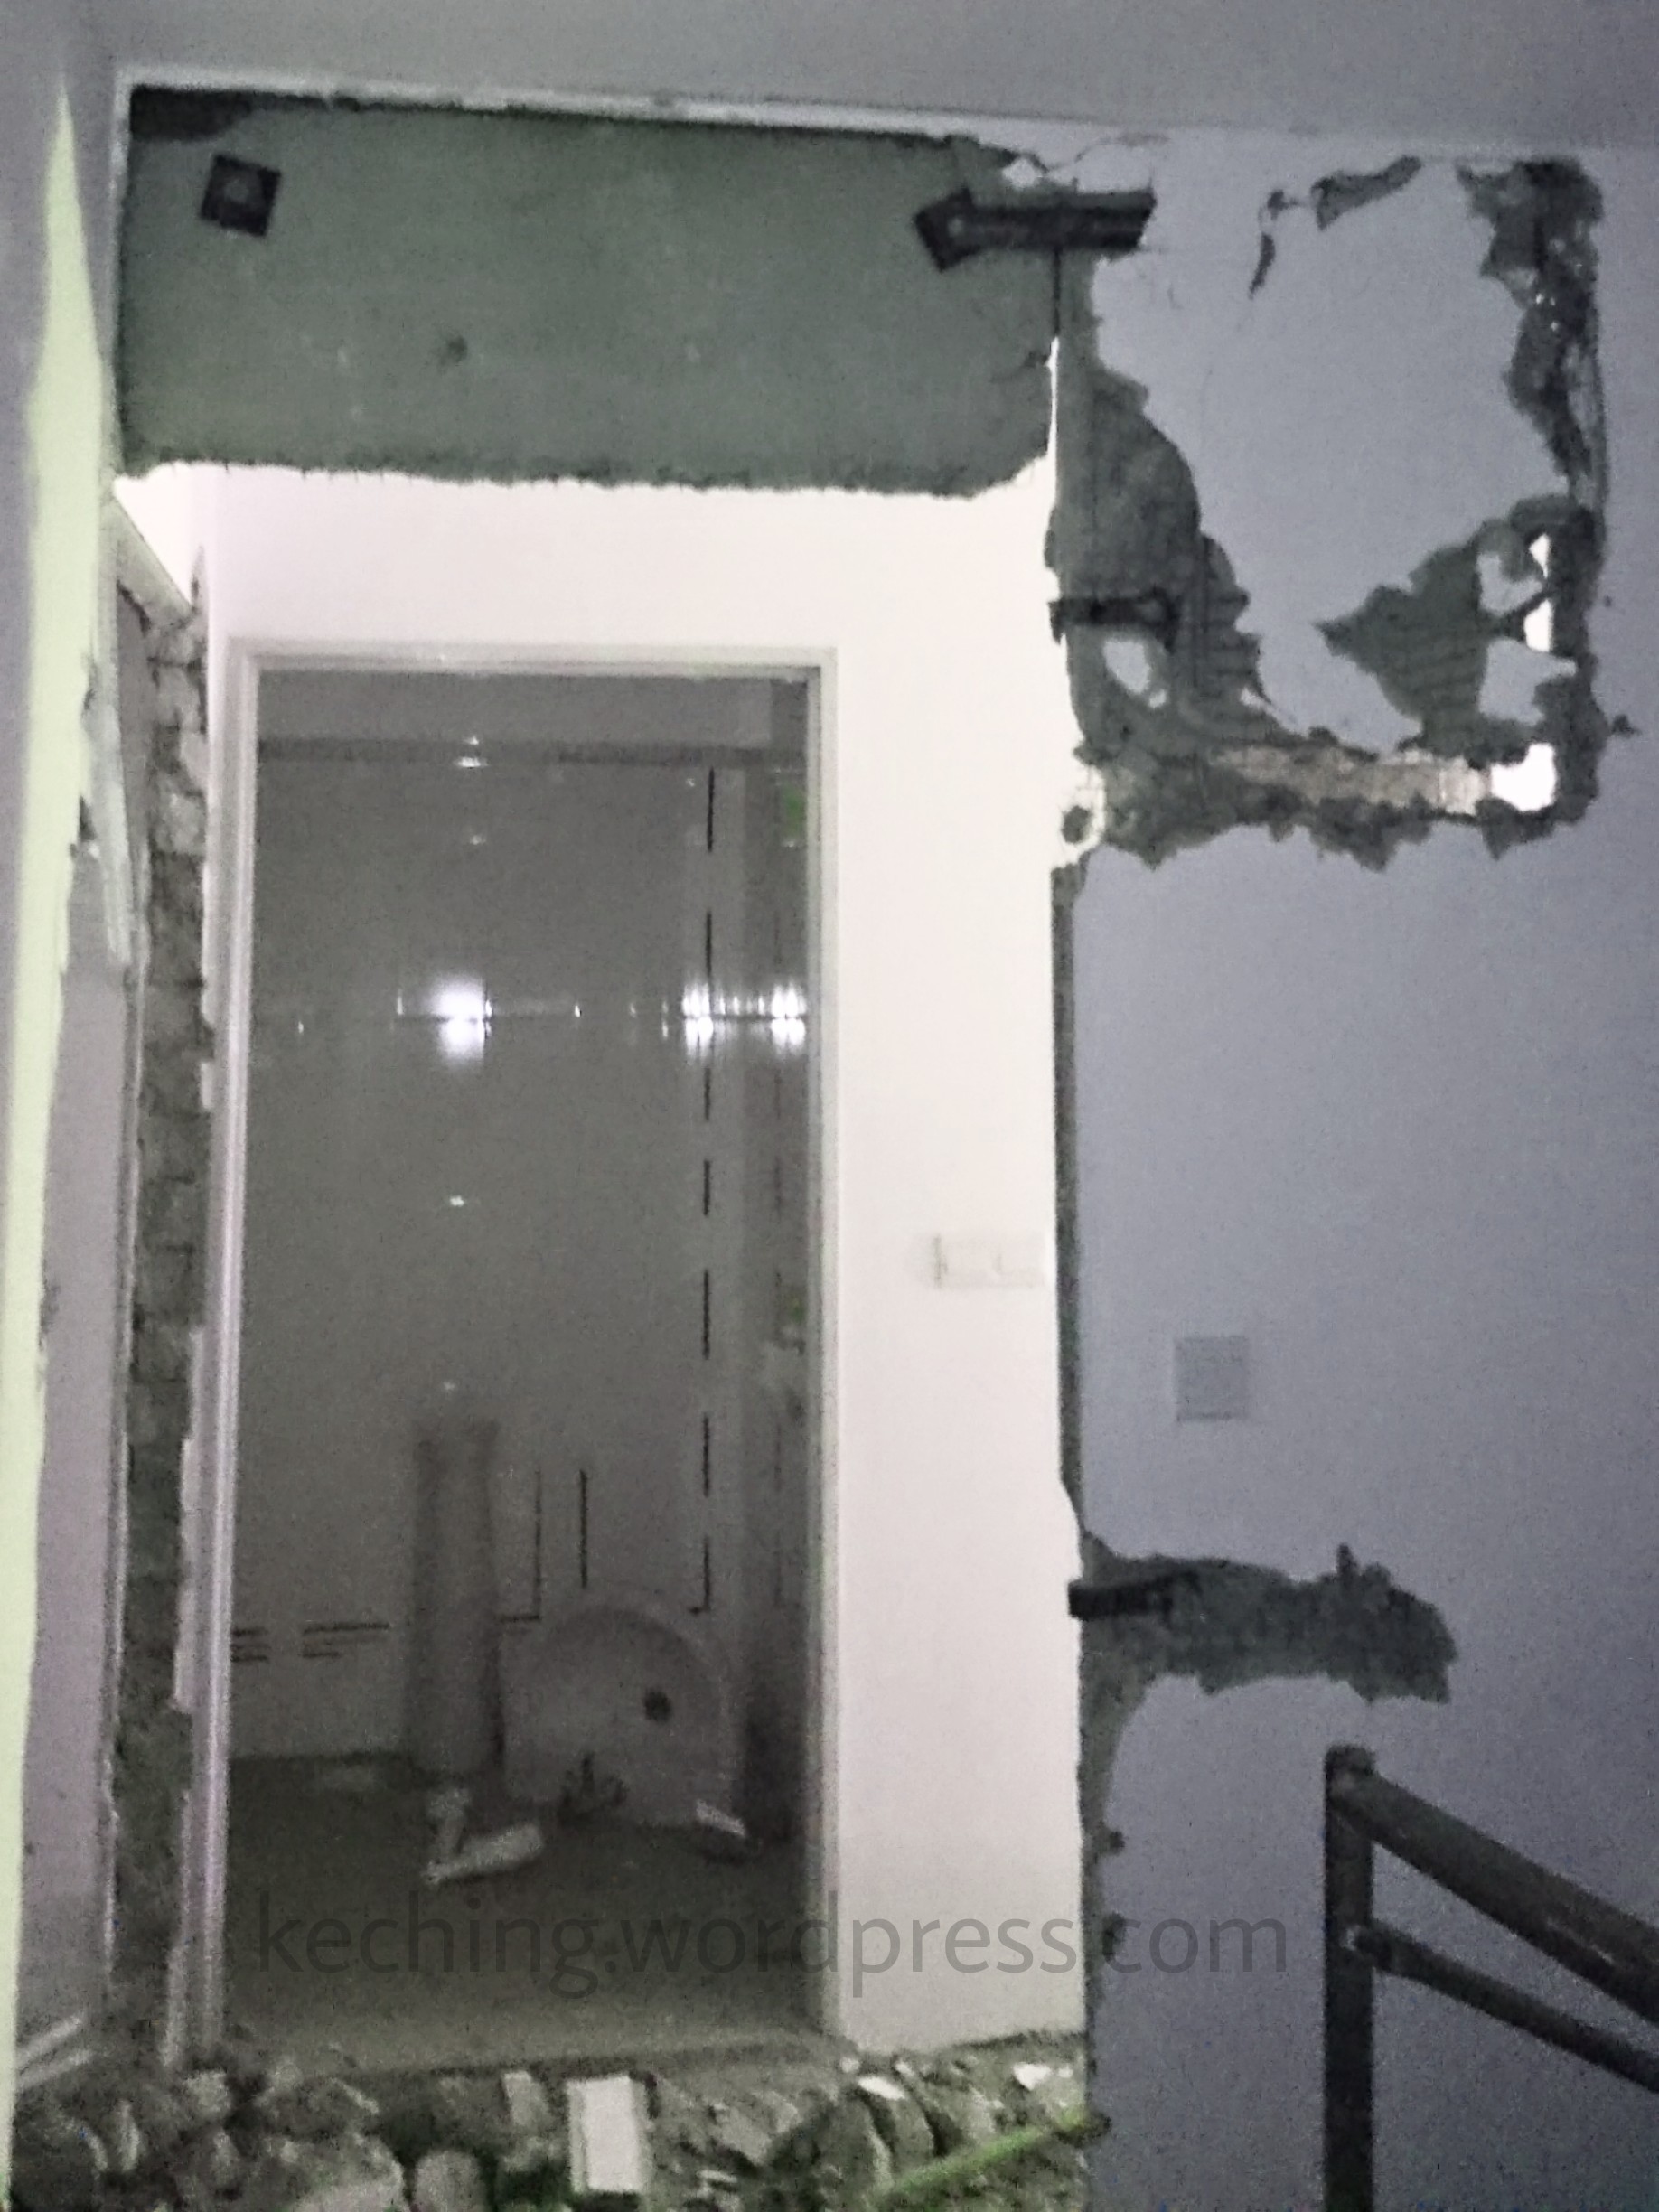
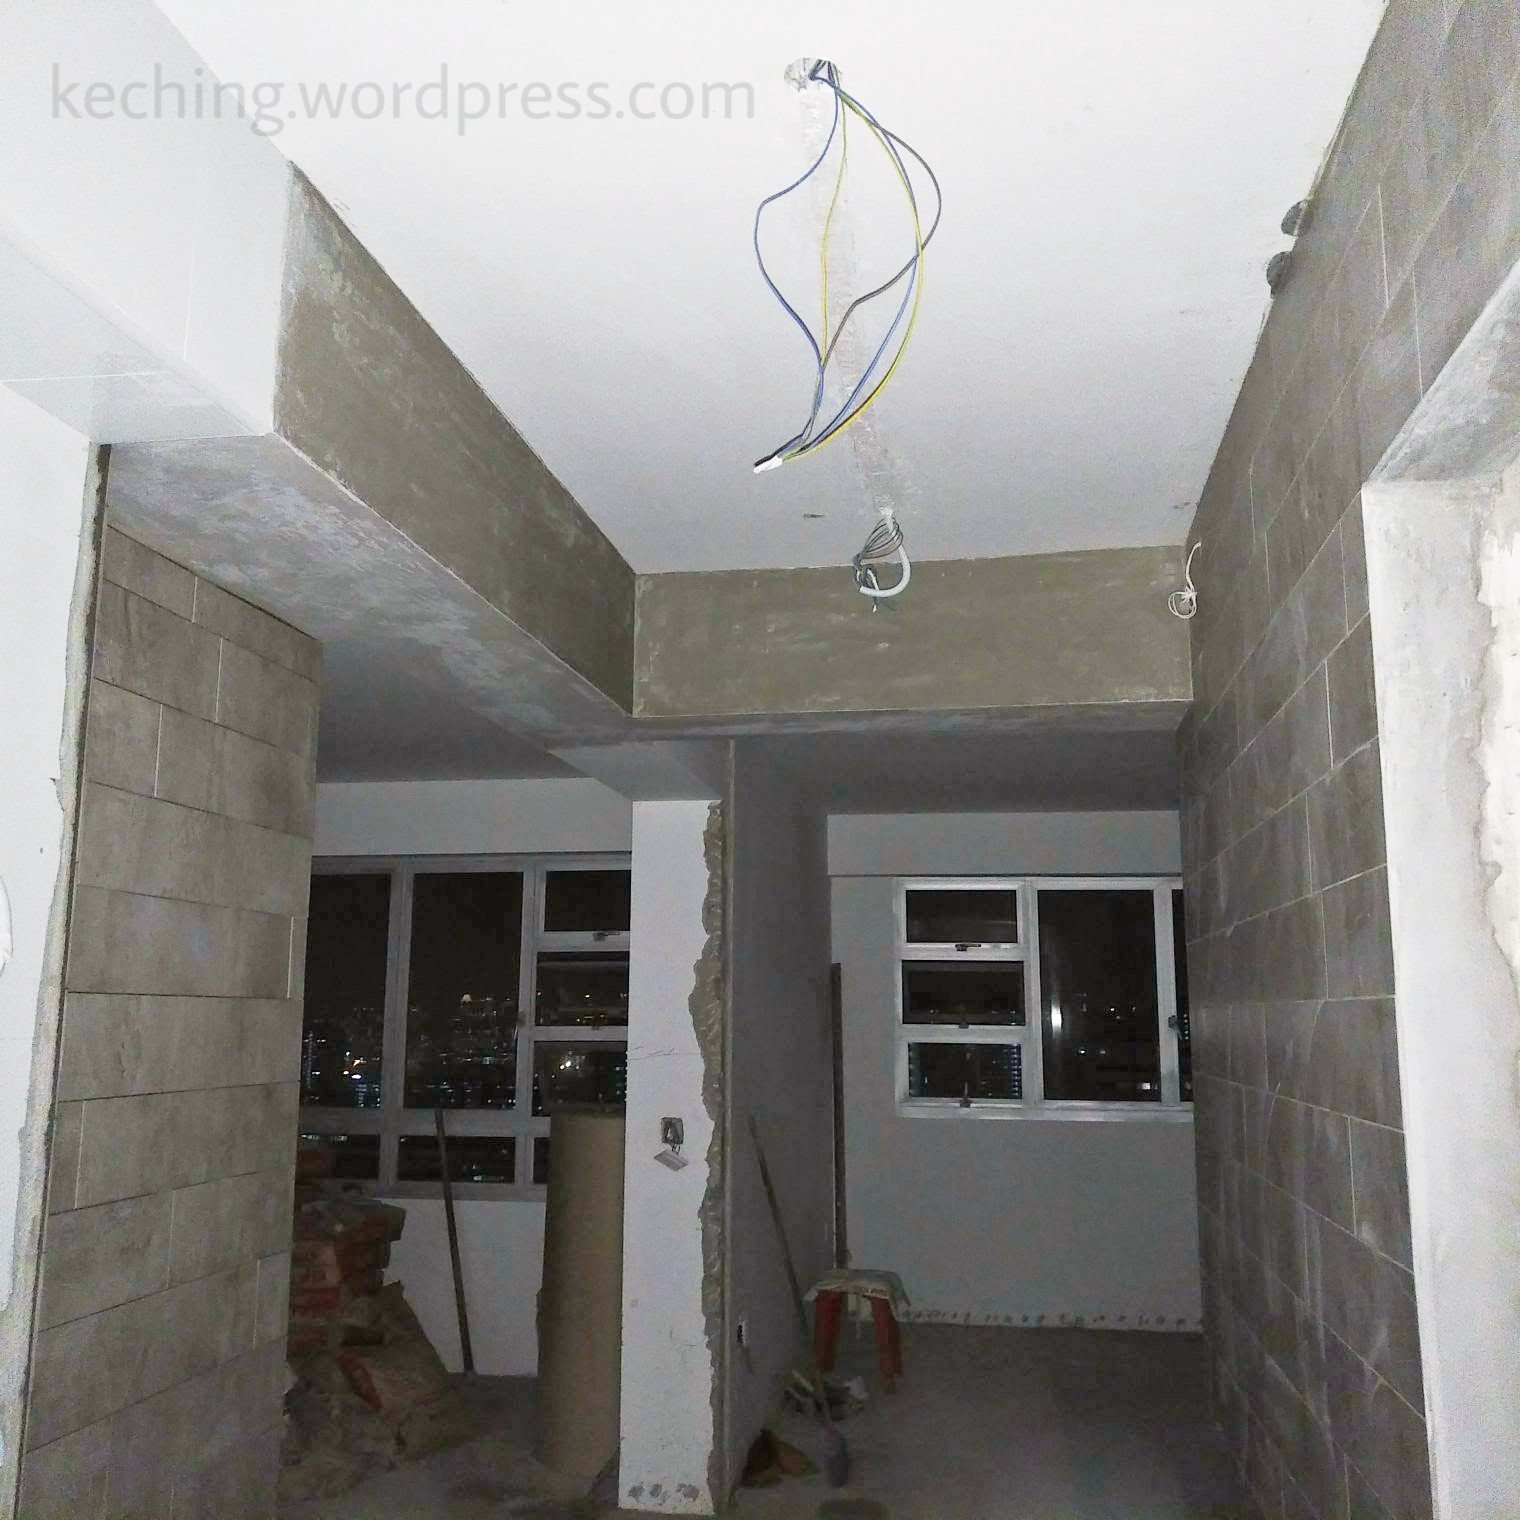
Photo is taken from inside the master bedroom. You can see the same guest toilet as the previous photo above, just from a different bedroom this time. You can also see the detached master bedroom light switches suspended by a tube thing.
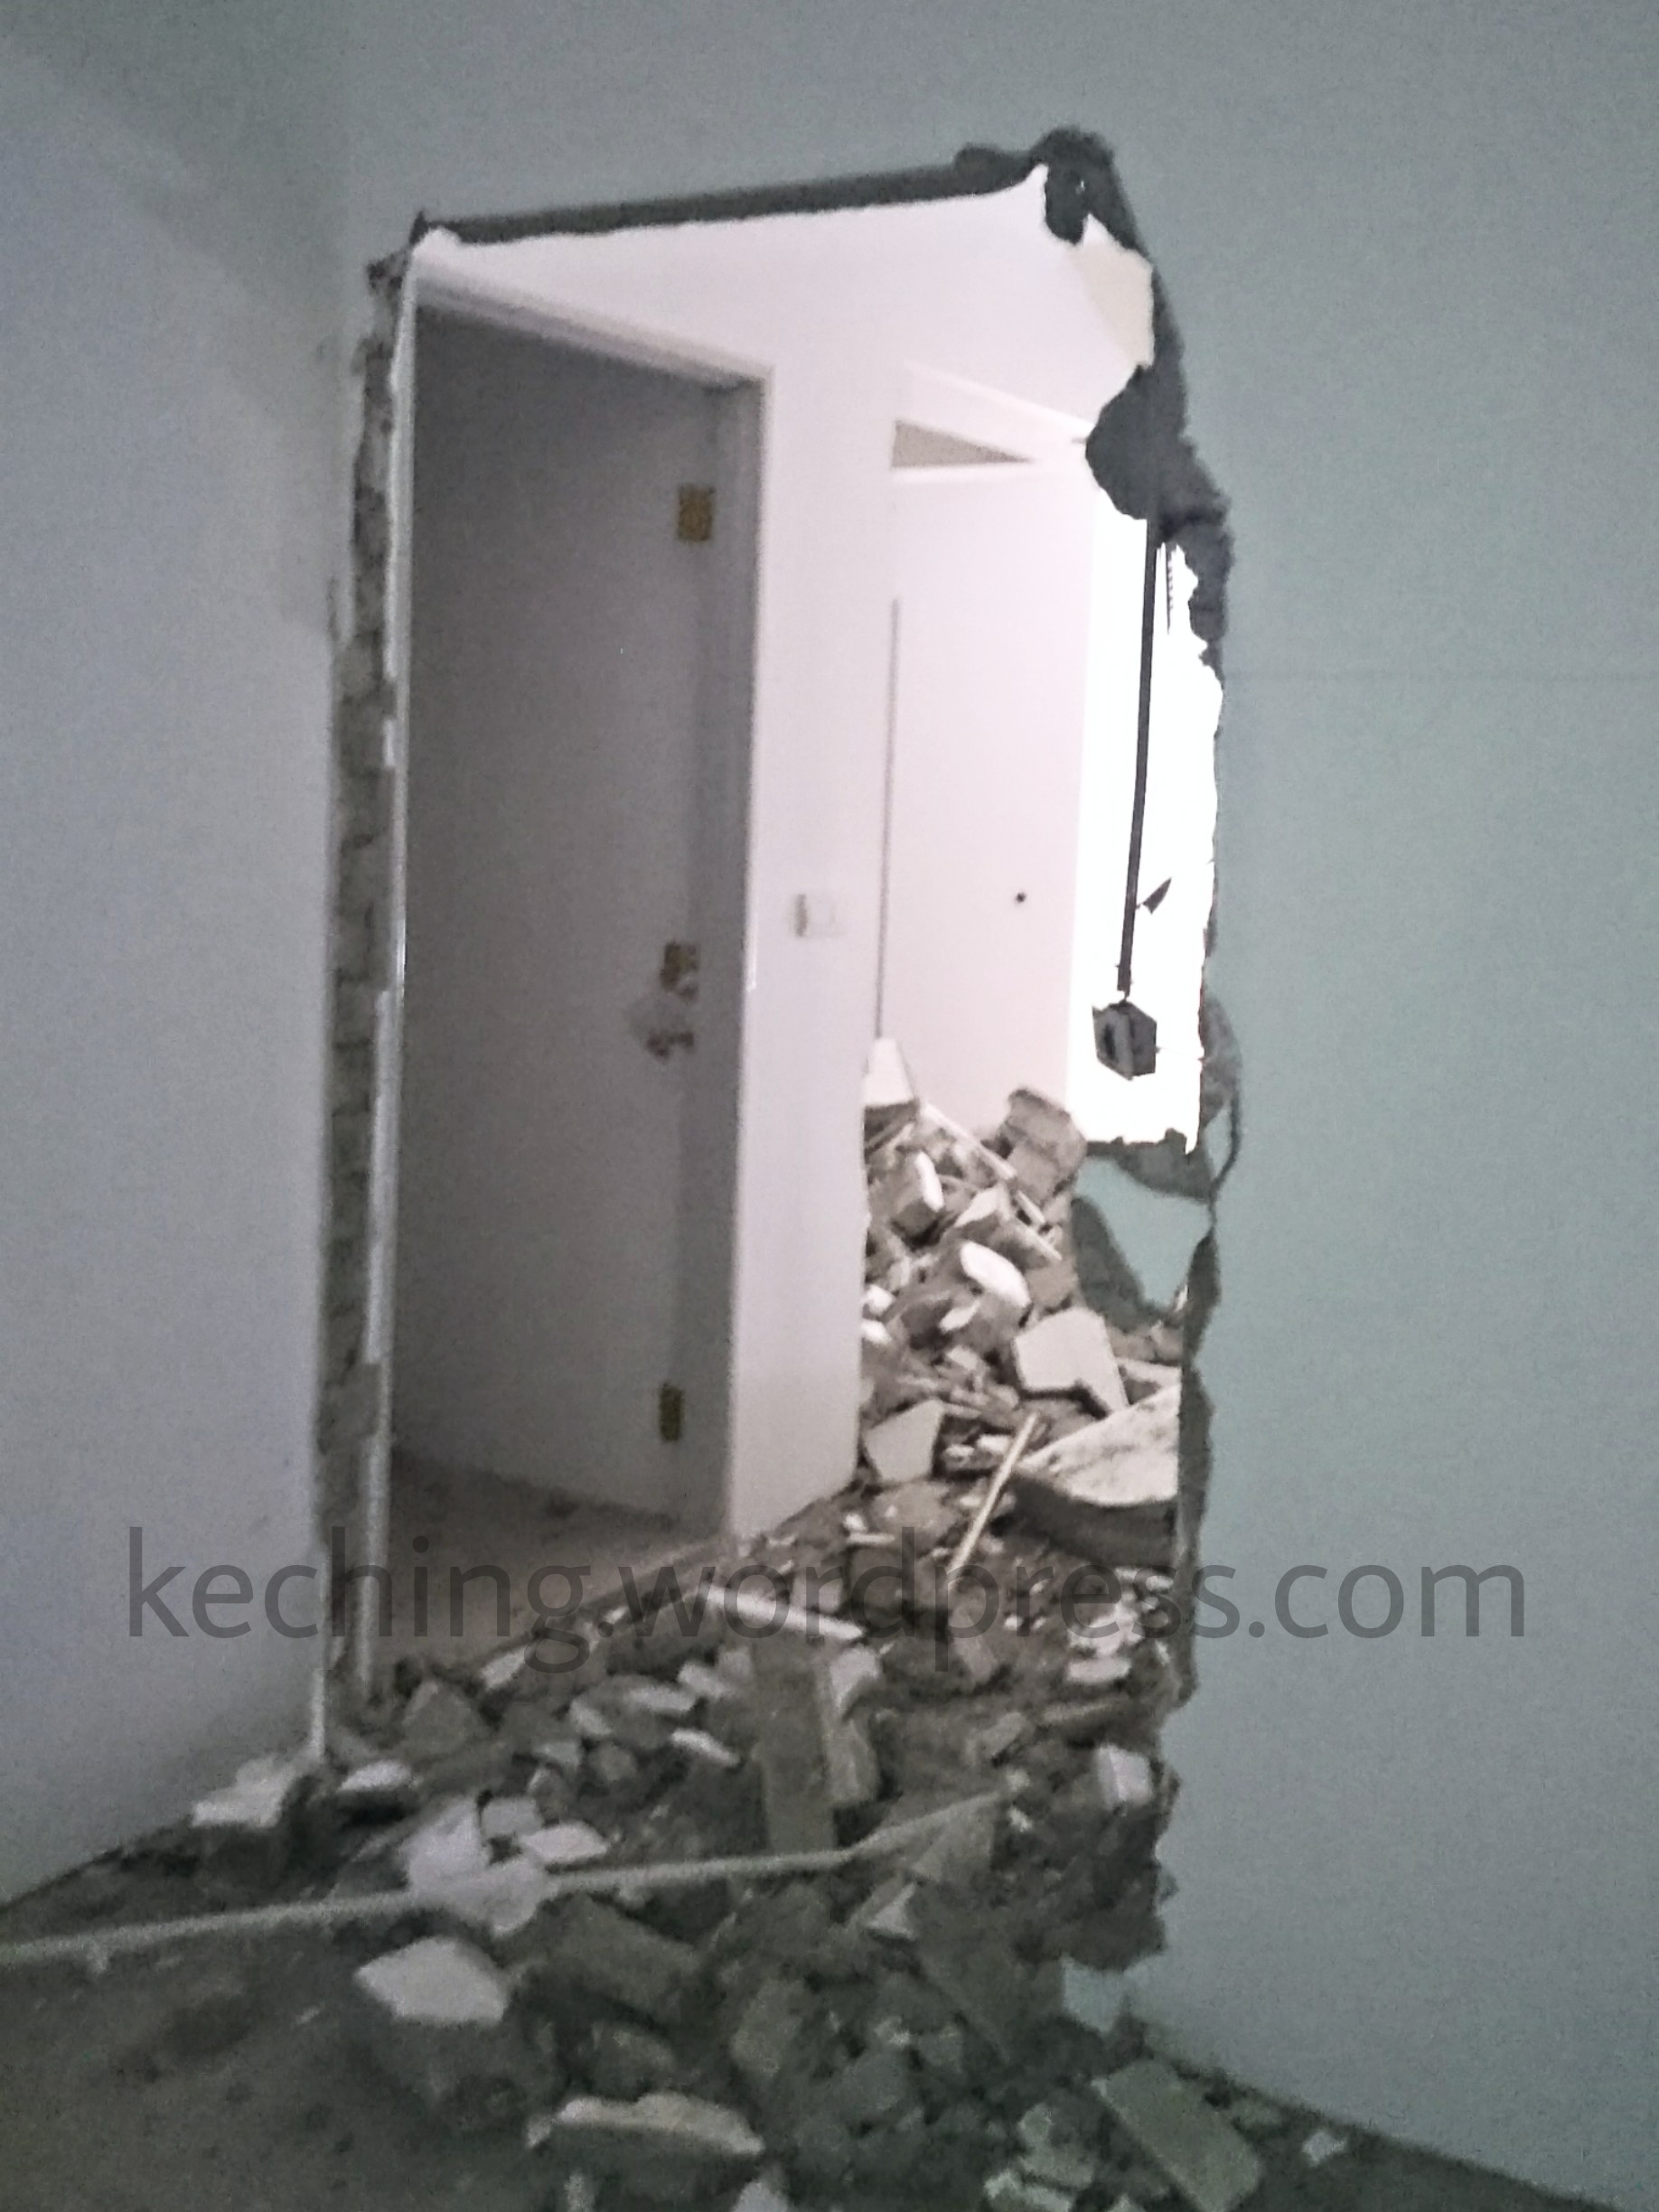
Just the demolition itself reveals the layers of work required to put the house together.
You might also be interested
Yet another craft practised by a personal friend
Hacking concluded
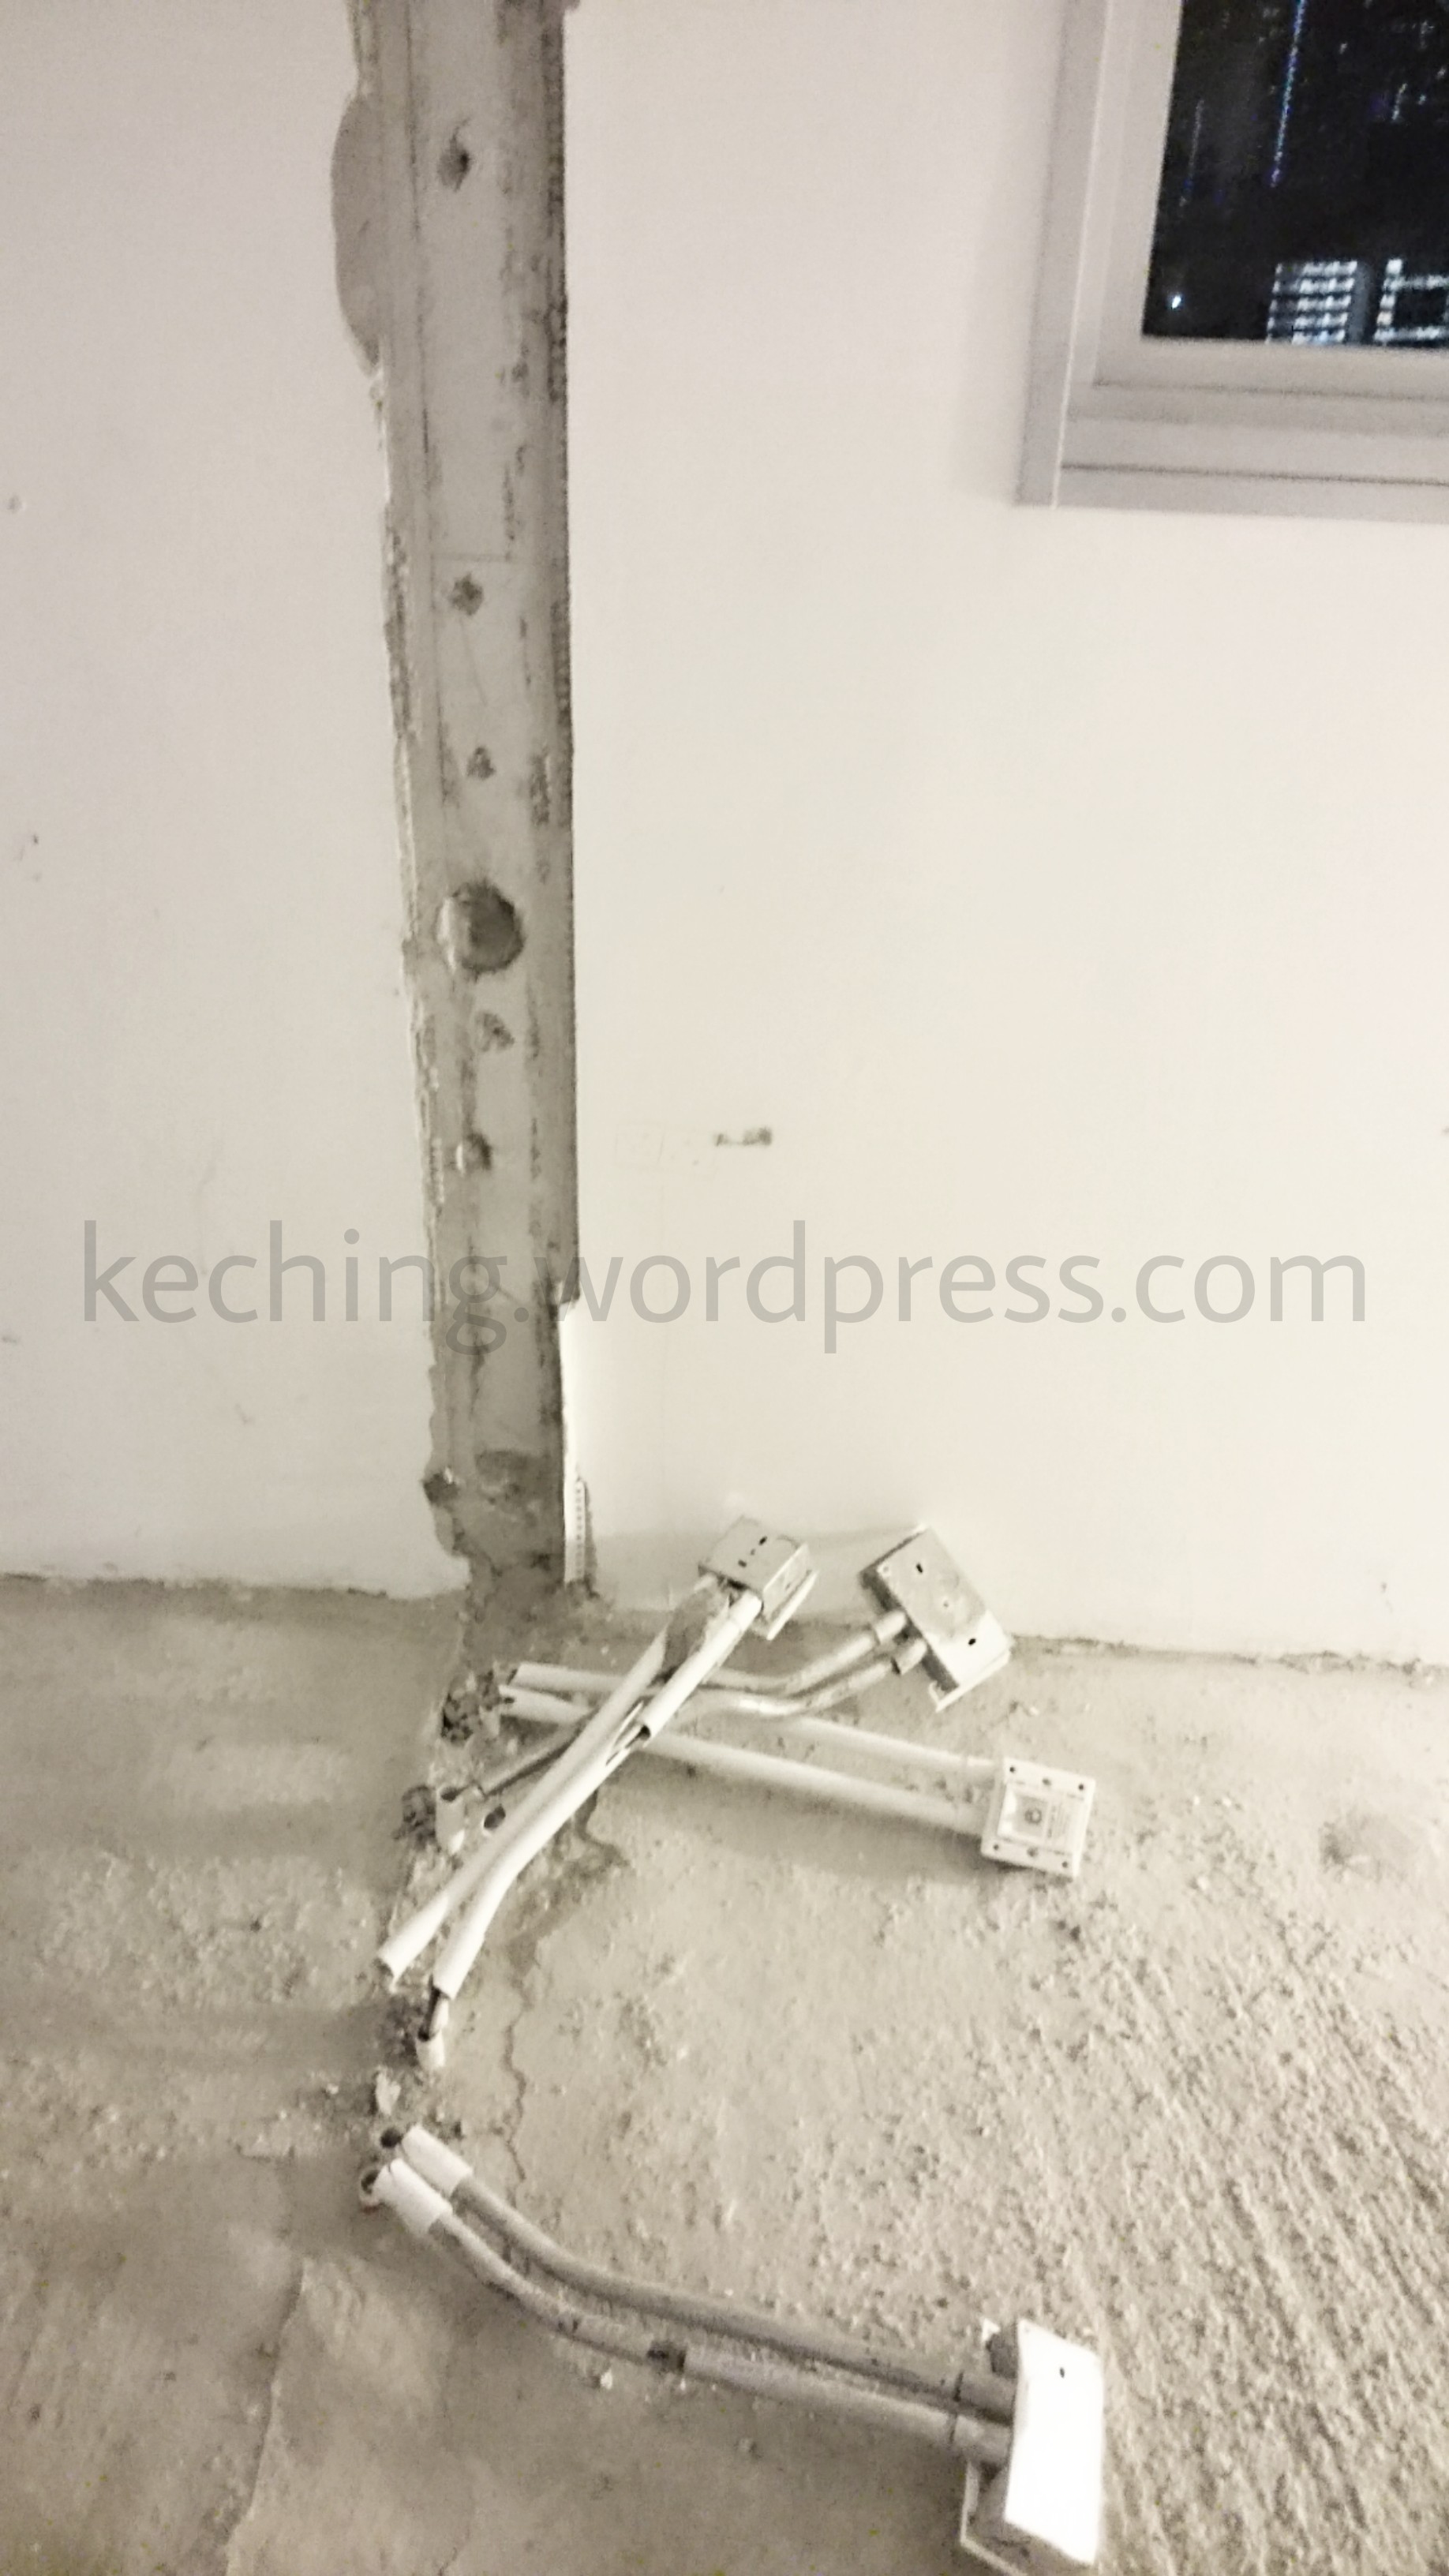
House cleared of debris after hacking is concluded. You can see a T-shape scar on the ceiling from the removal of the master bedroom and guest room walls.
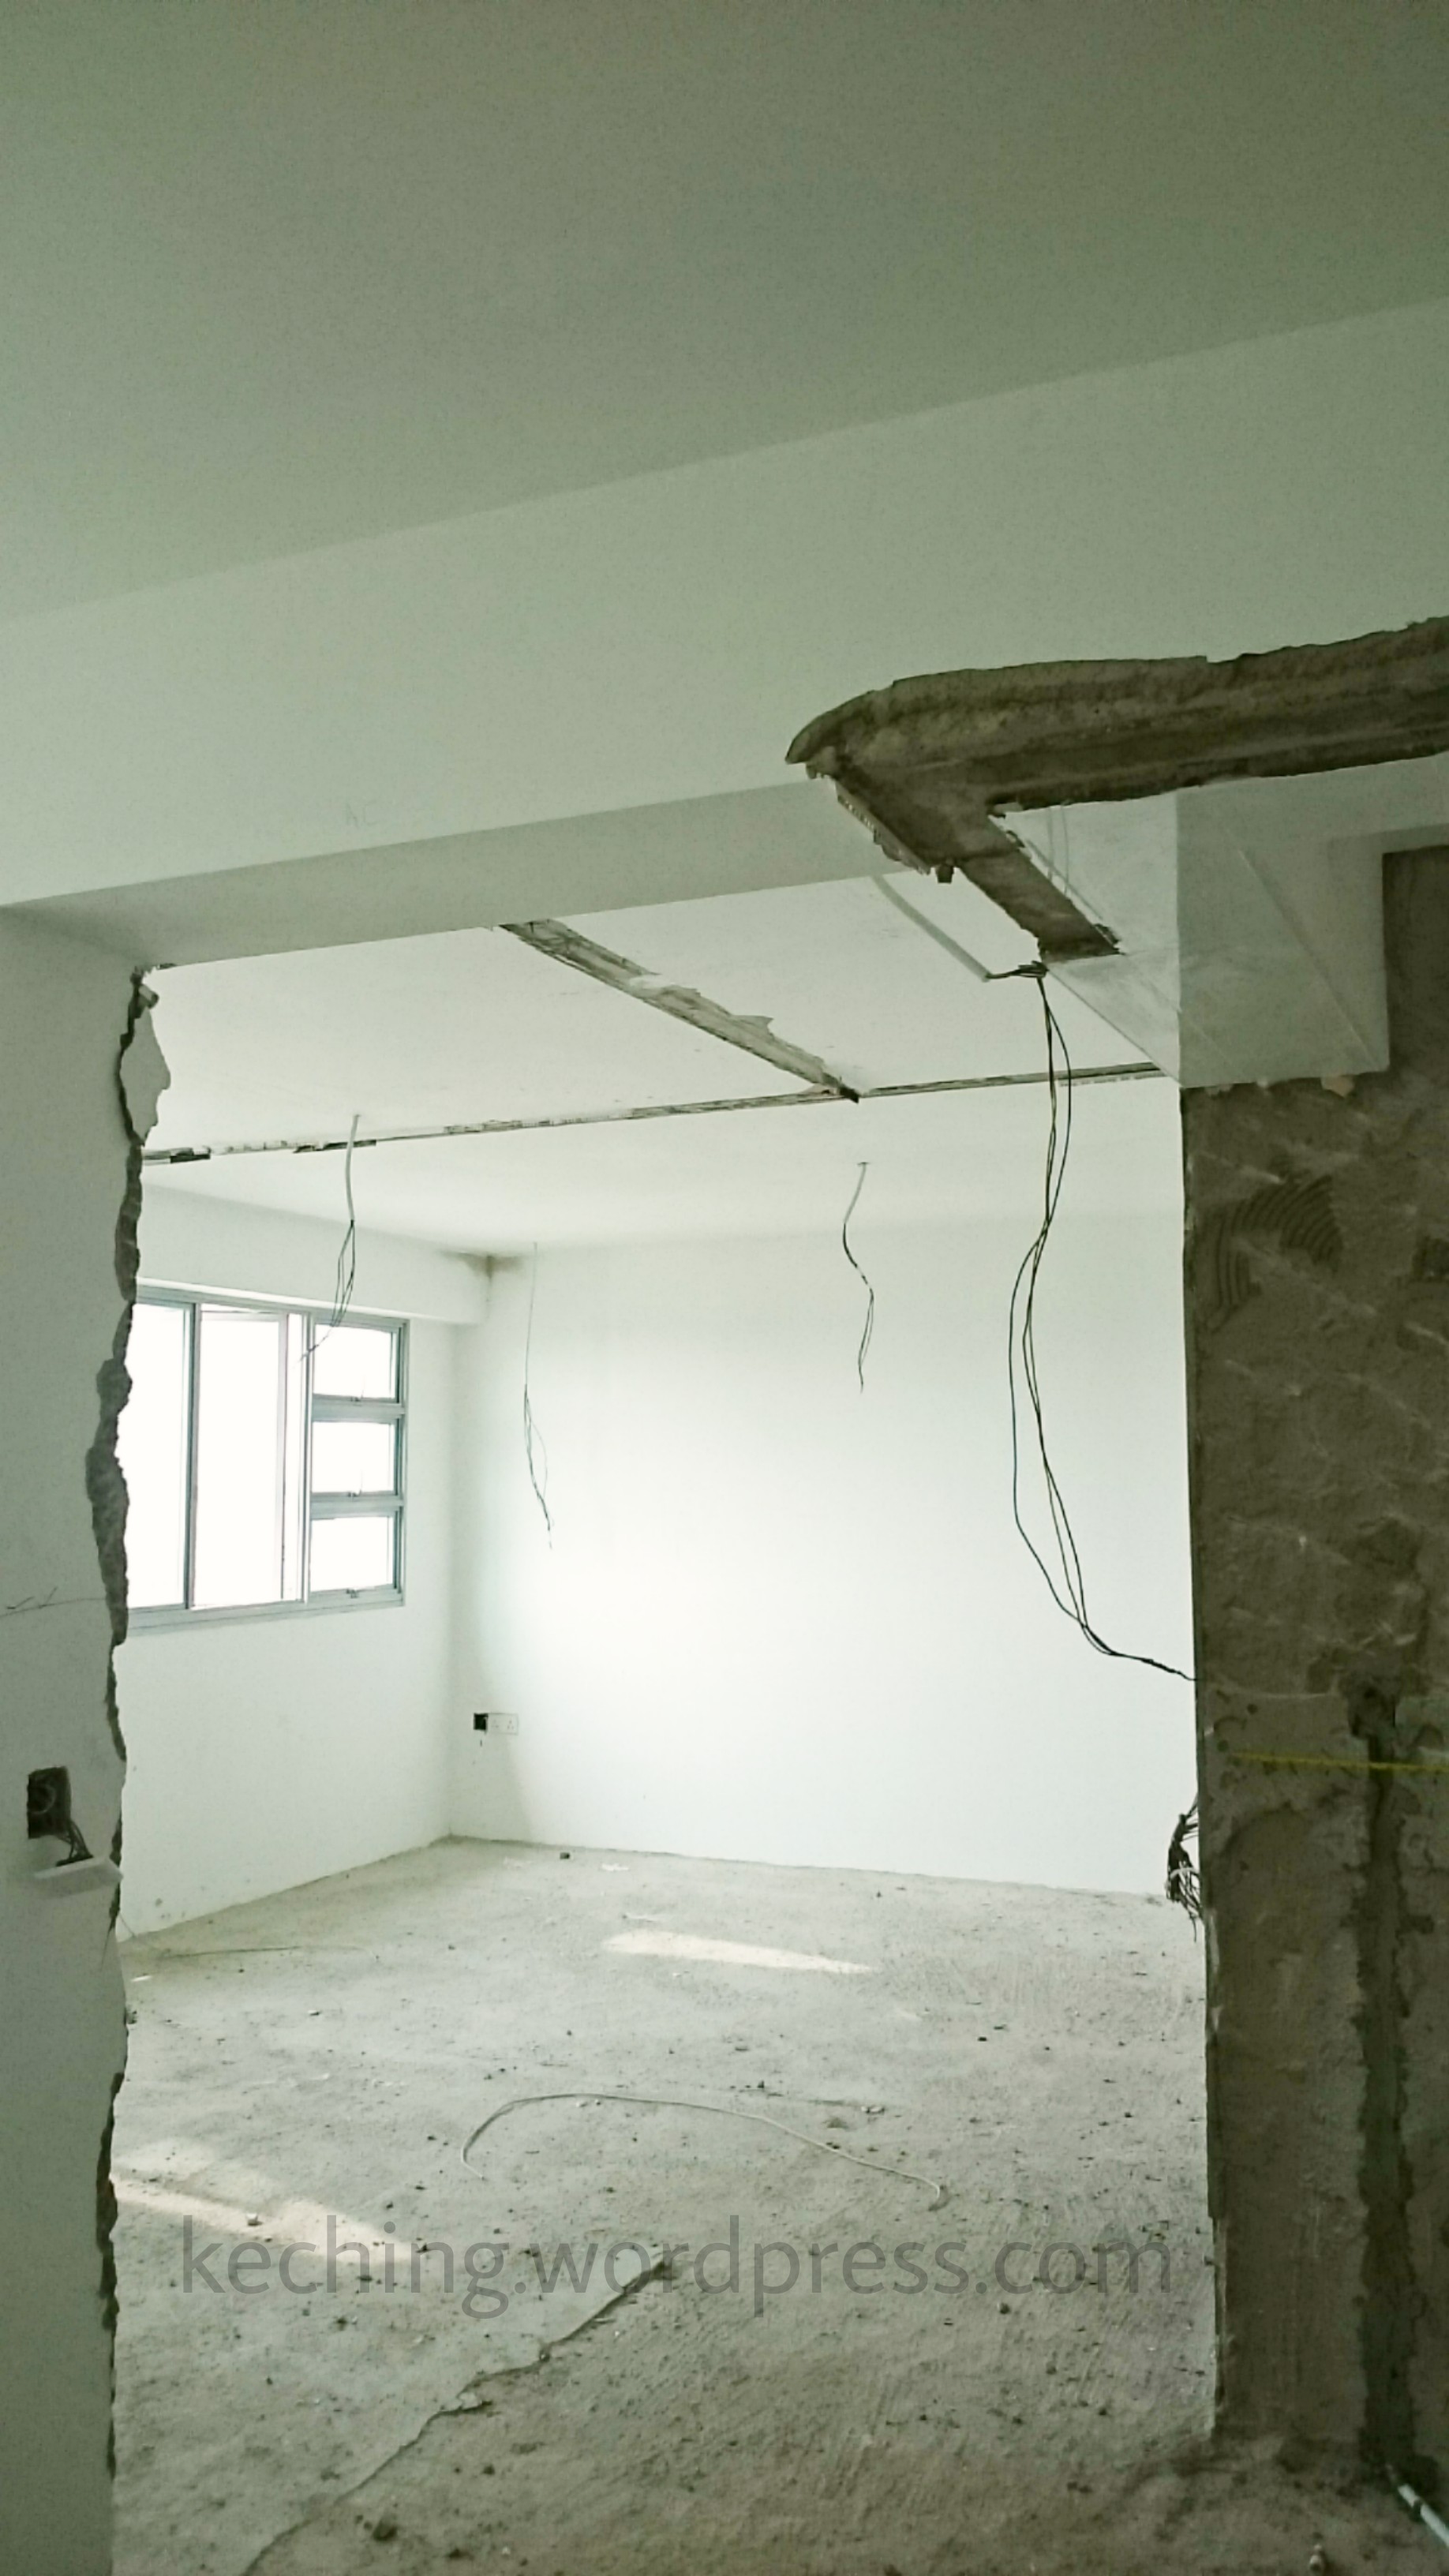
Power points that were built into the wall separating the guest room and master bedroom are now exposed.
Final confirmation to proceed with custom door
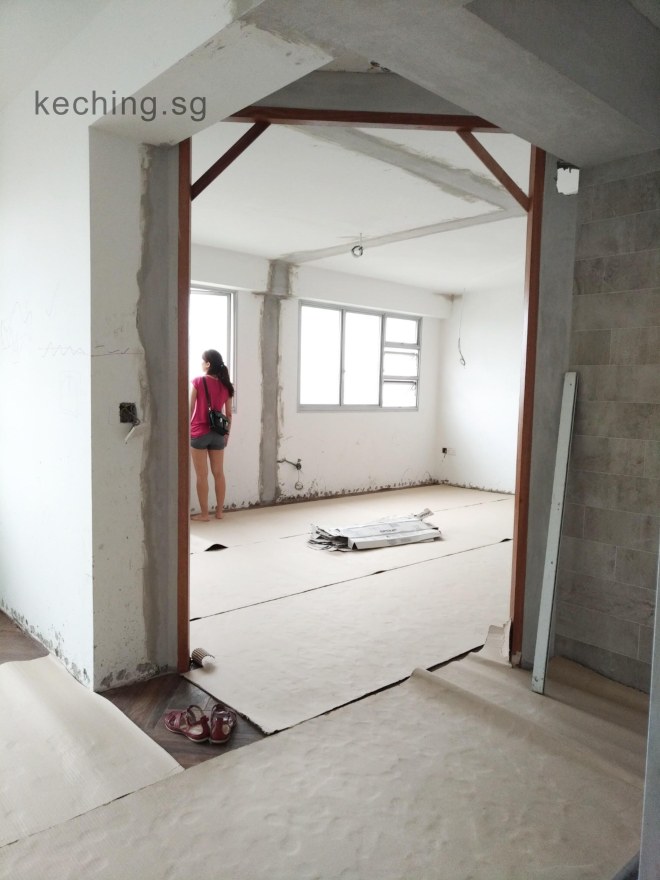
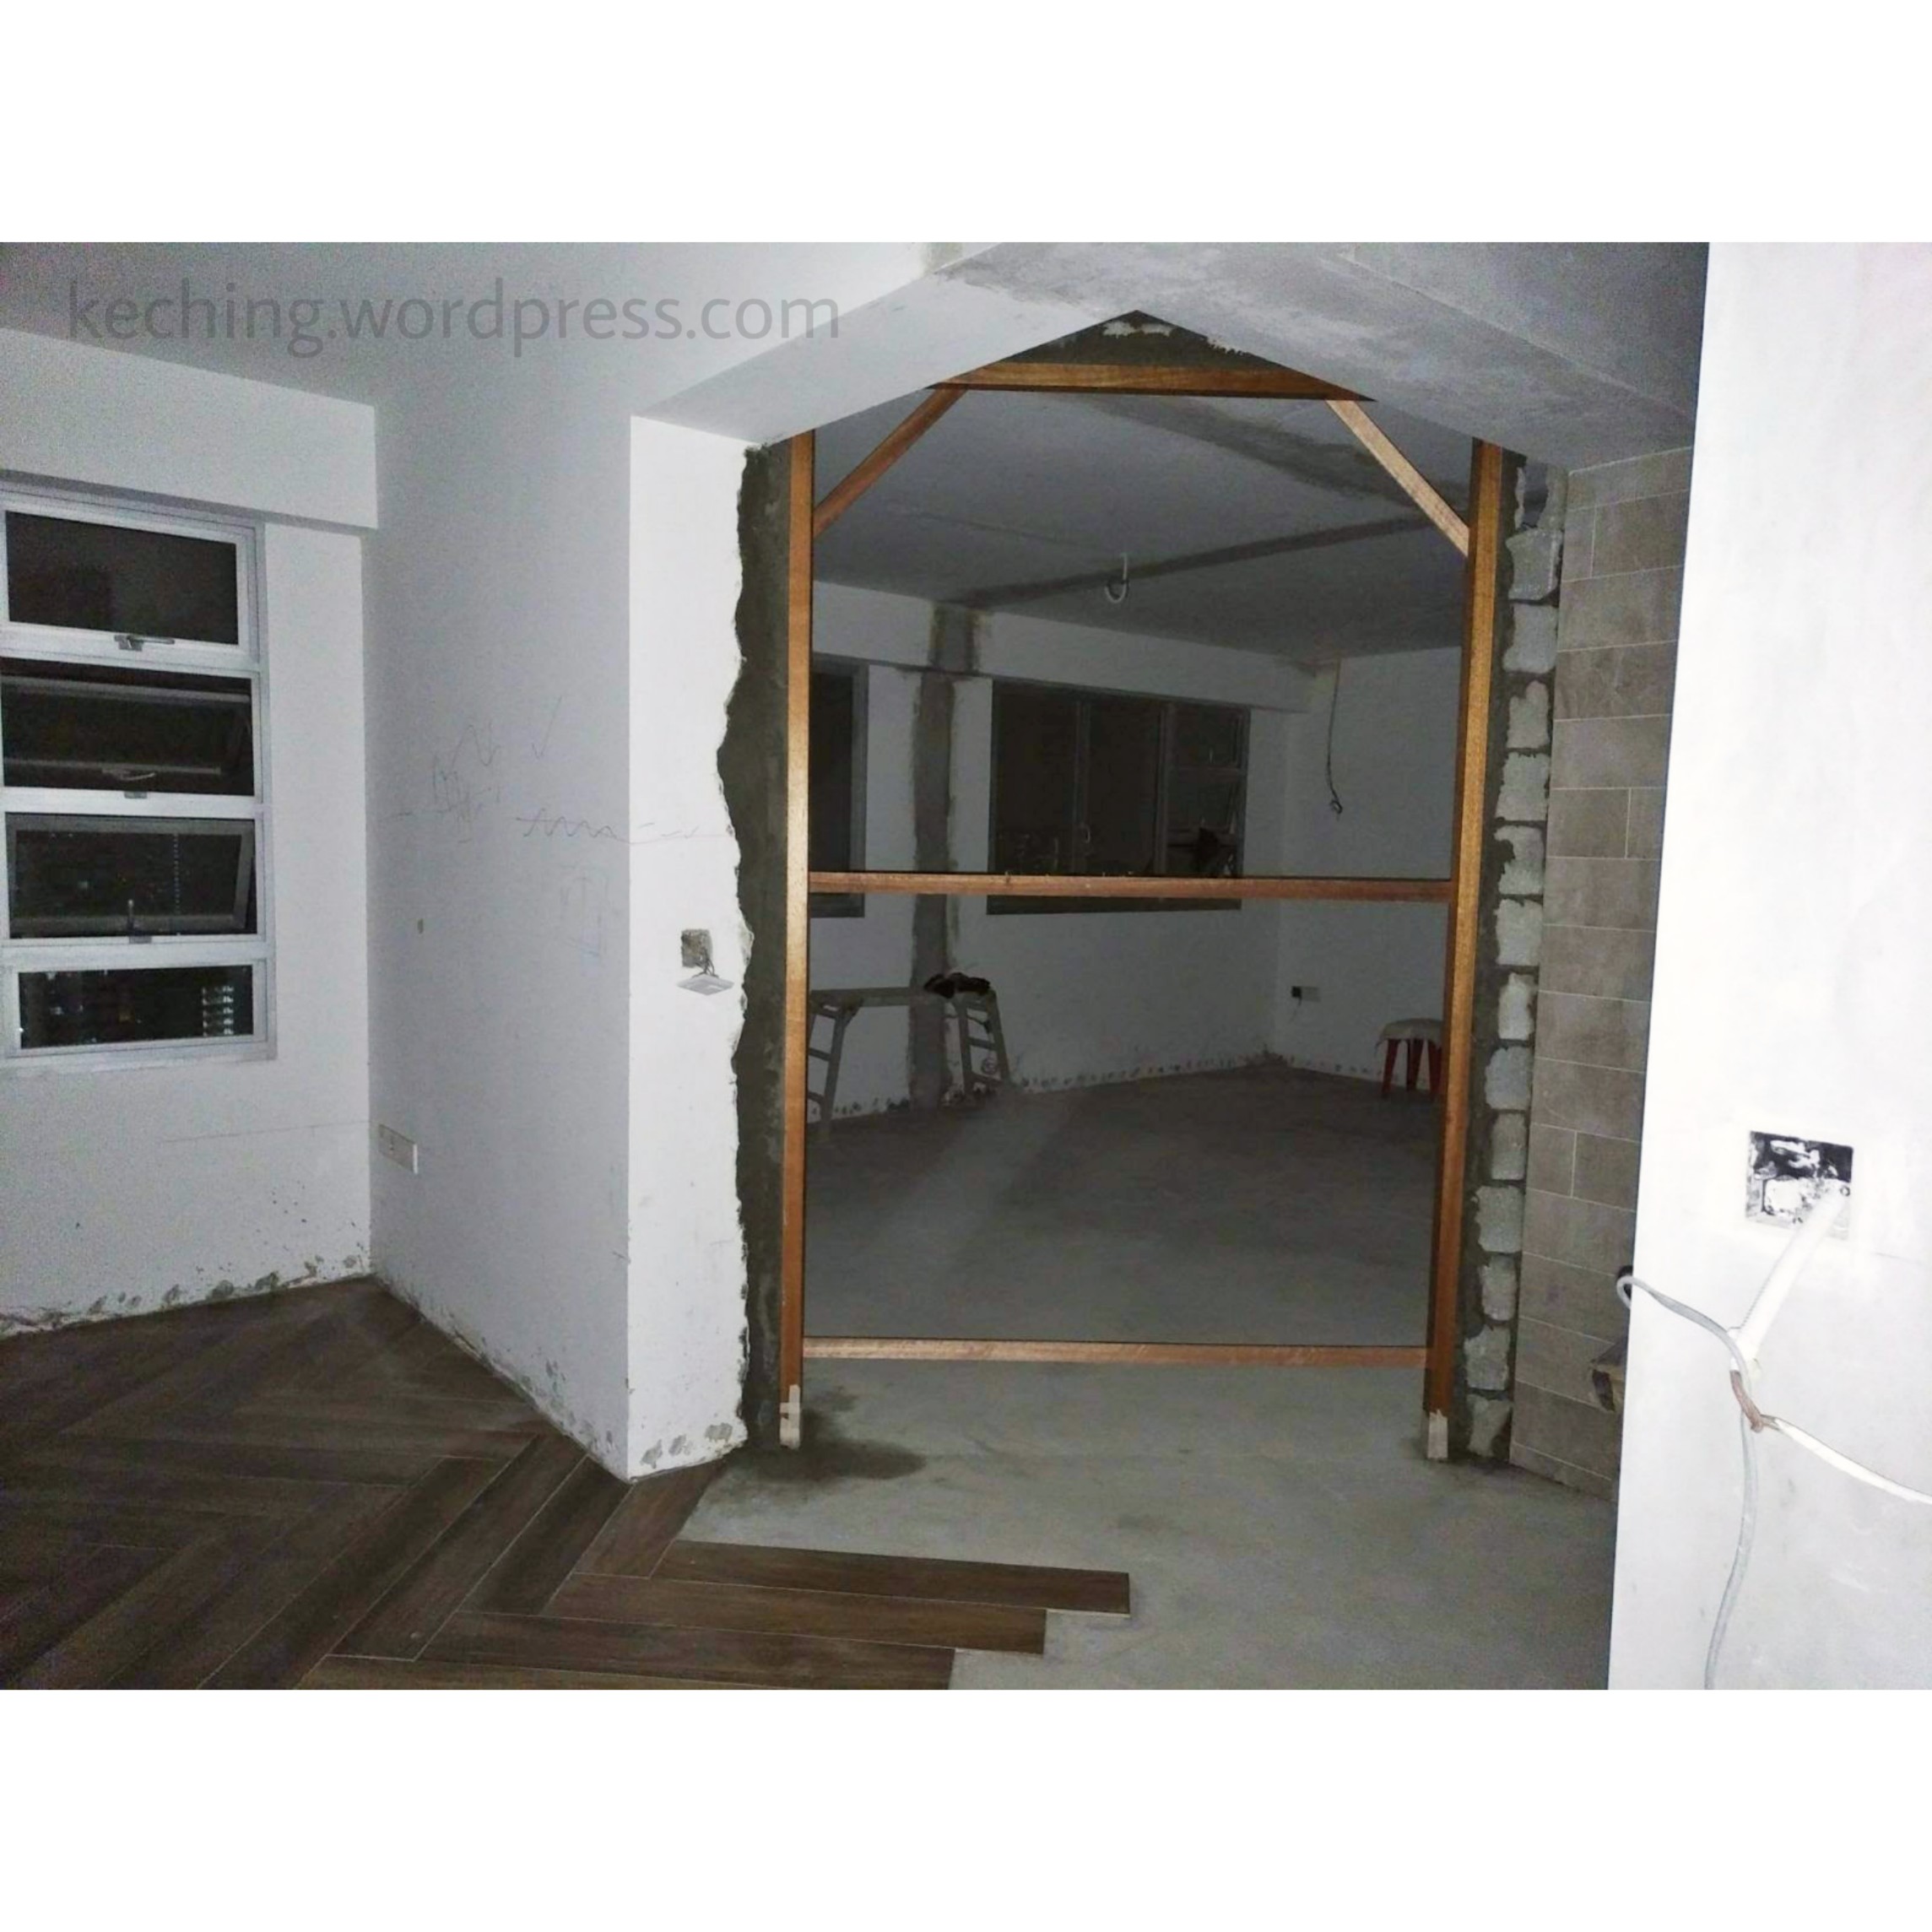
The angular “entrance” left behind after all the bedroom walls were hacked away. I held up some flattened cardboard boxes to have a better feel of the custom two leaf door that is to be built there.
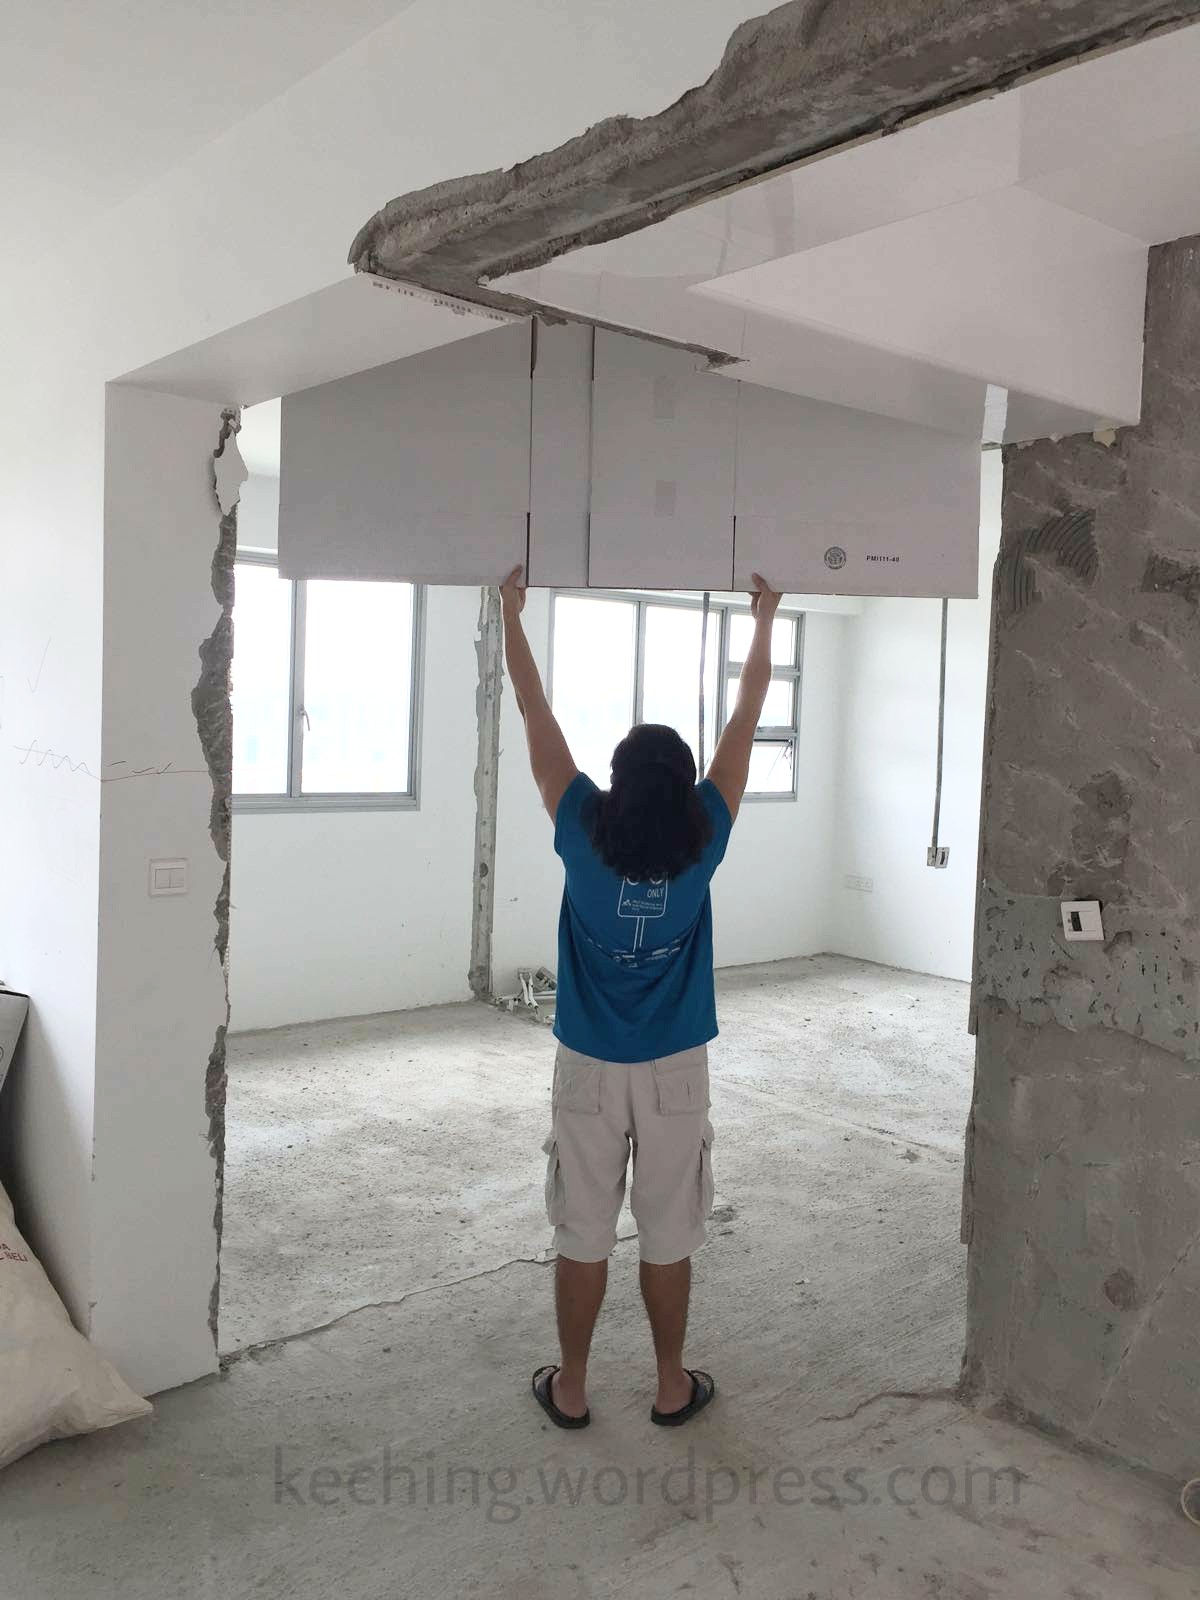
View from inside the bedroom looking out towards the front door and kitchen. The idea is to have a grand slanting floor-to-ceiling bedroom door (see door below).
You might also be interested
Starting a small business in Singapore

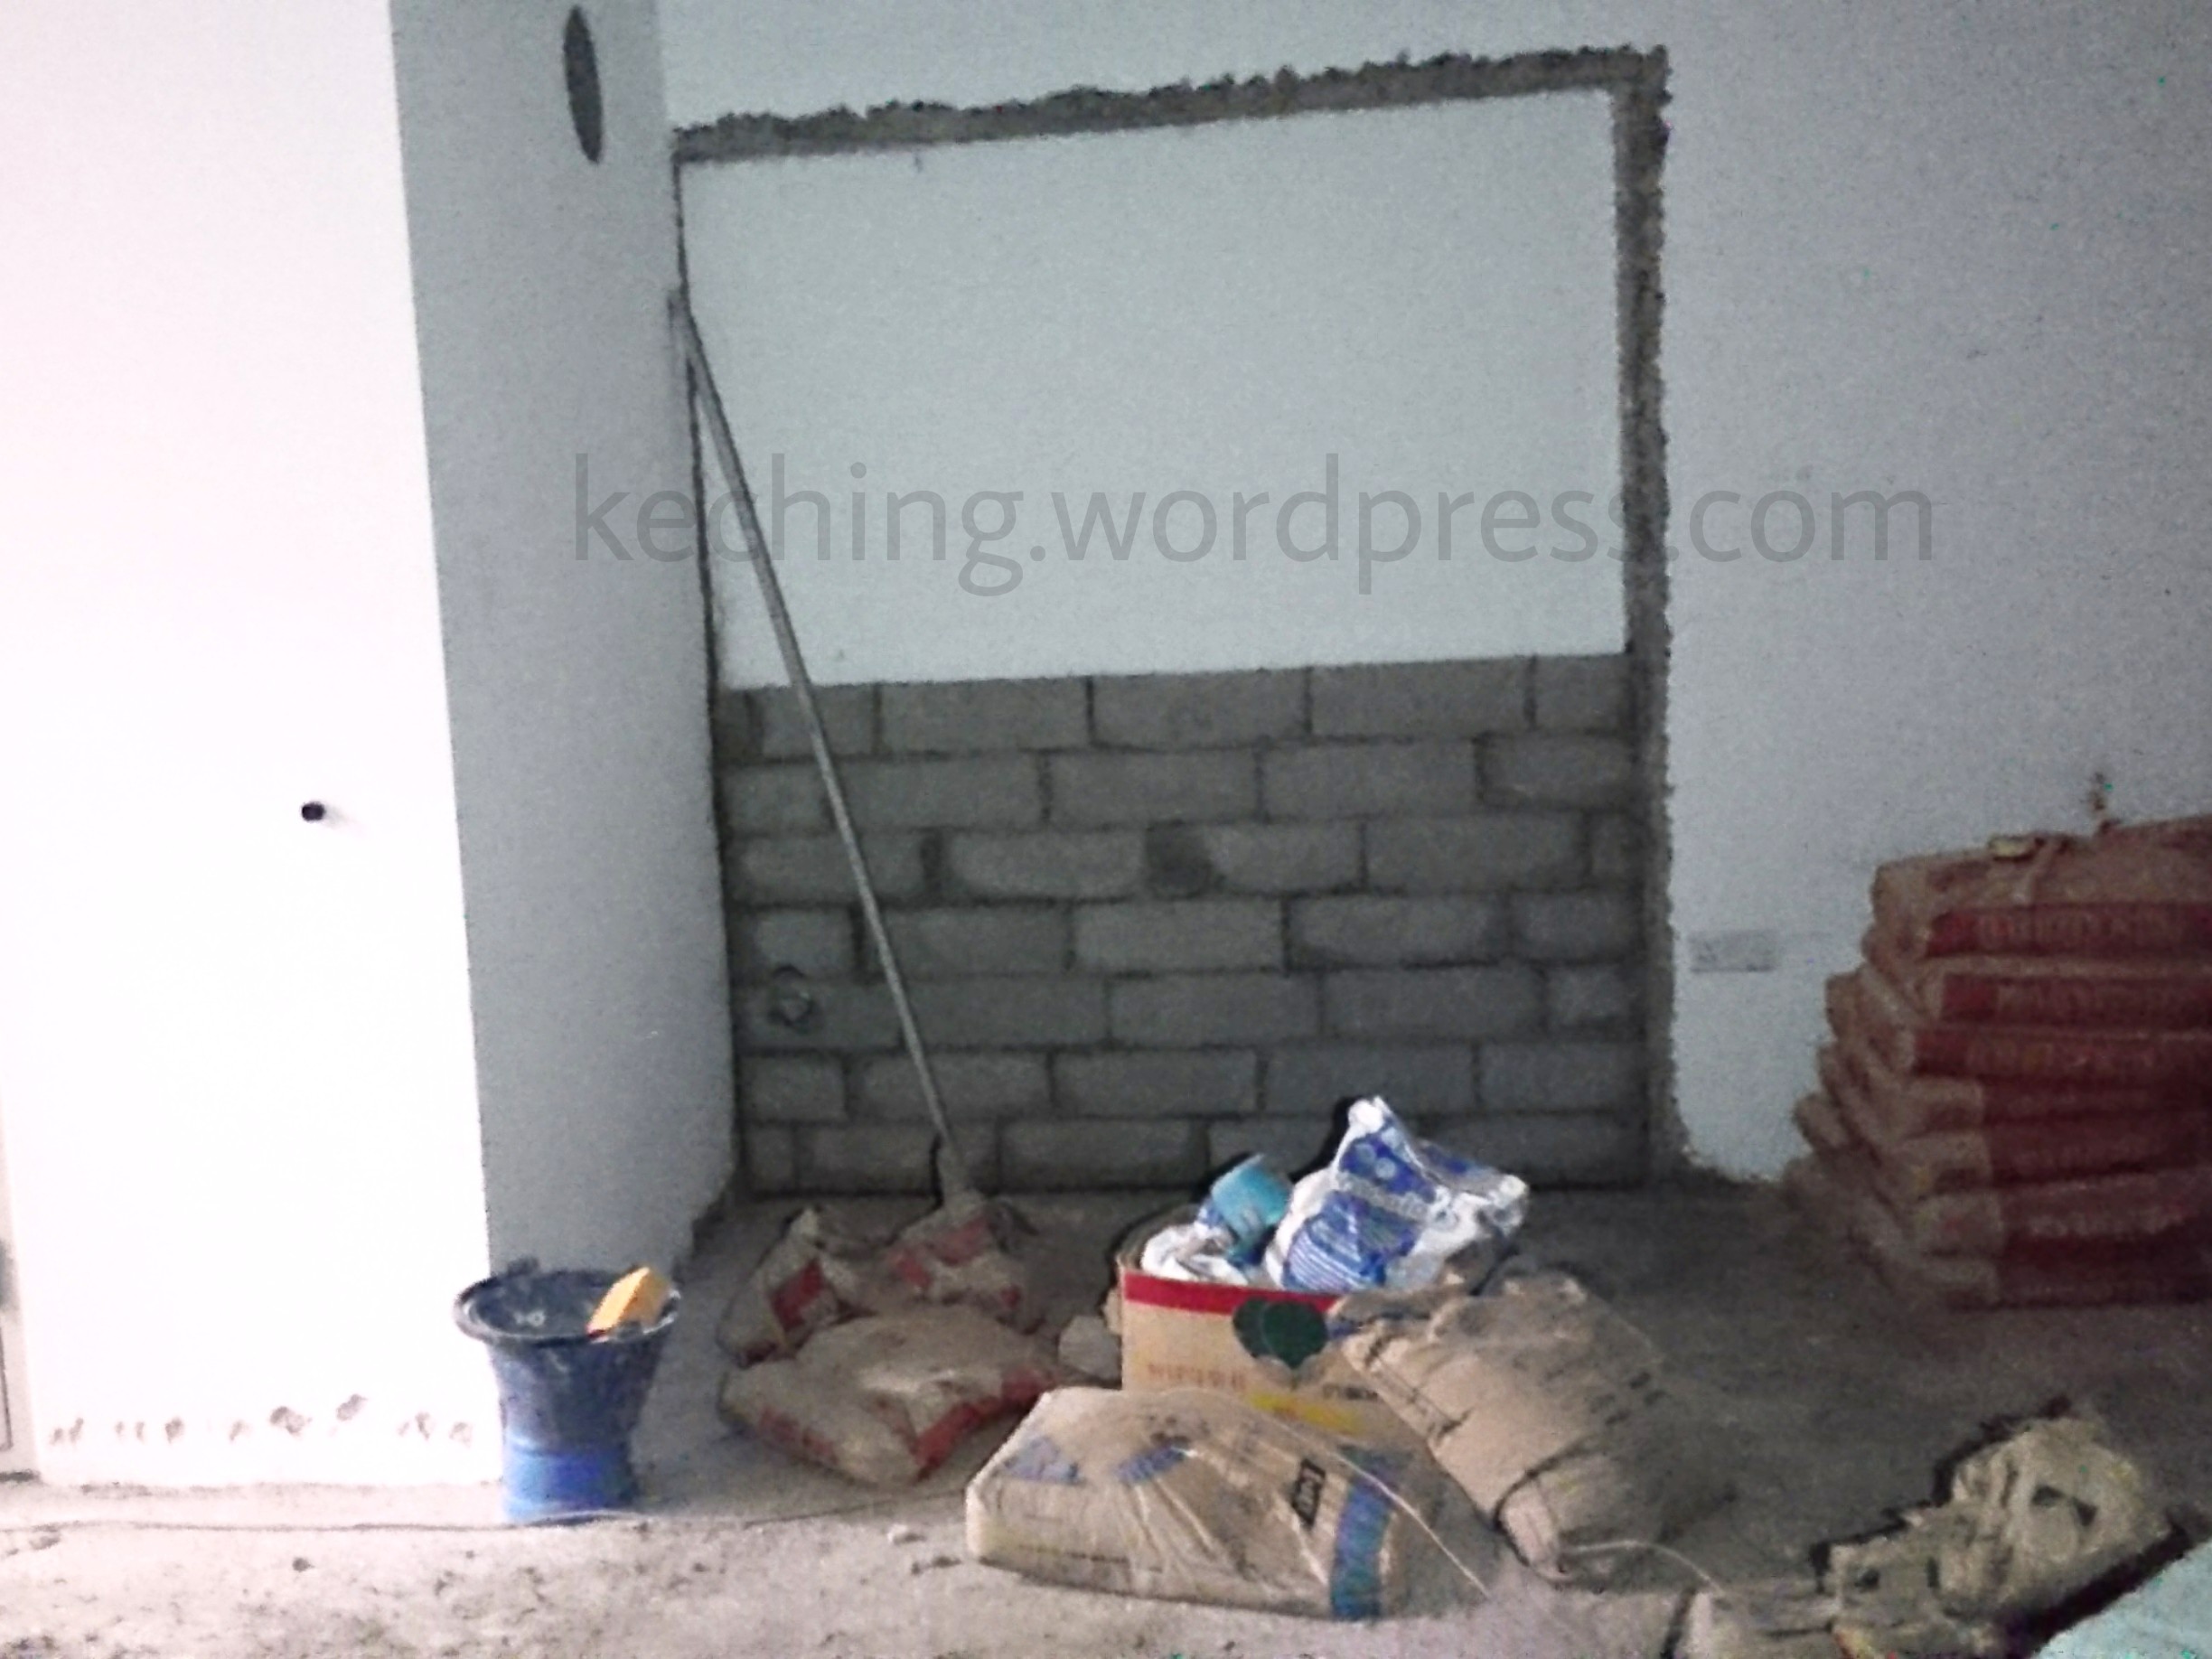
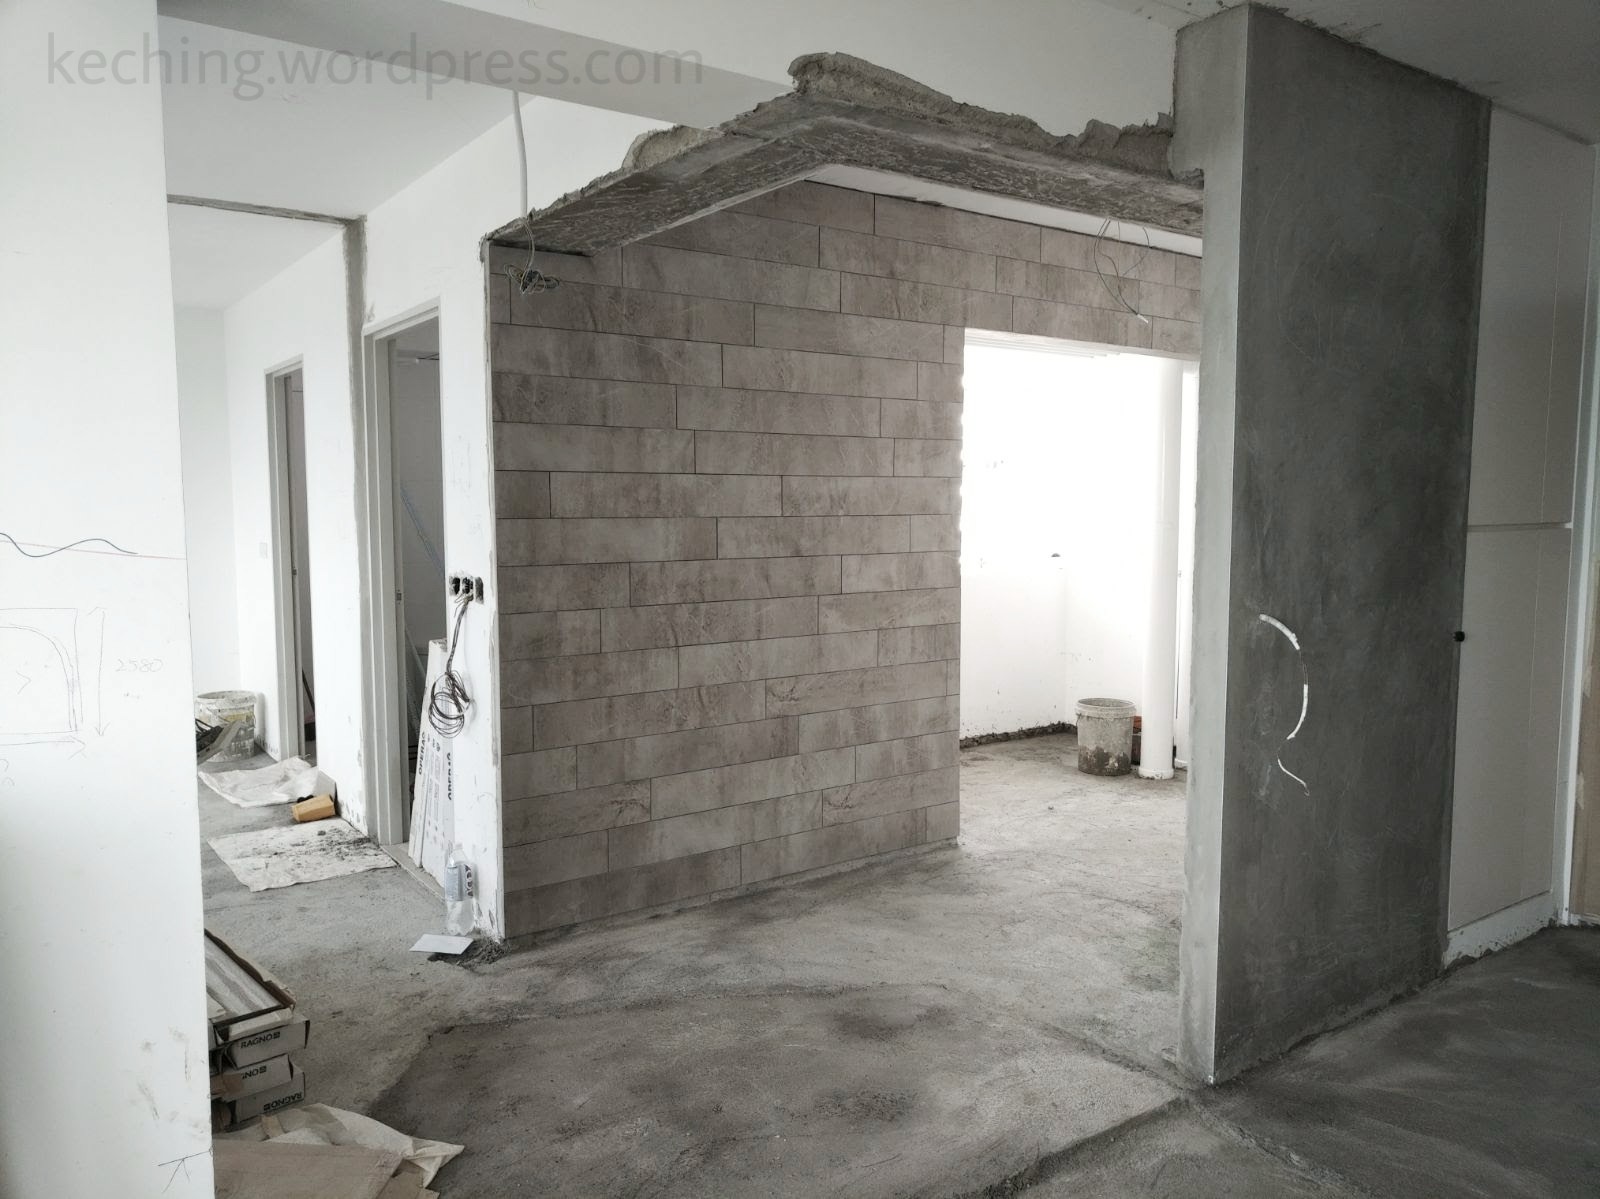
Partial re-erection of kitchen walls
With all walls hacked and debris cleared, it was time to re-erect half the kitchen wall. The concrete solid blocks were not laid in the same spot as the original wall, but rather shifted outwards towards the front corridor. The wall that the front door partially covers is where the distribution box is and the new wall is built to flush with it. The original kitchen wall that has been hacked wasn’t flushed with the distribution box.
One can see the additional kitchen space after we rebuilt our wall outwards. The purpose was to allow our fridge to flush with the kitchen counter top. Had we stuck to the original kitchen wall placement, the fridge would have jut outwards and make the entrance to the kitchen narrower.

My wife and I didn’t like the recess in the living room wall. Also we needed a solid support for our 7′ x 5′ carpet to be mounted. Therefore we requested to have the space filled up with concrete solid blocks instead of partition wall.
Related:

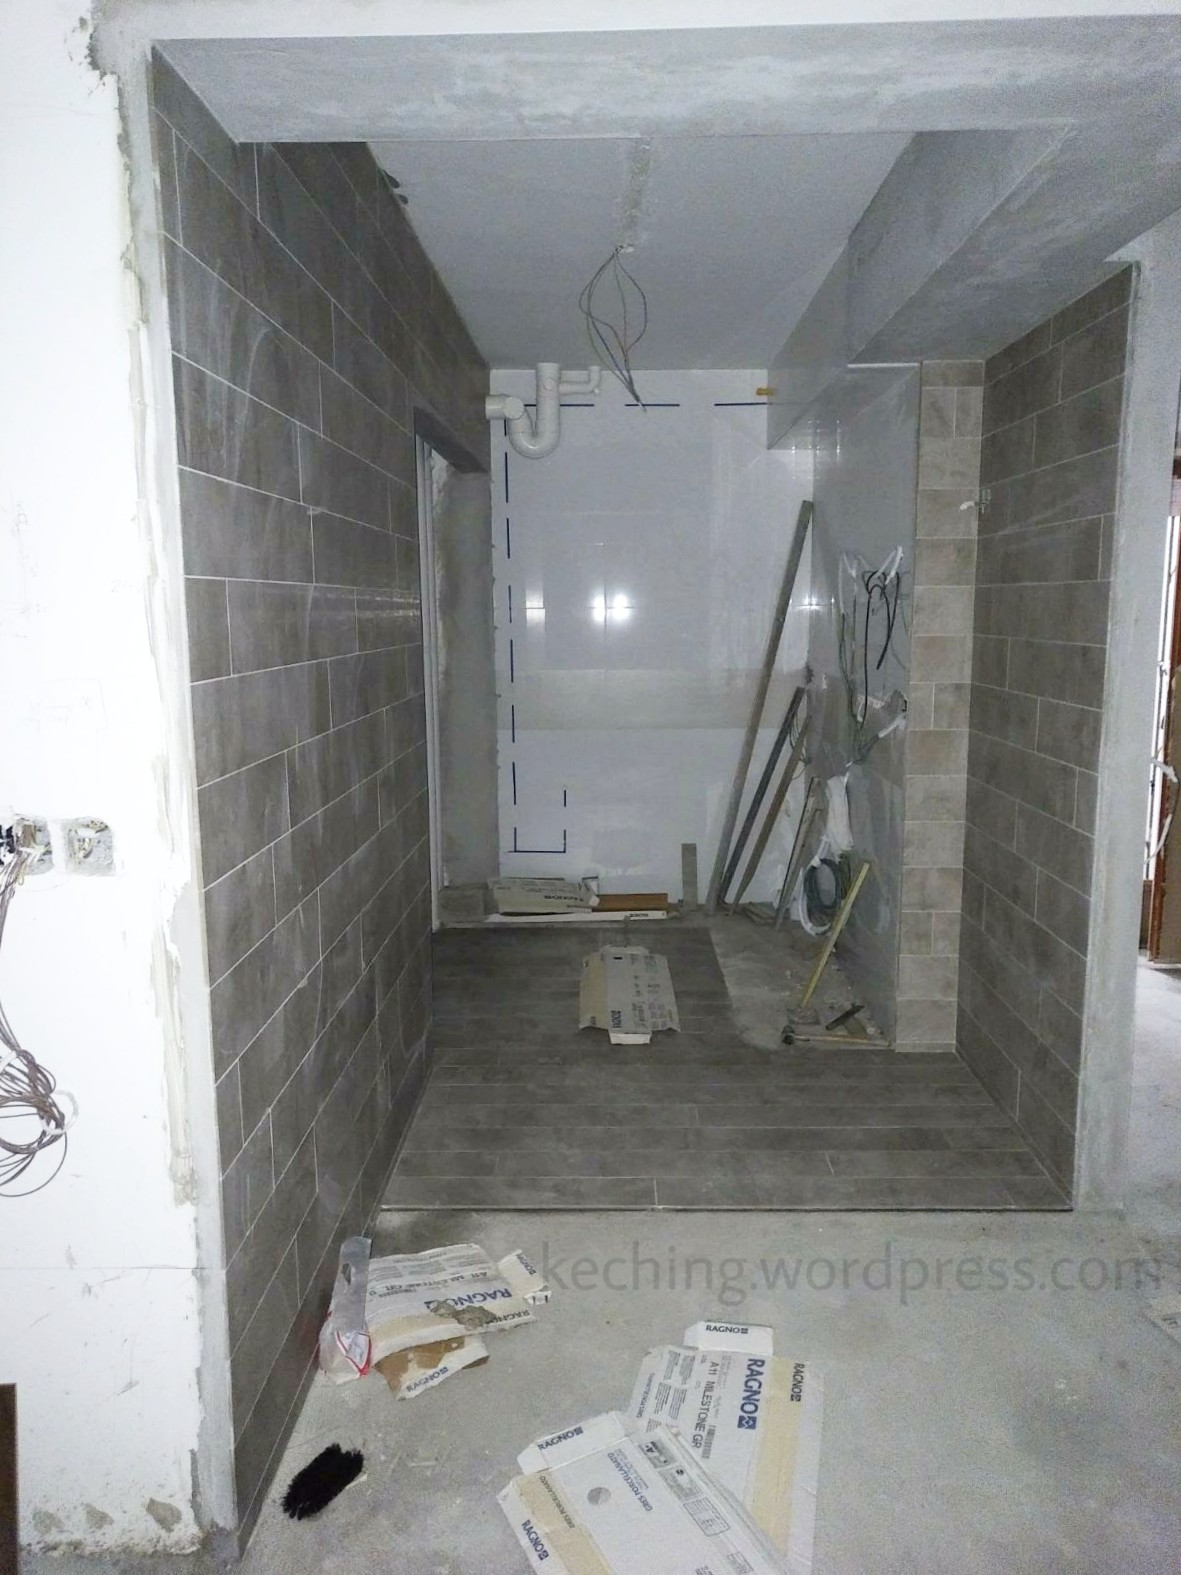
Tiling of kitchen floor and walls
Wifey and I were so excited that we dry laid the kitchen floor and wall tiles to get a preview.
Kitchen wall tiled up.
Tiling of the re-erected wall where the fridge will be.

Kitchen floor tiles laid. One can see a big gap on the kitchen floor without tiles. That L-shape gap is for the lower kitchen cabinets.
Looking into the living room and bedroom from the kitchen. Walls on both sides of the kitchen has been tiled.
We had painstakingly chosen the tiles for our home after 7 separate trips to the 2 major tile distributors in Singapore.
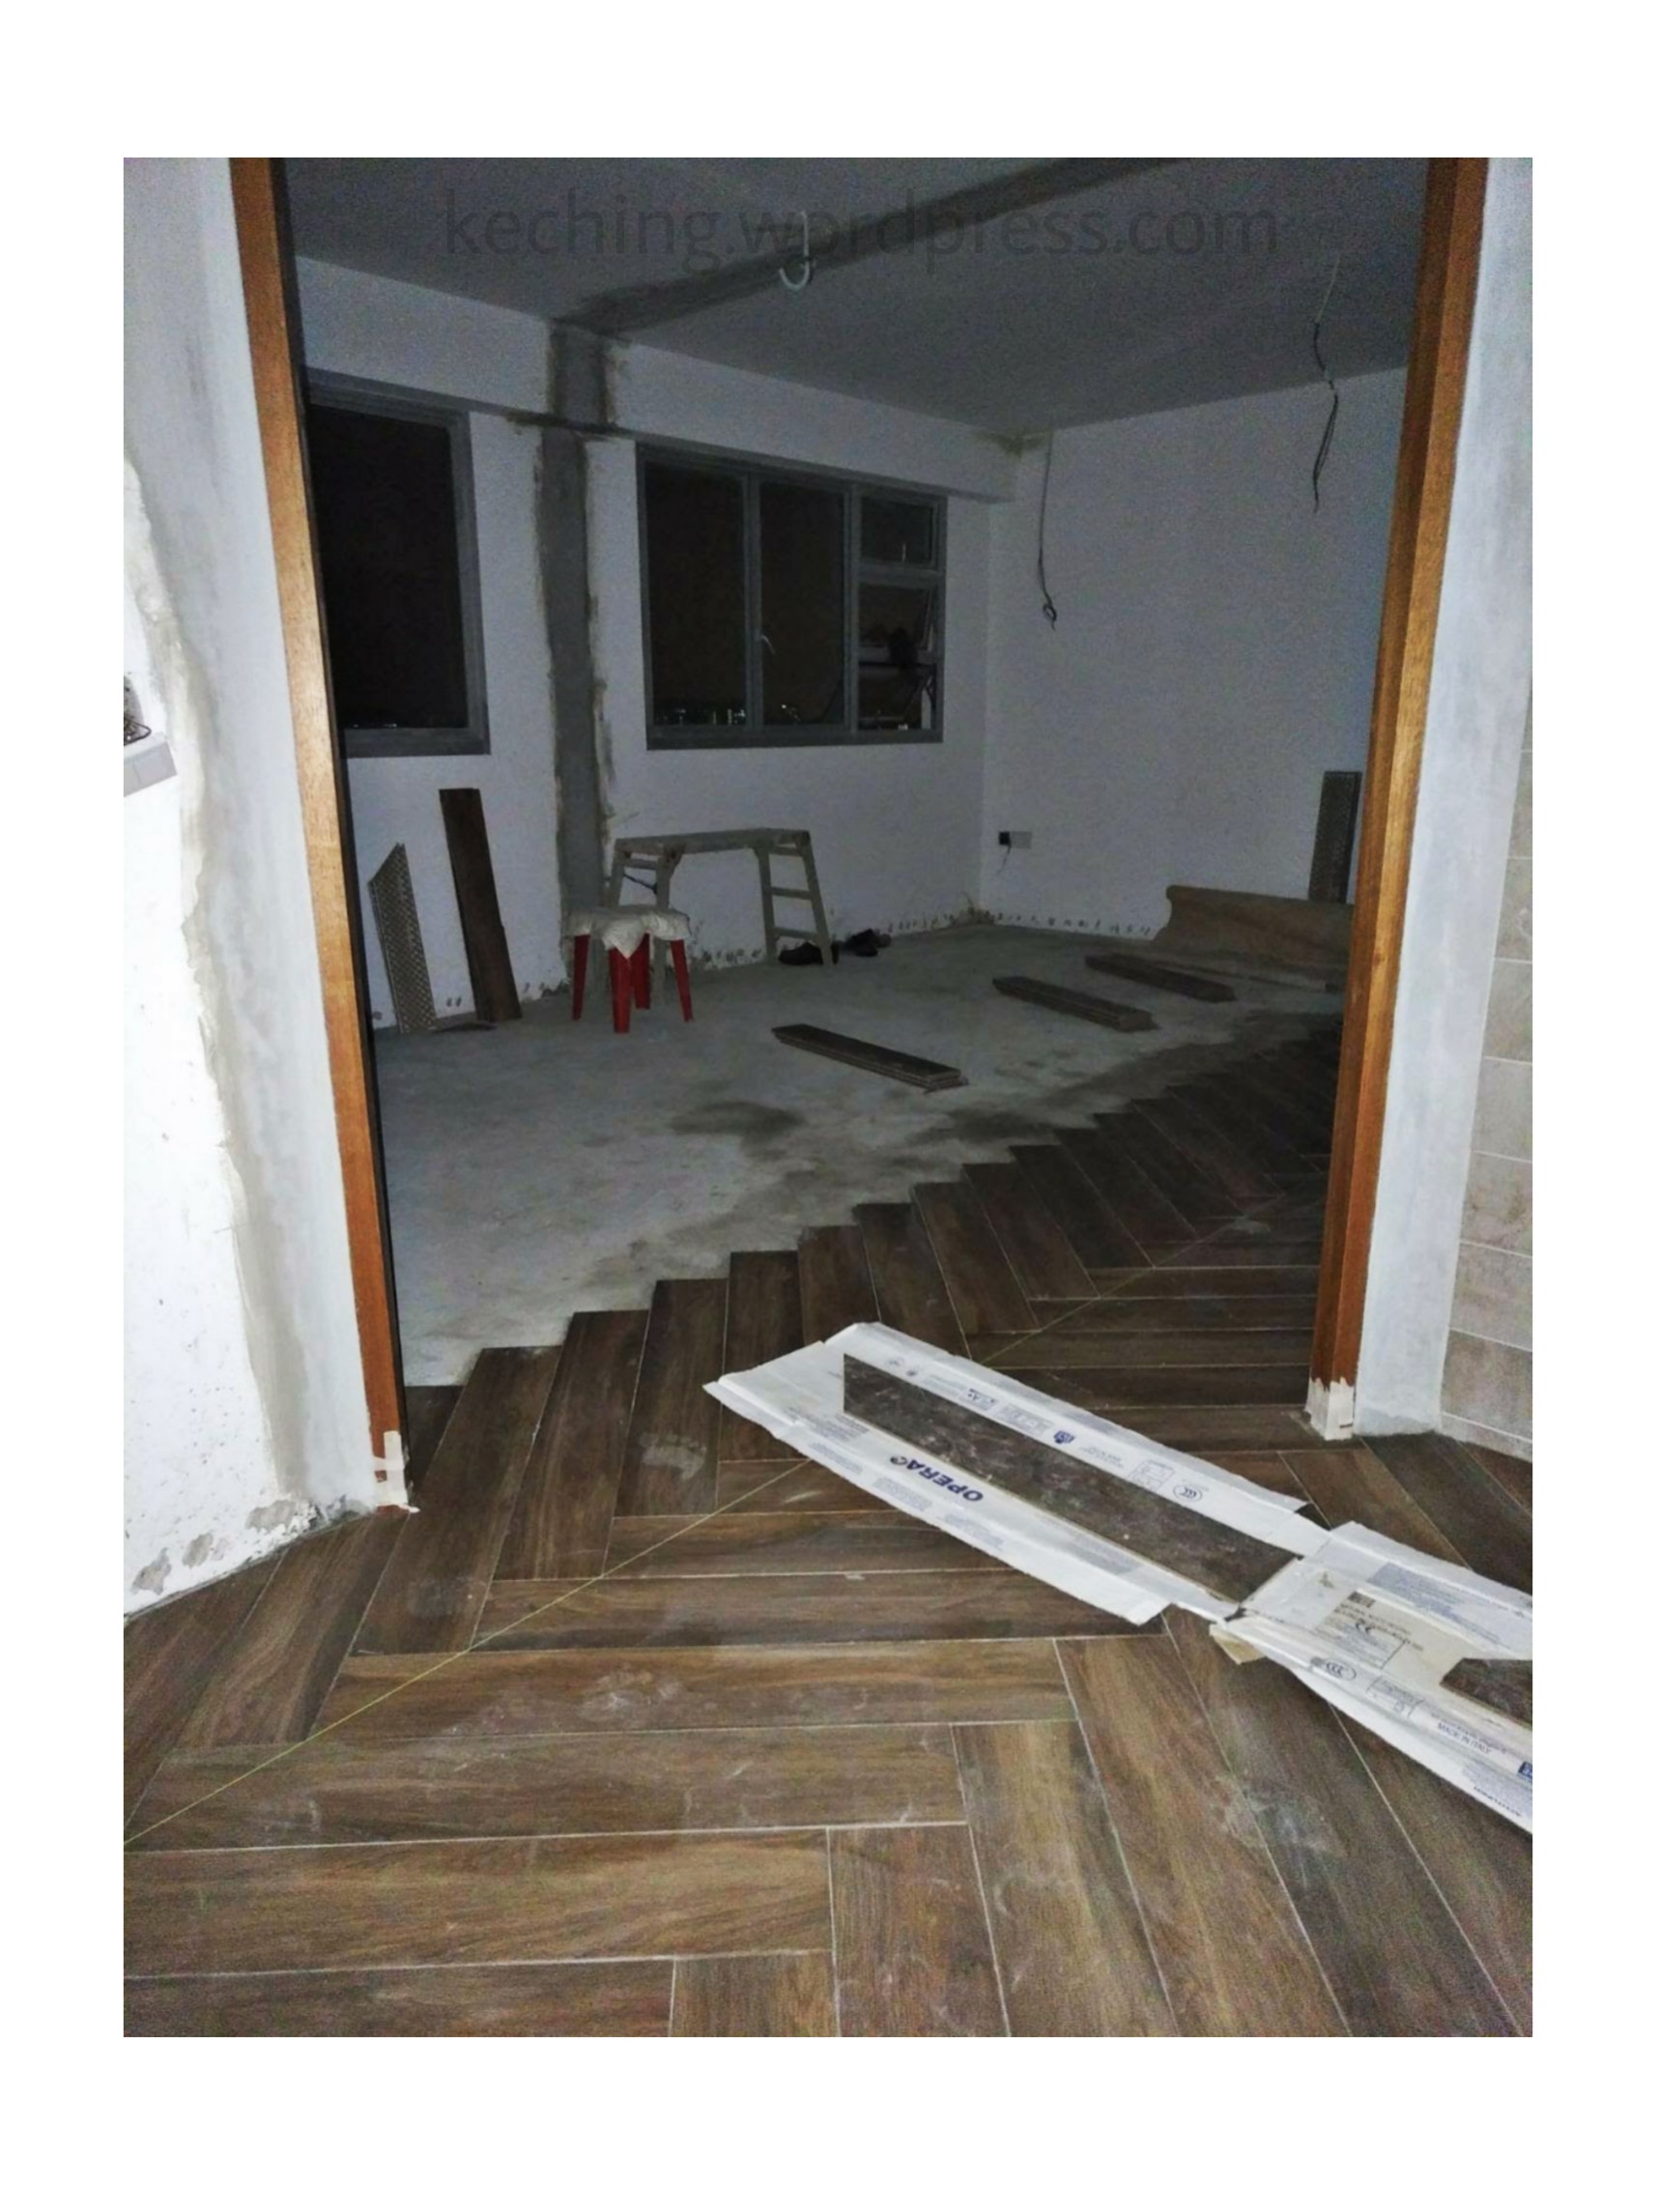
Tiling of living room floor
Living room three-quarter tiled.
Double leaf bedroom door installation
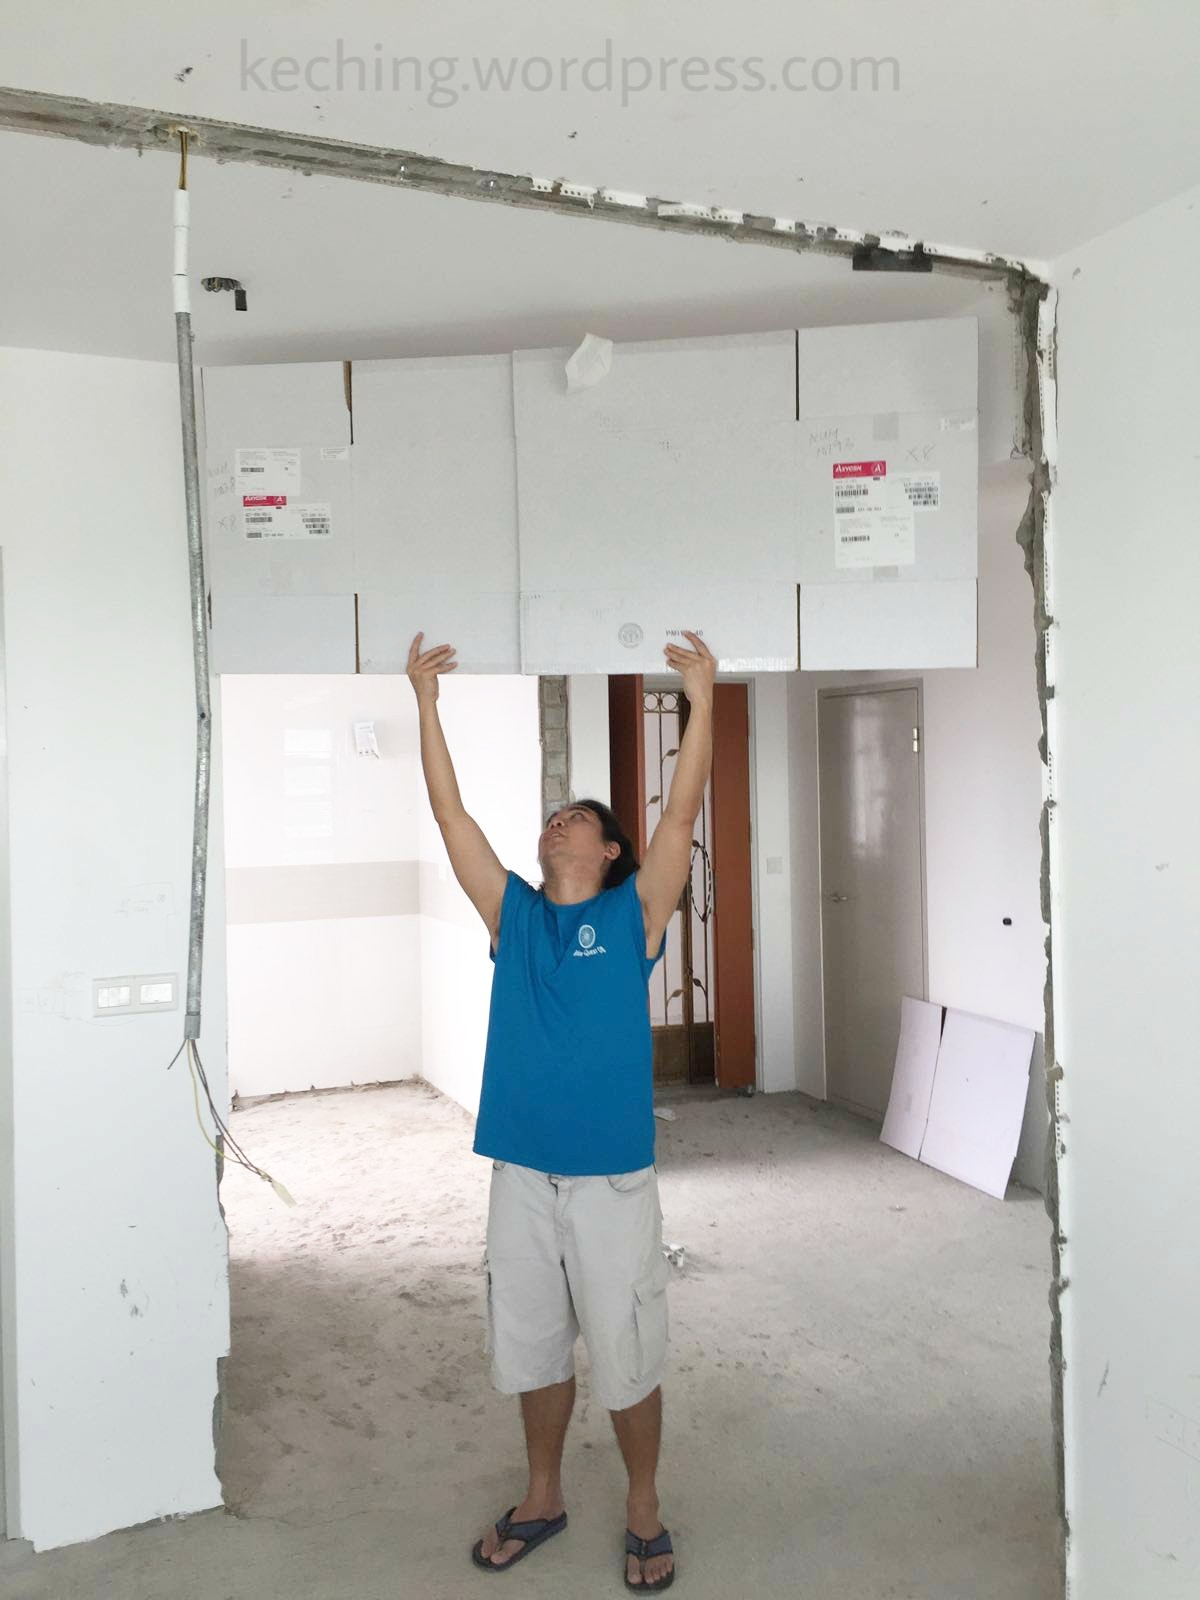
The door frame for our custom bedroom door came in earlier in the day and is placed in our bedroom.
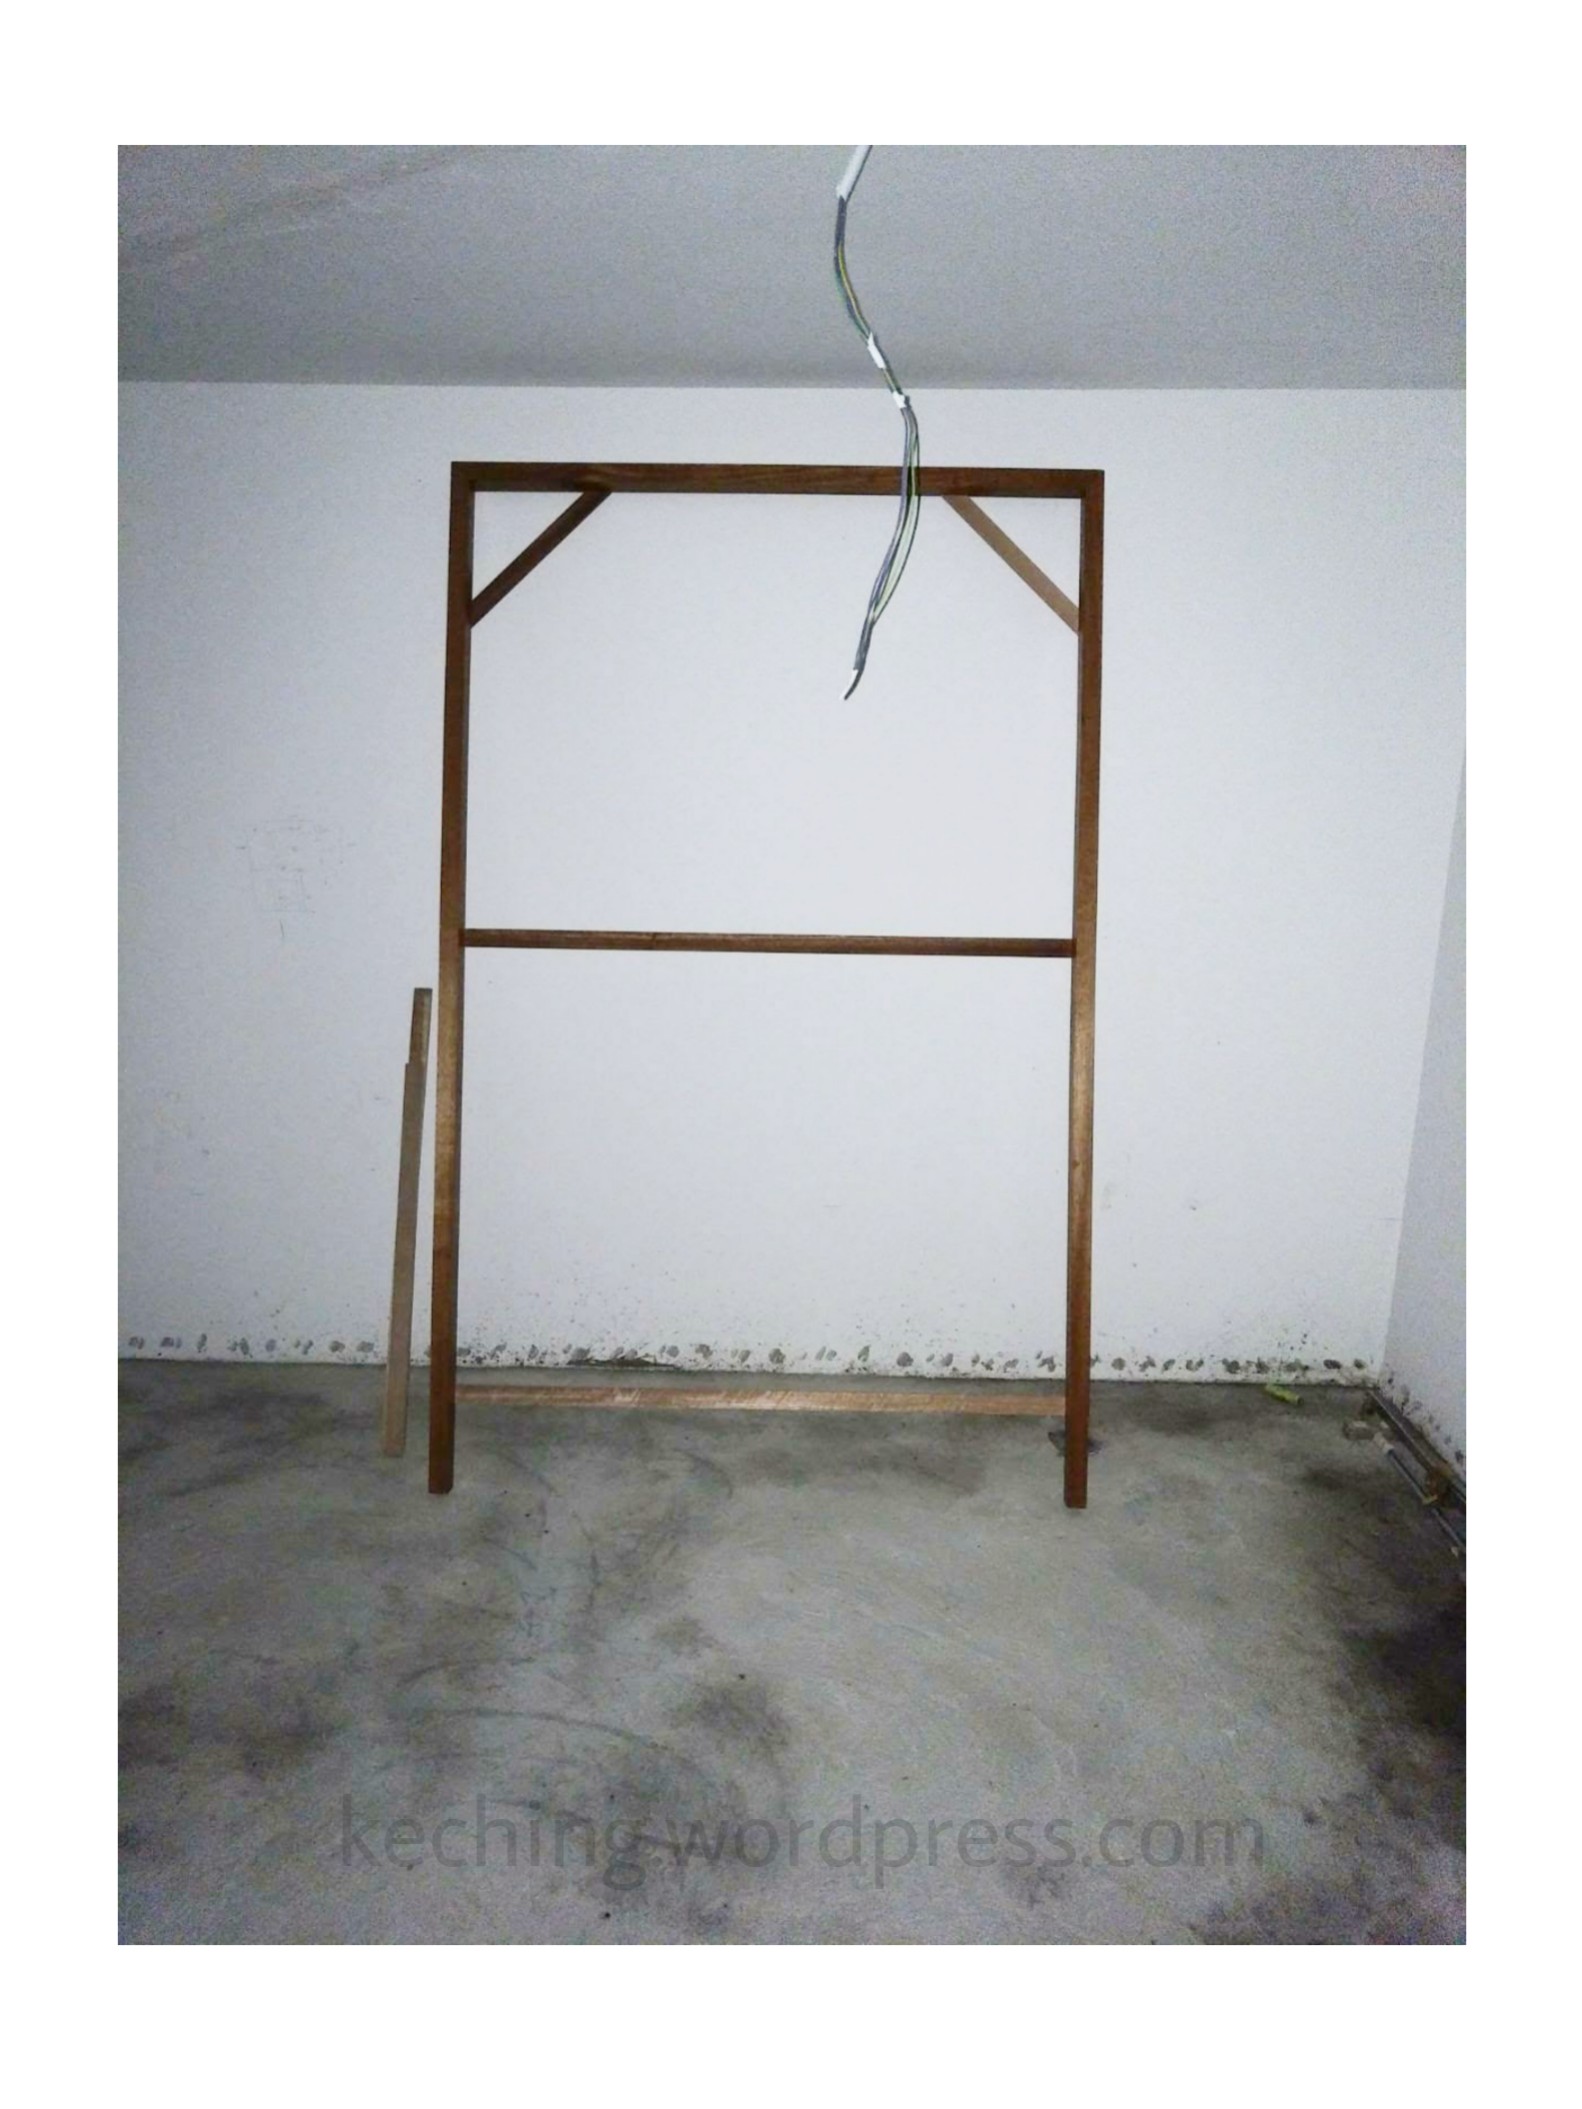
Our bedroom door frame has been installed. One can see the concrete wall holding the door frame at an angle to the rest of the house.
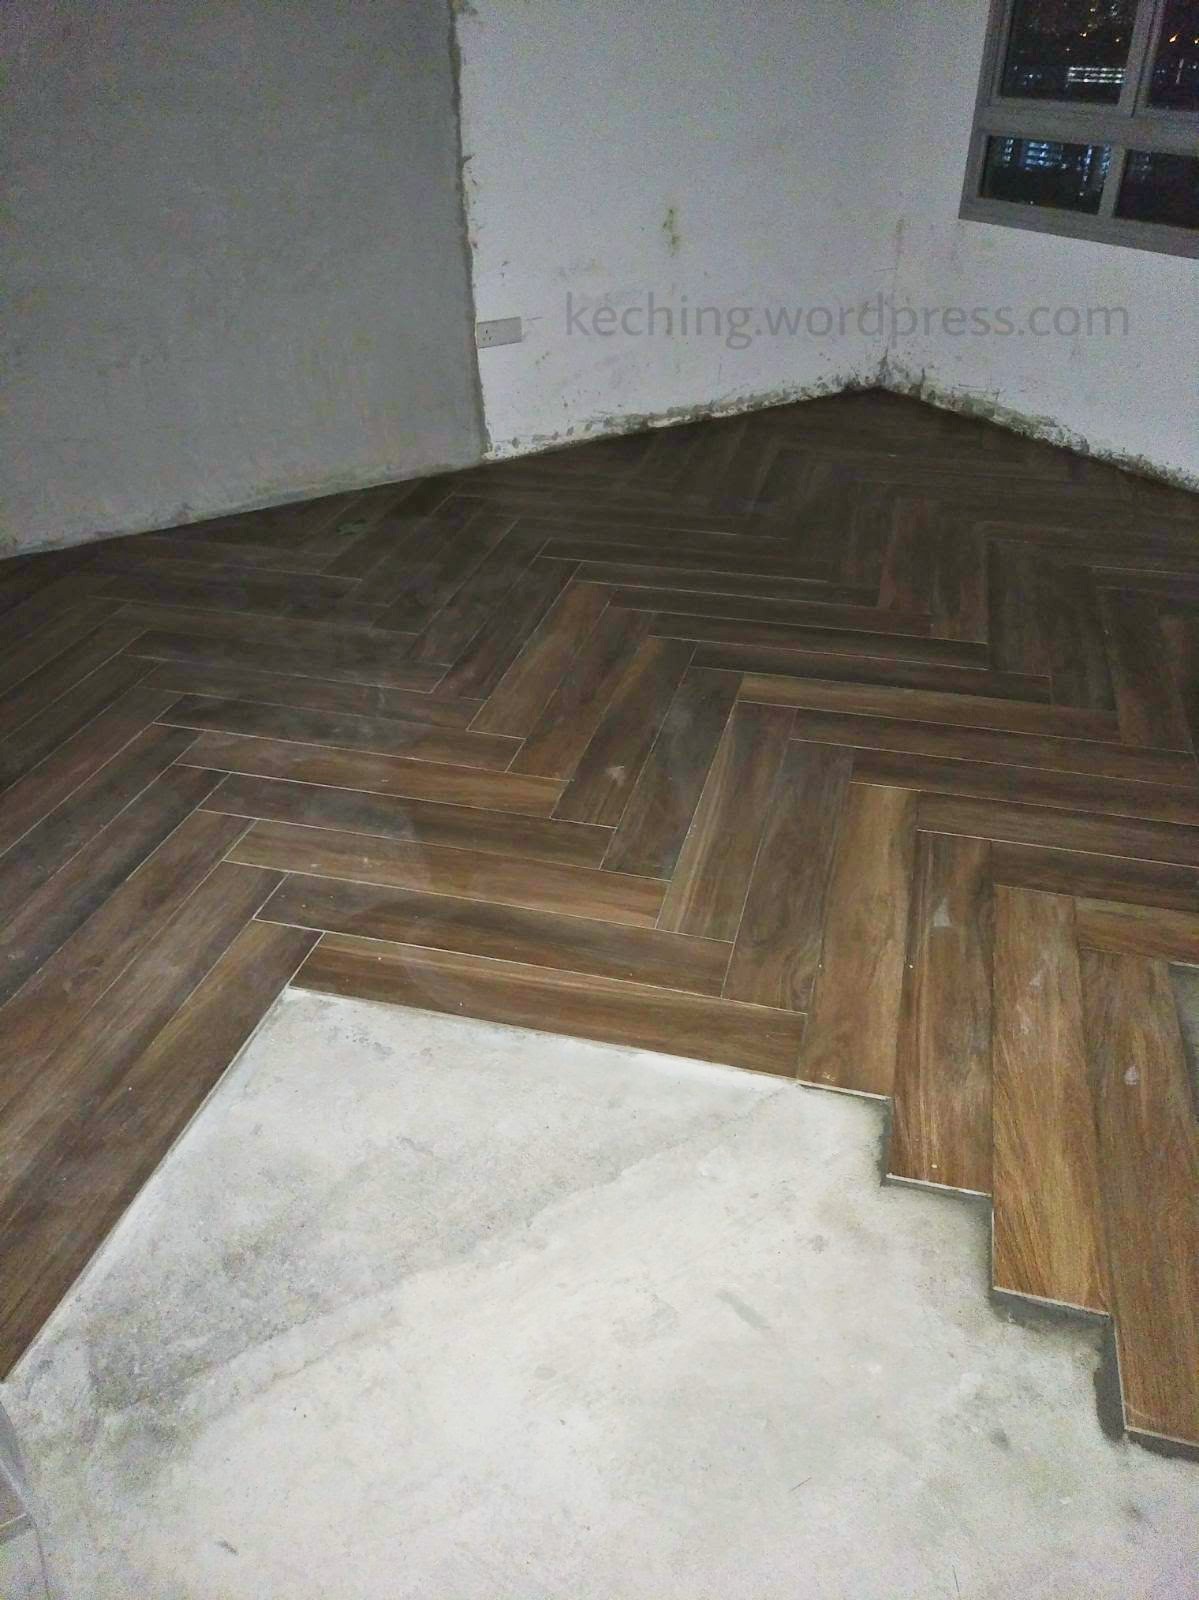
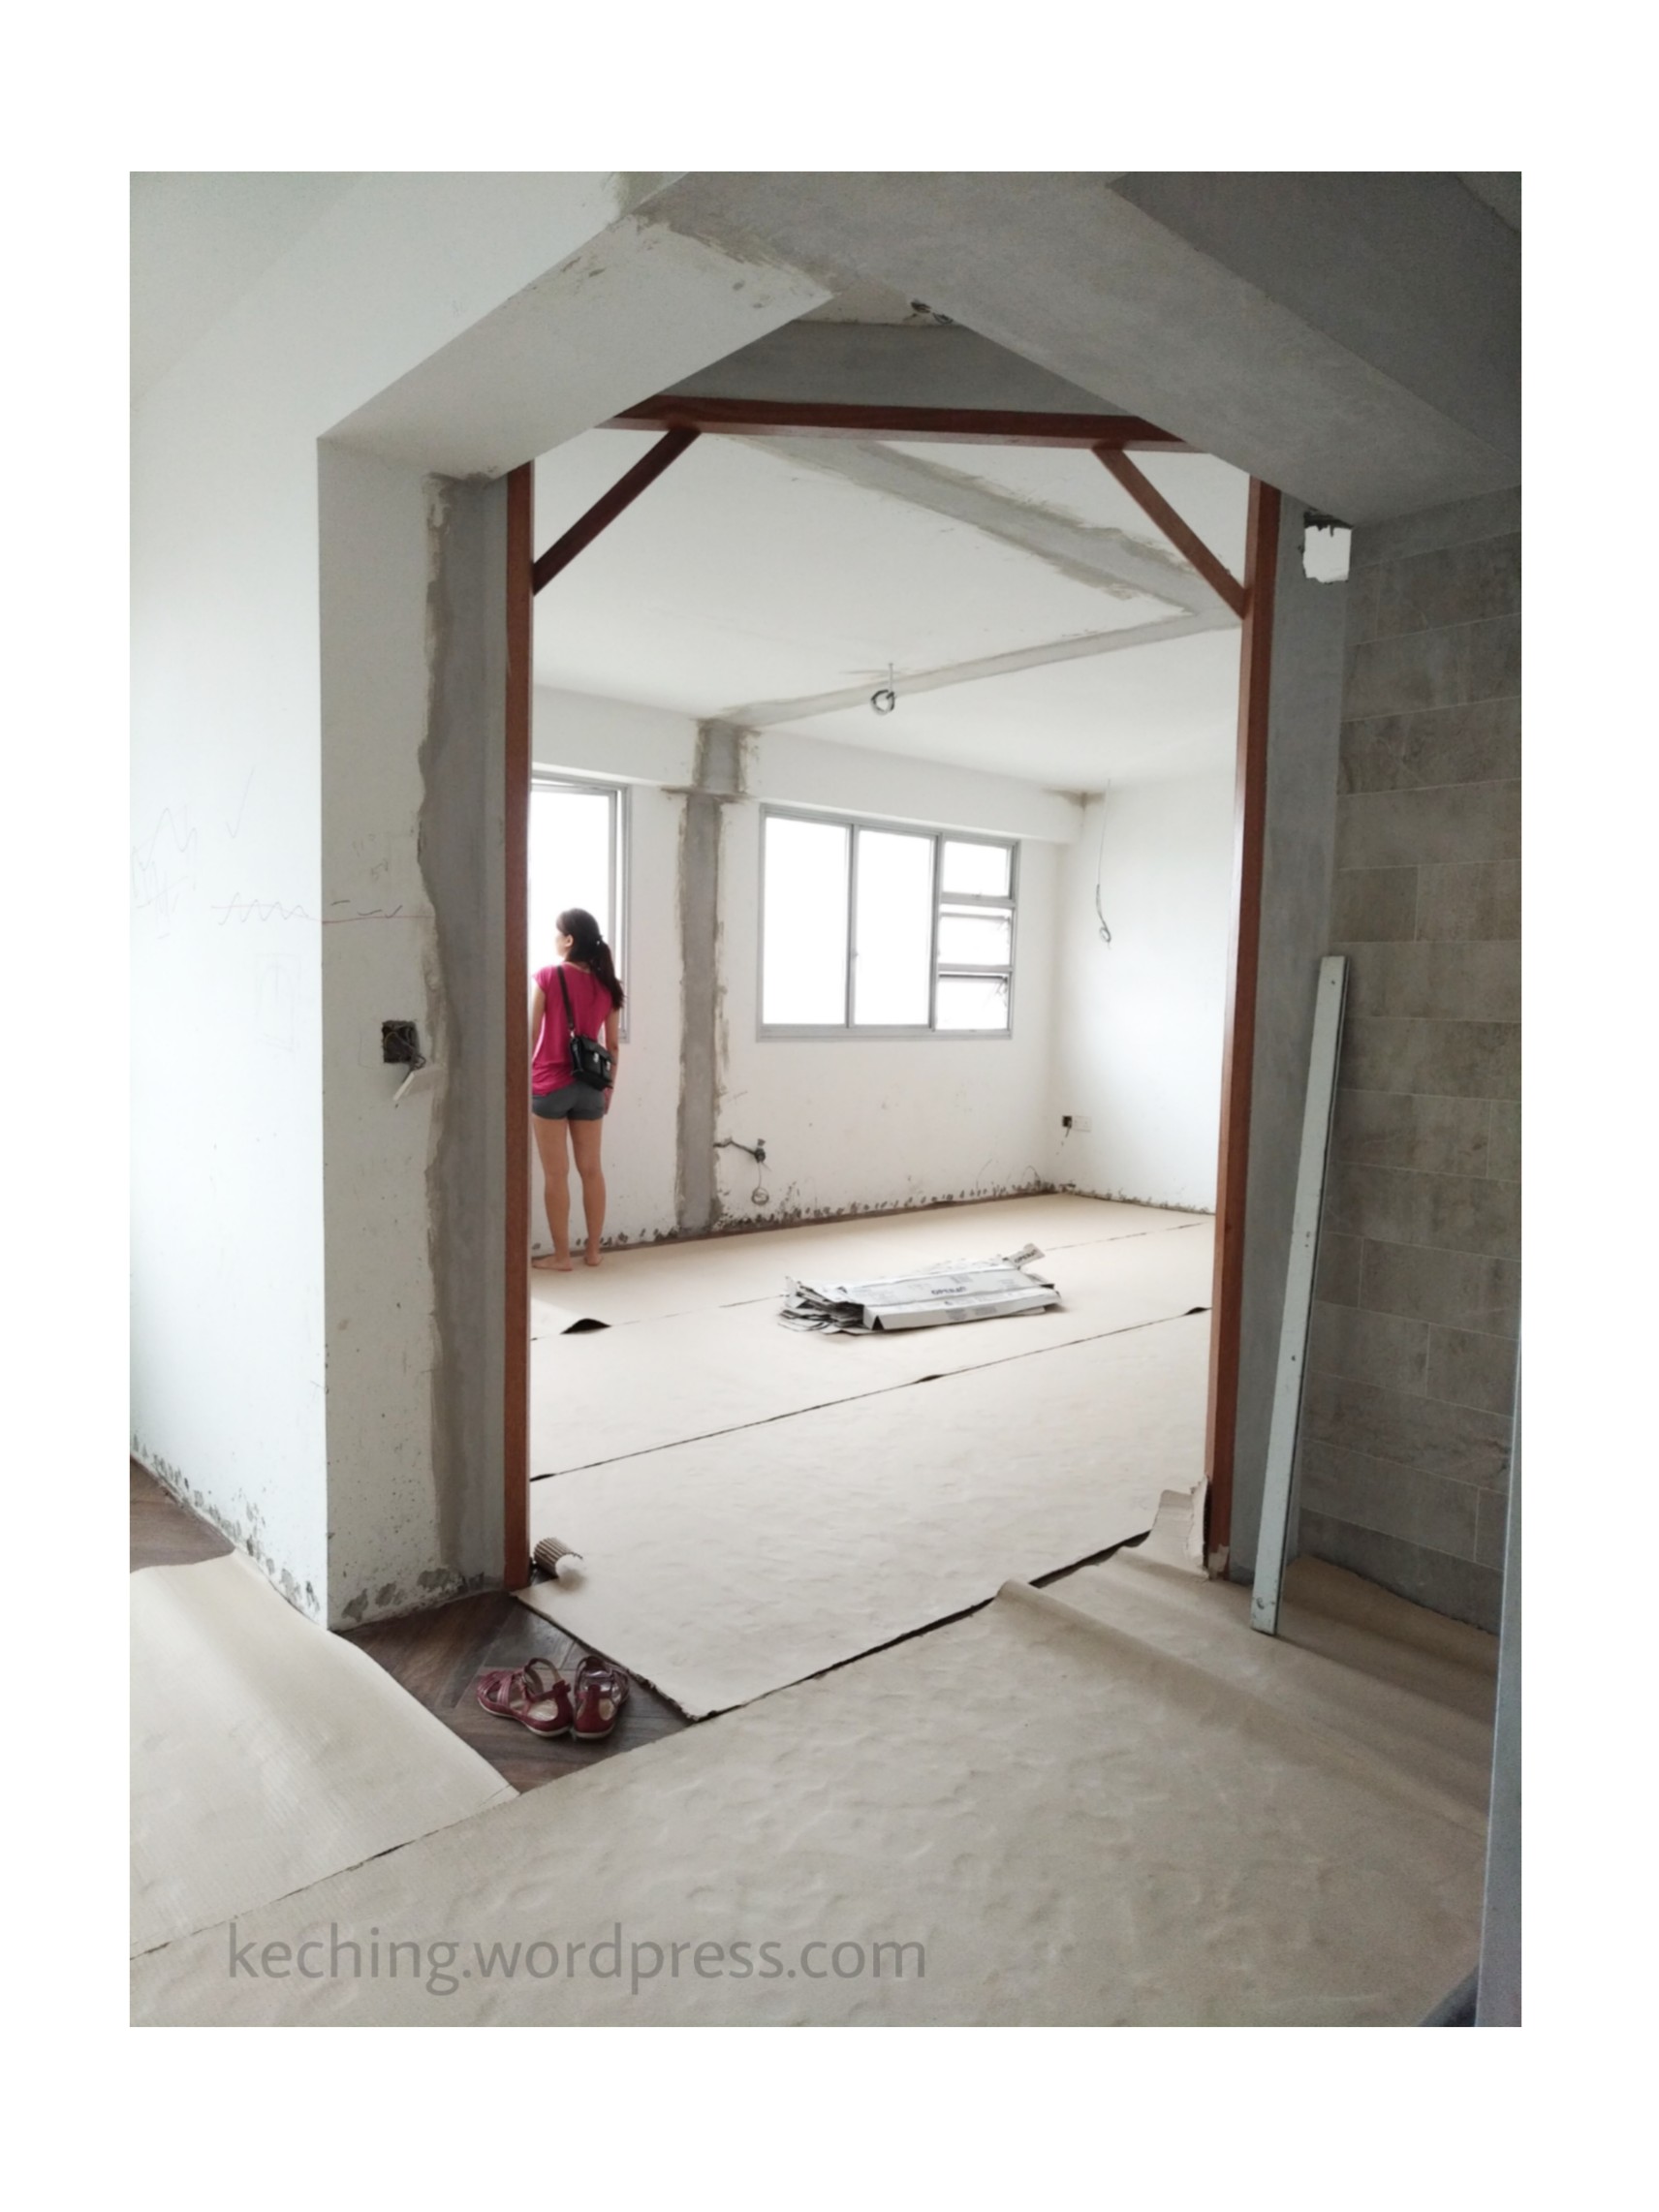
Tiling our bedroom floor
Tiling work continues into the bedroom. Our bedroom and living tiles are the same in order to not break the space into two. This is for the purpose of making the space feel big.
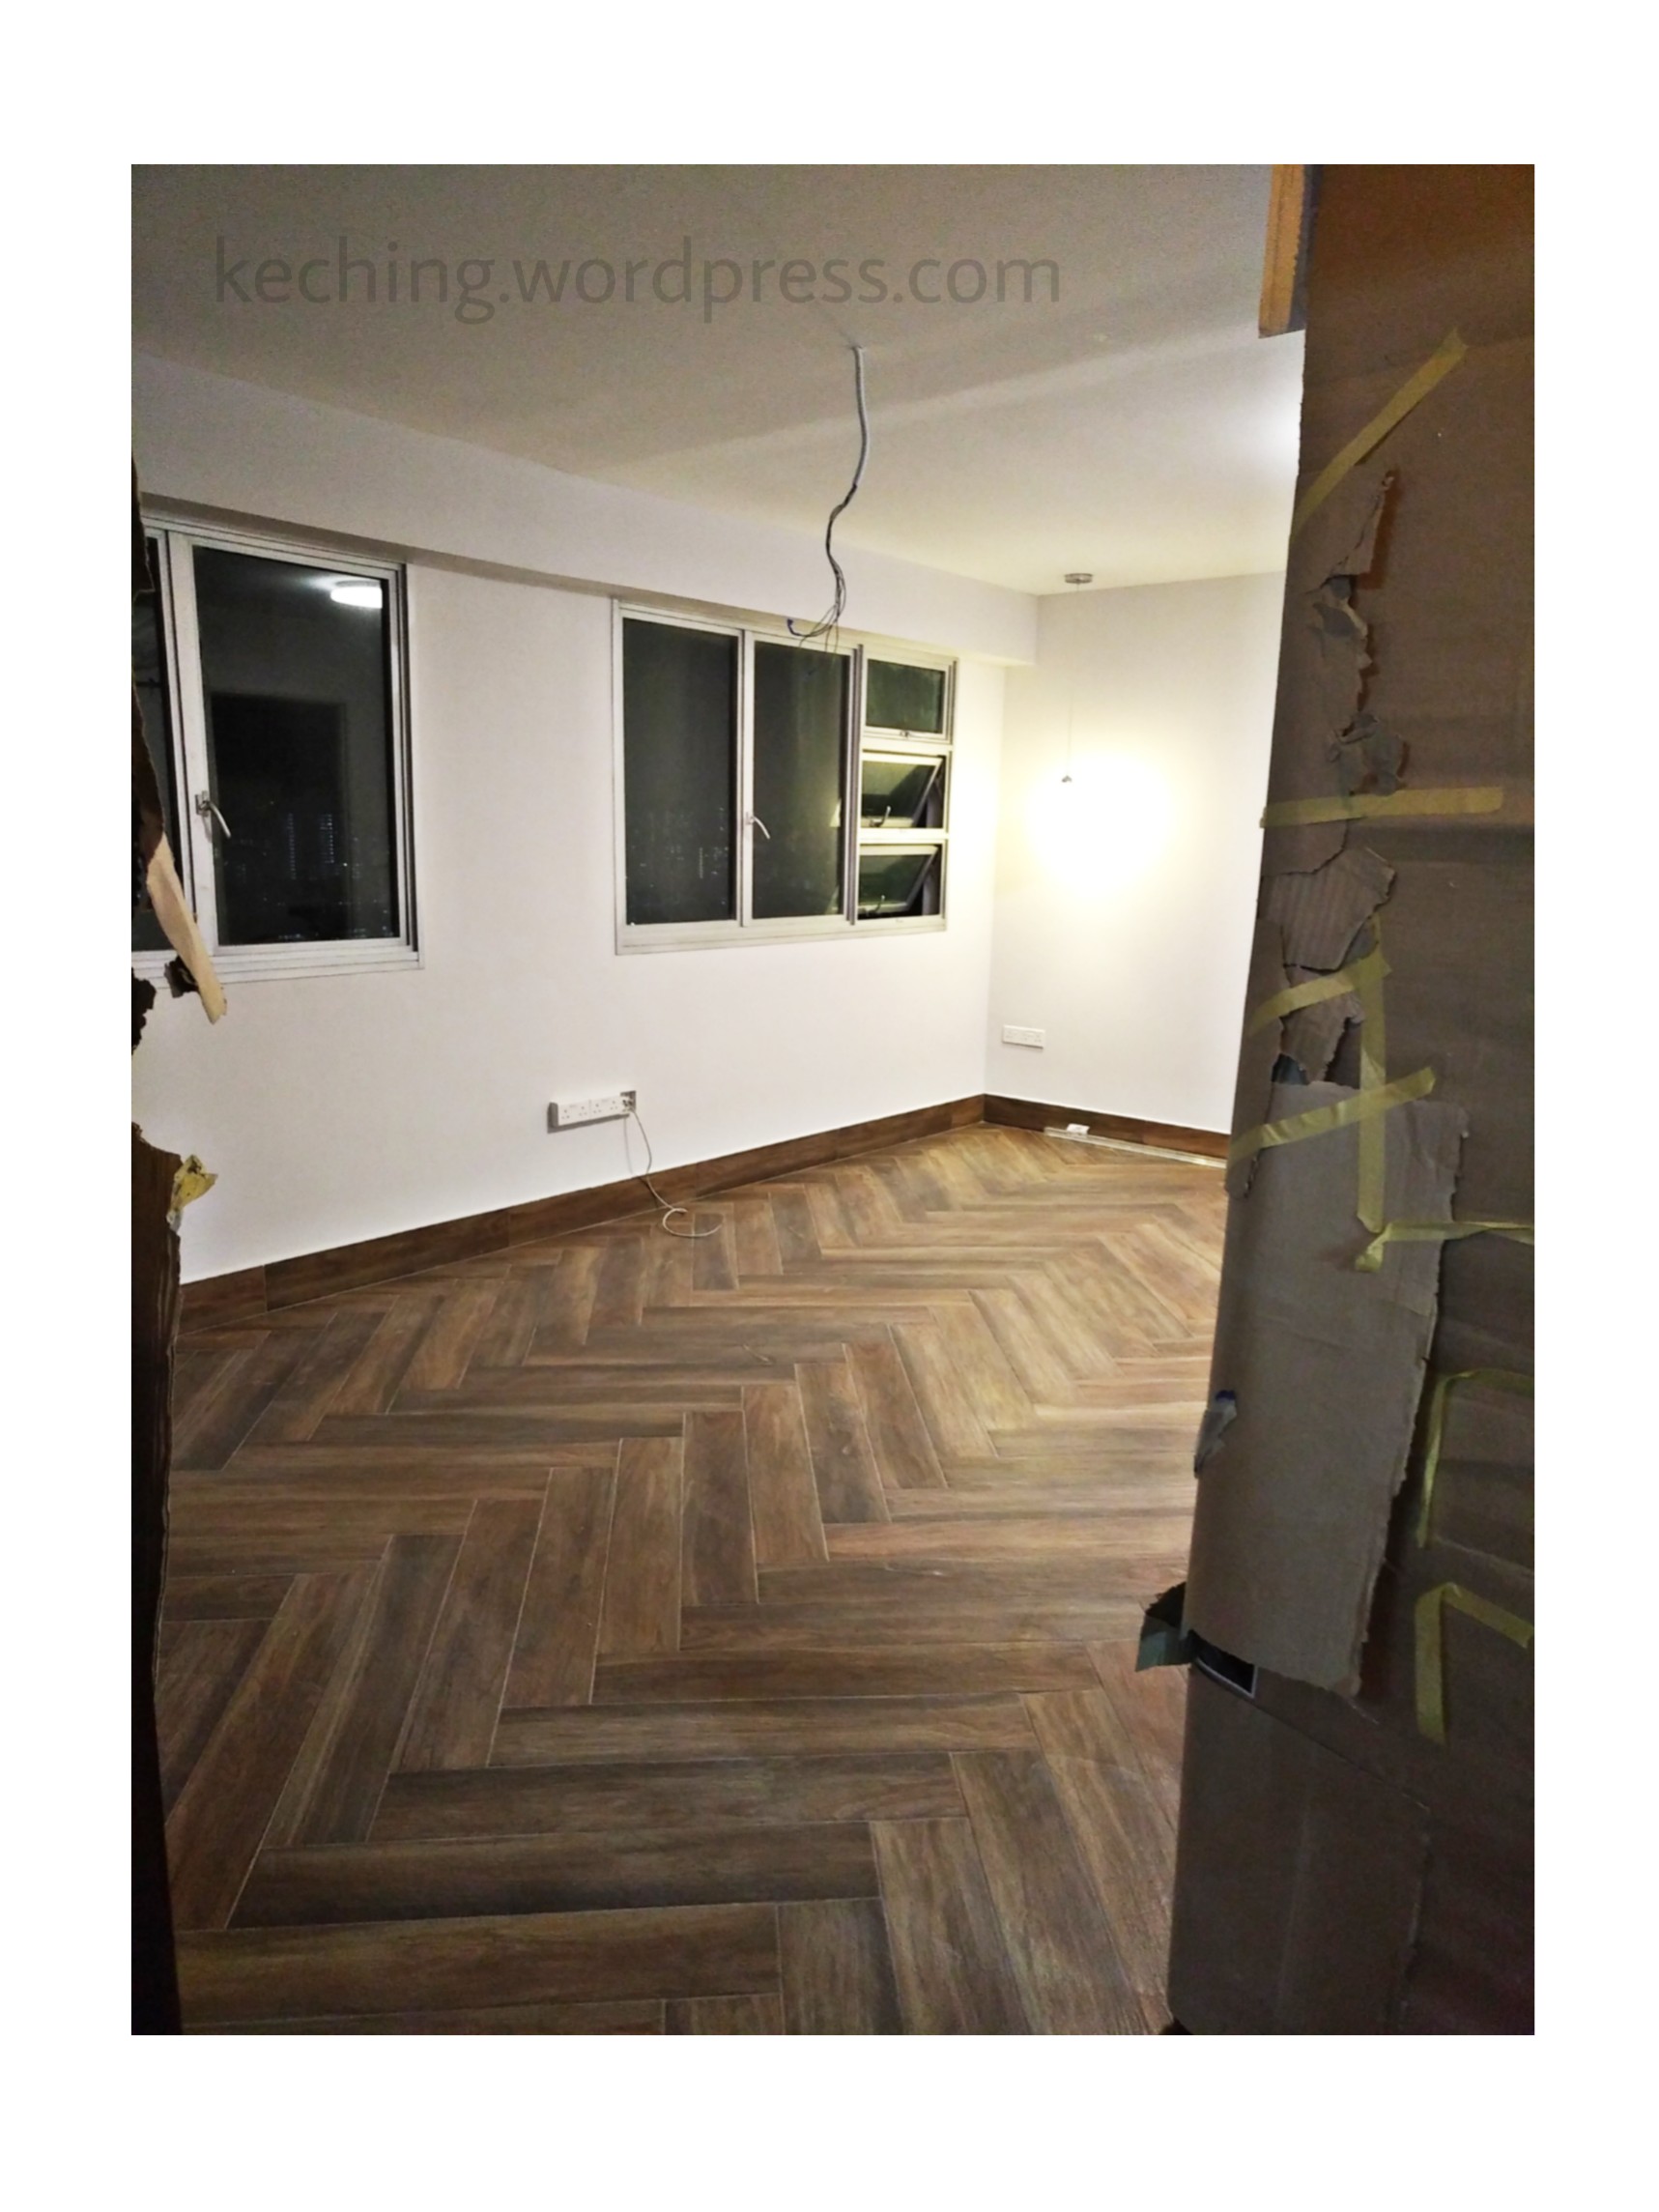
Bedroom floor completed and covered up with cardboard.
Wall skirting completed. We had wanted to use high stylised skirting boards that are essentially cornices for floors instead of ceilings.

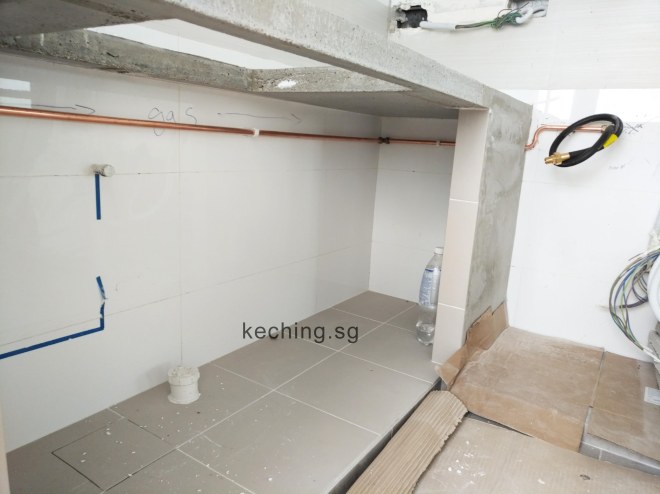
Gas pipe installation
We installed our gas pipe taking a roundabout route. The pipe starts at the top and ends almost directly underneath the start. If our gas pipe had been installed downwards taking the shortest route, we would have to bracket the gas pipe at the corner, on our black backsplash.

Gas pipe route under kitchen countertop.
Blue living room walls
Our living room walls are finally painted blue. Looks exactly as we intended. This wall is where our Iranian handwoven carpet will be hung.
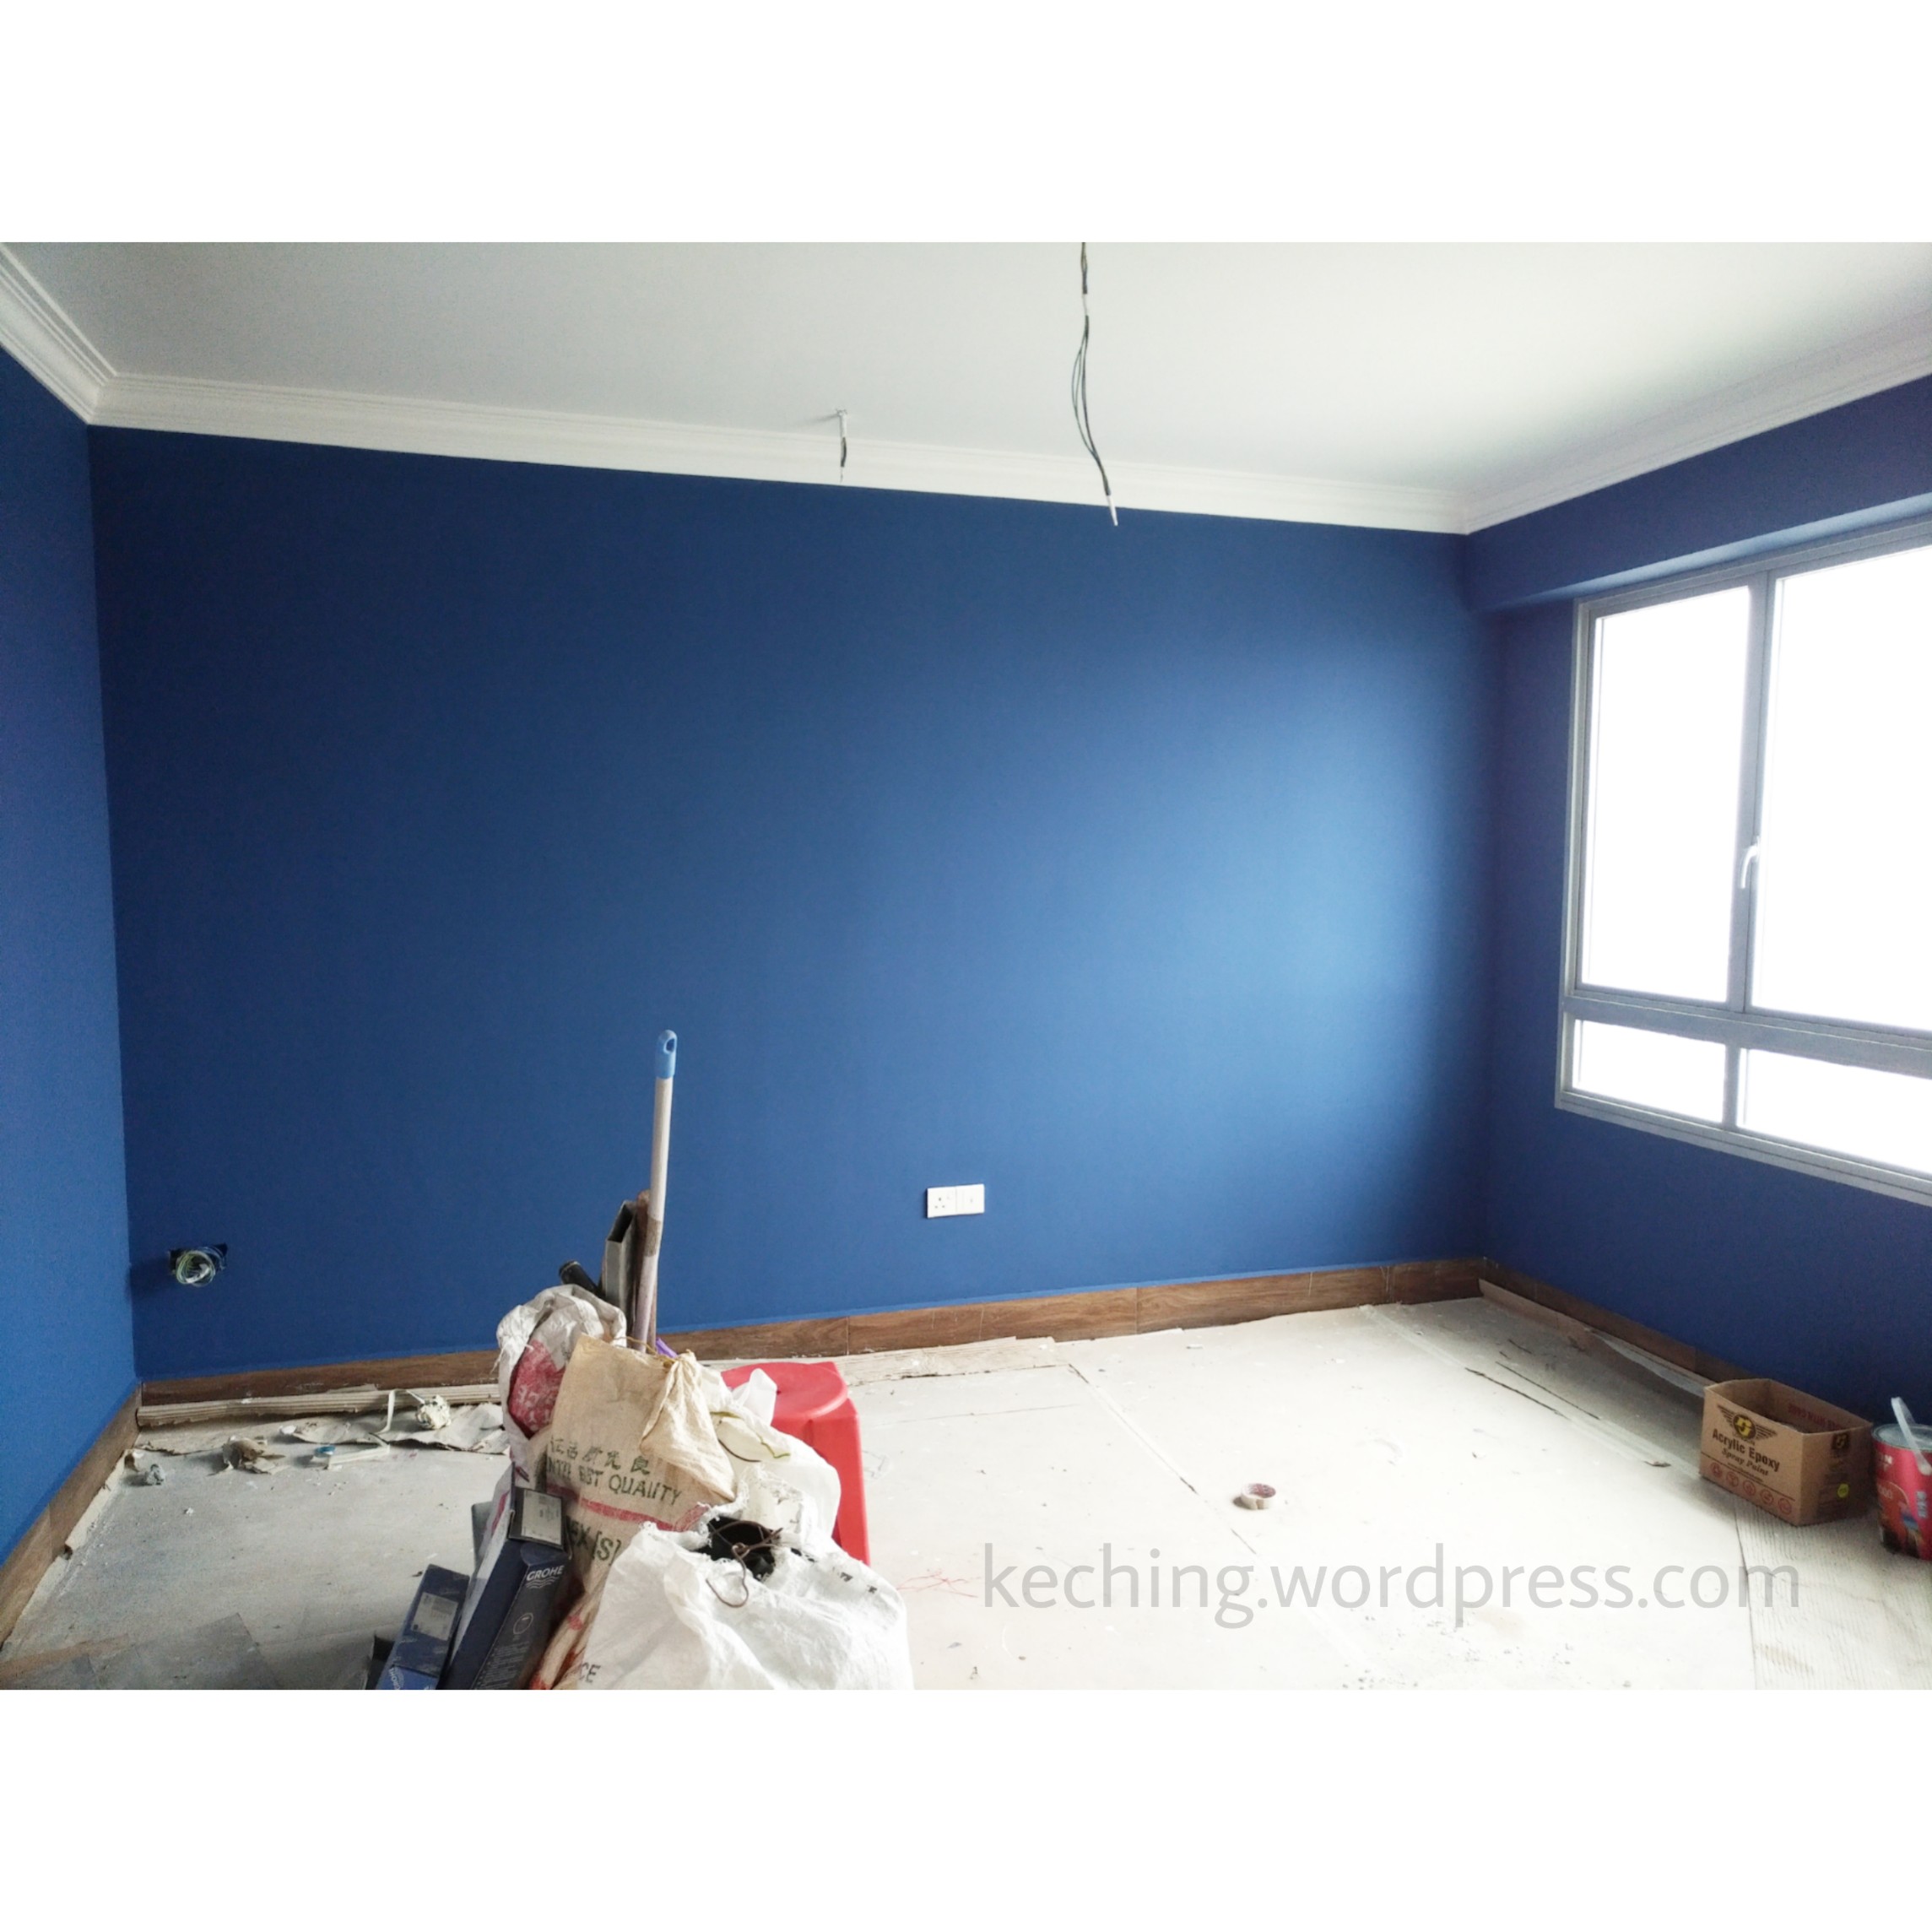
The blue triangle framed by the two main beams outside our custom bedroom door. An LED Edison bulb which will be used to illuminate the bedroom door will take its place when the electrician next comes in.
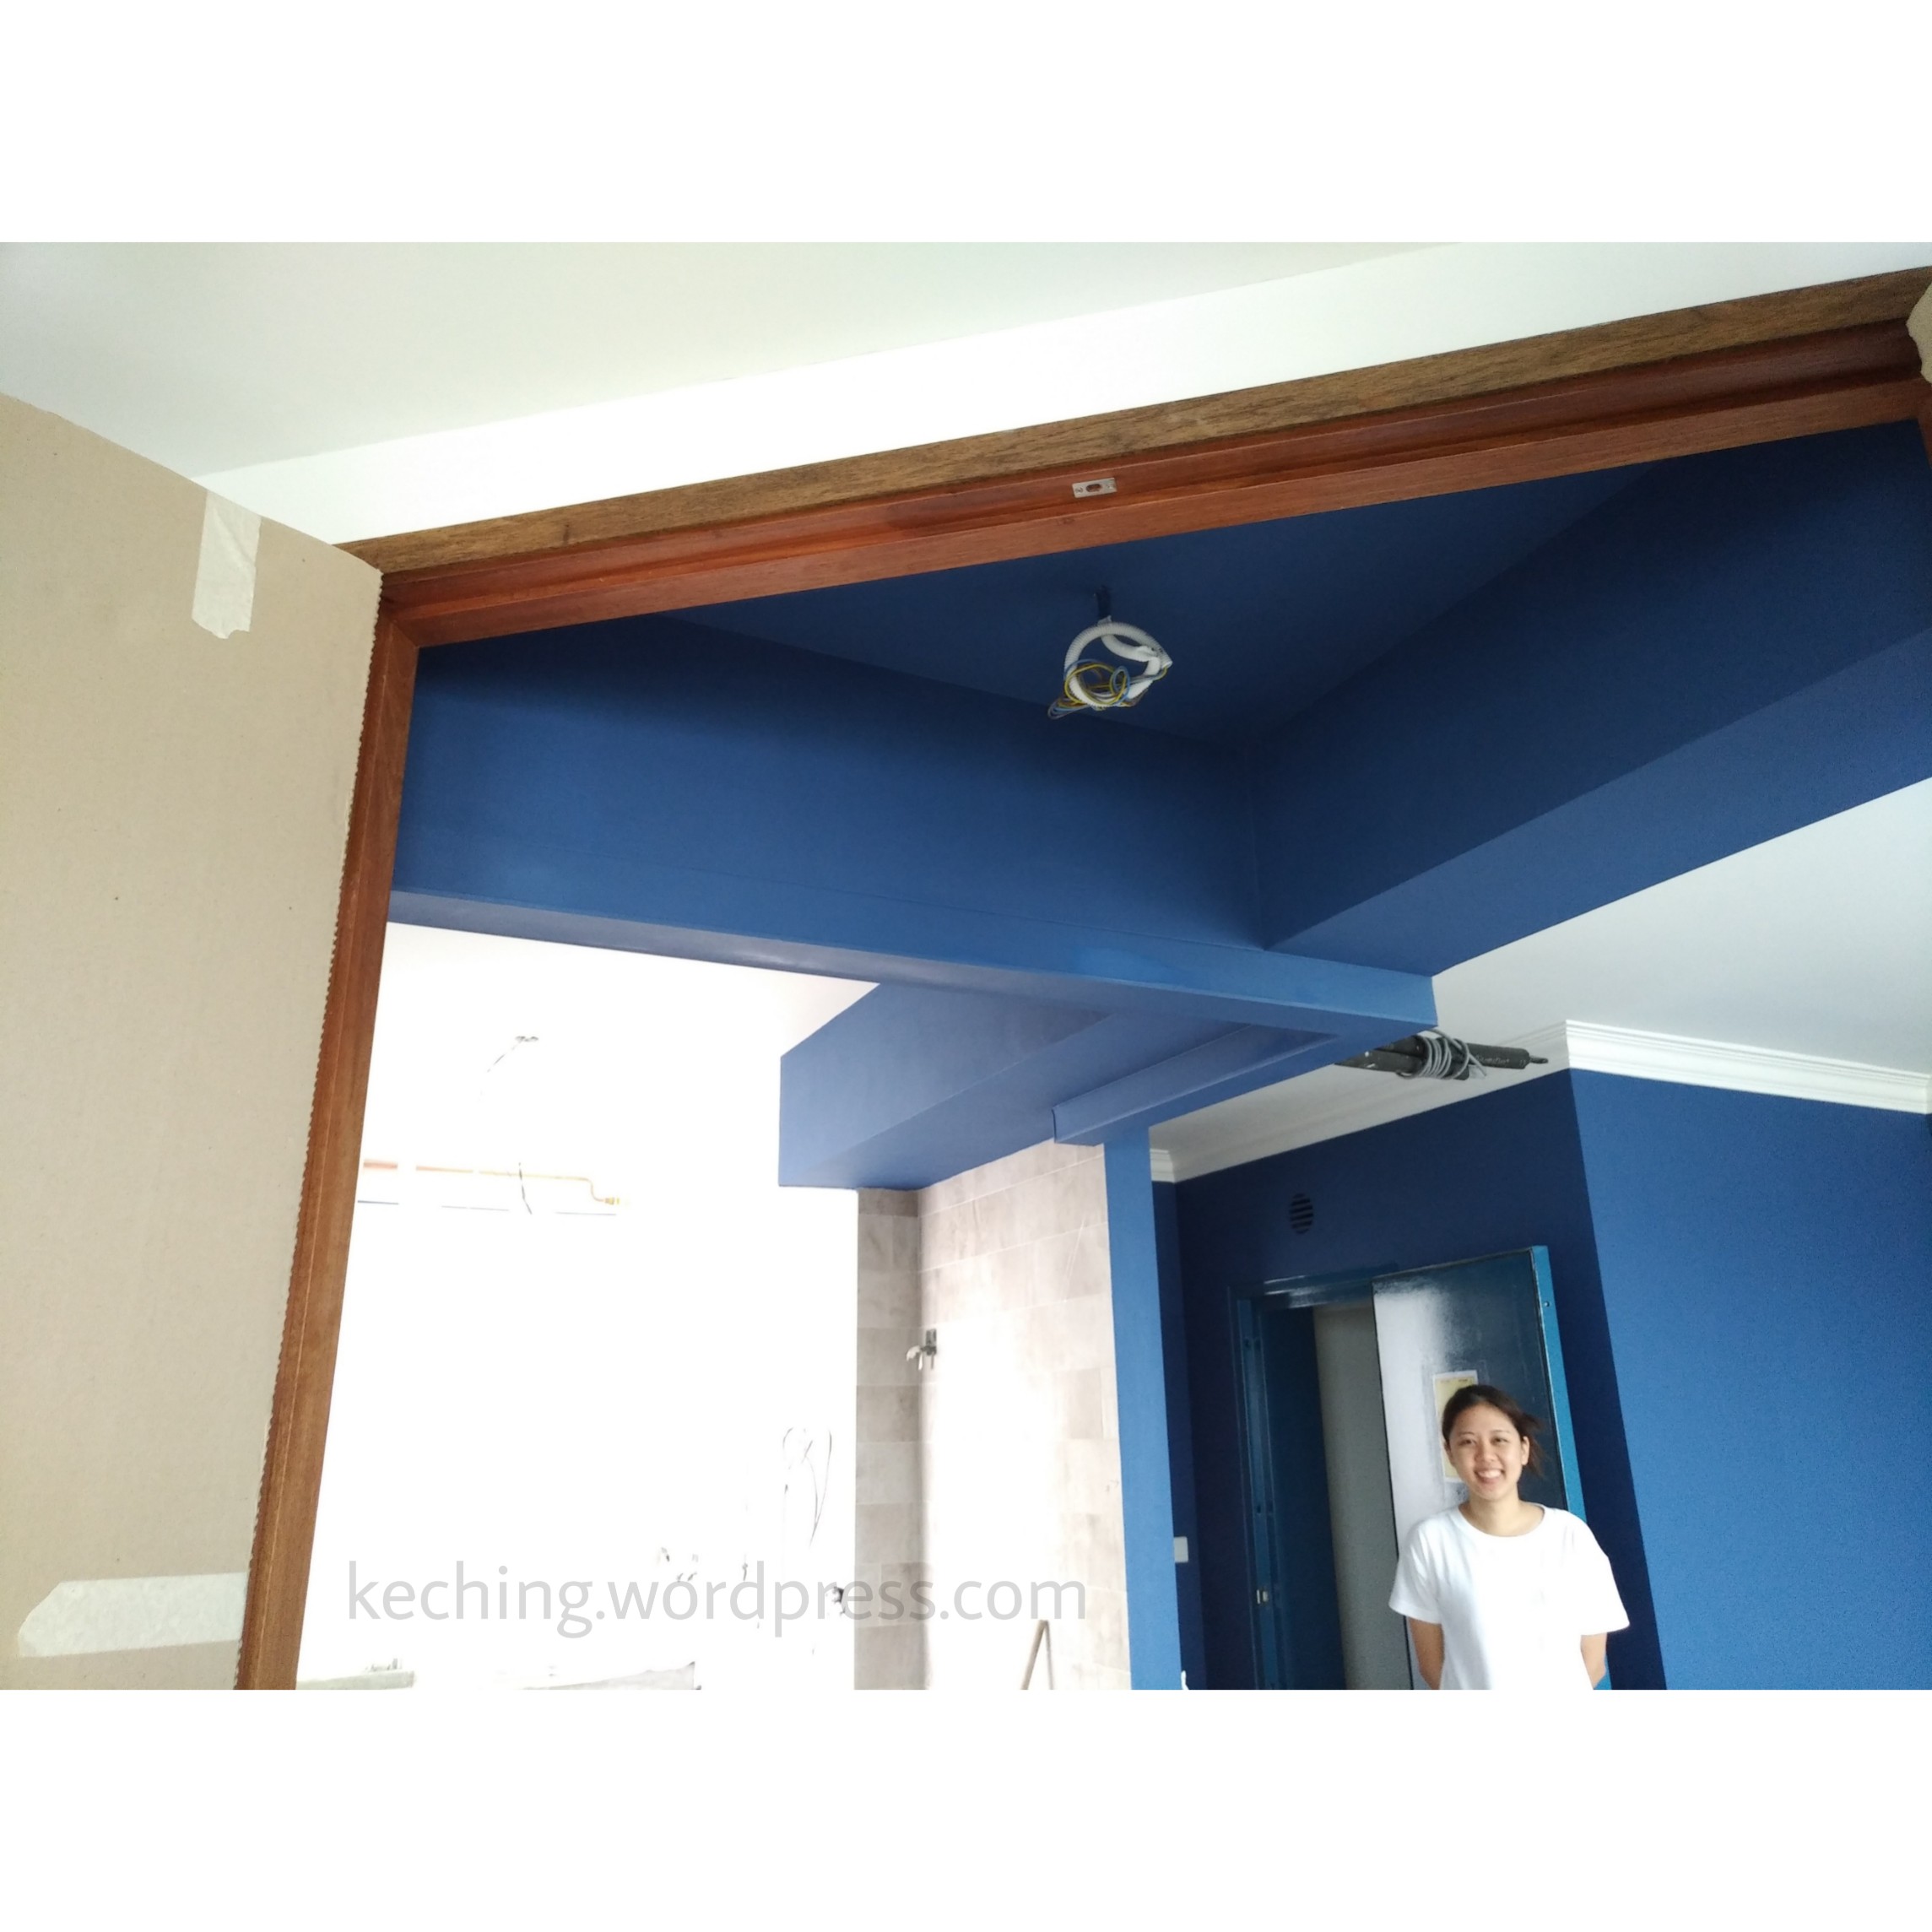
First time doors are revealed after our living room walls are painted blue. It was a breathtaking moment.
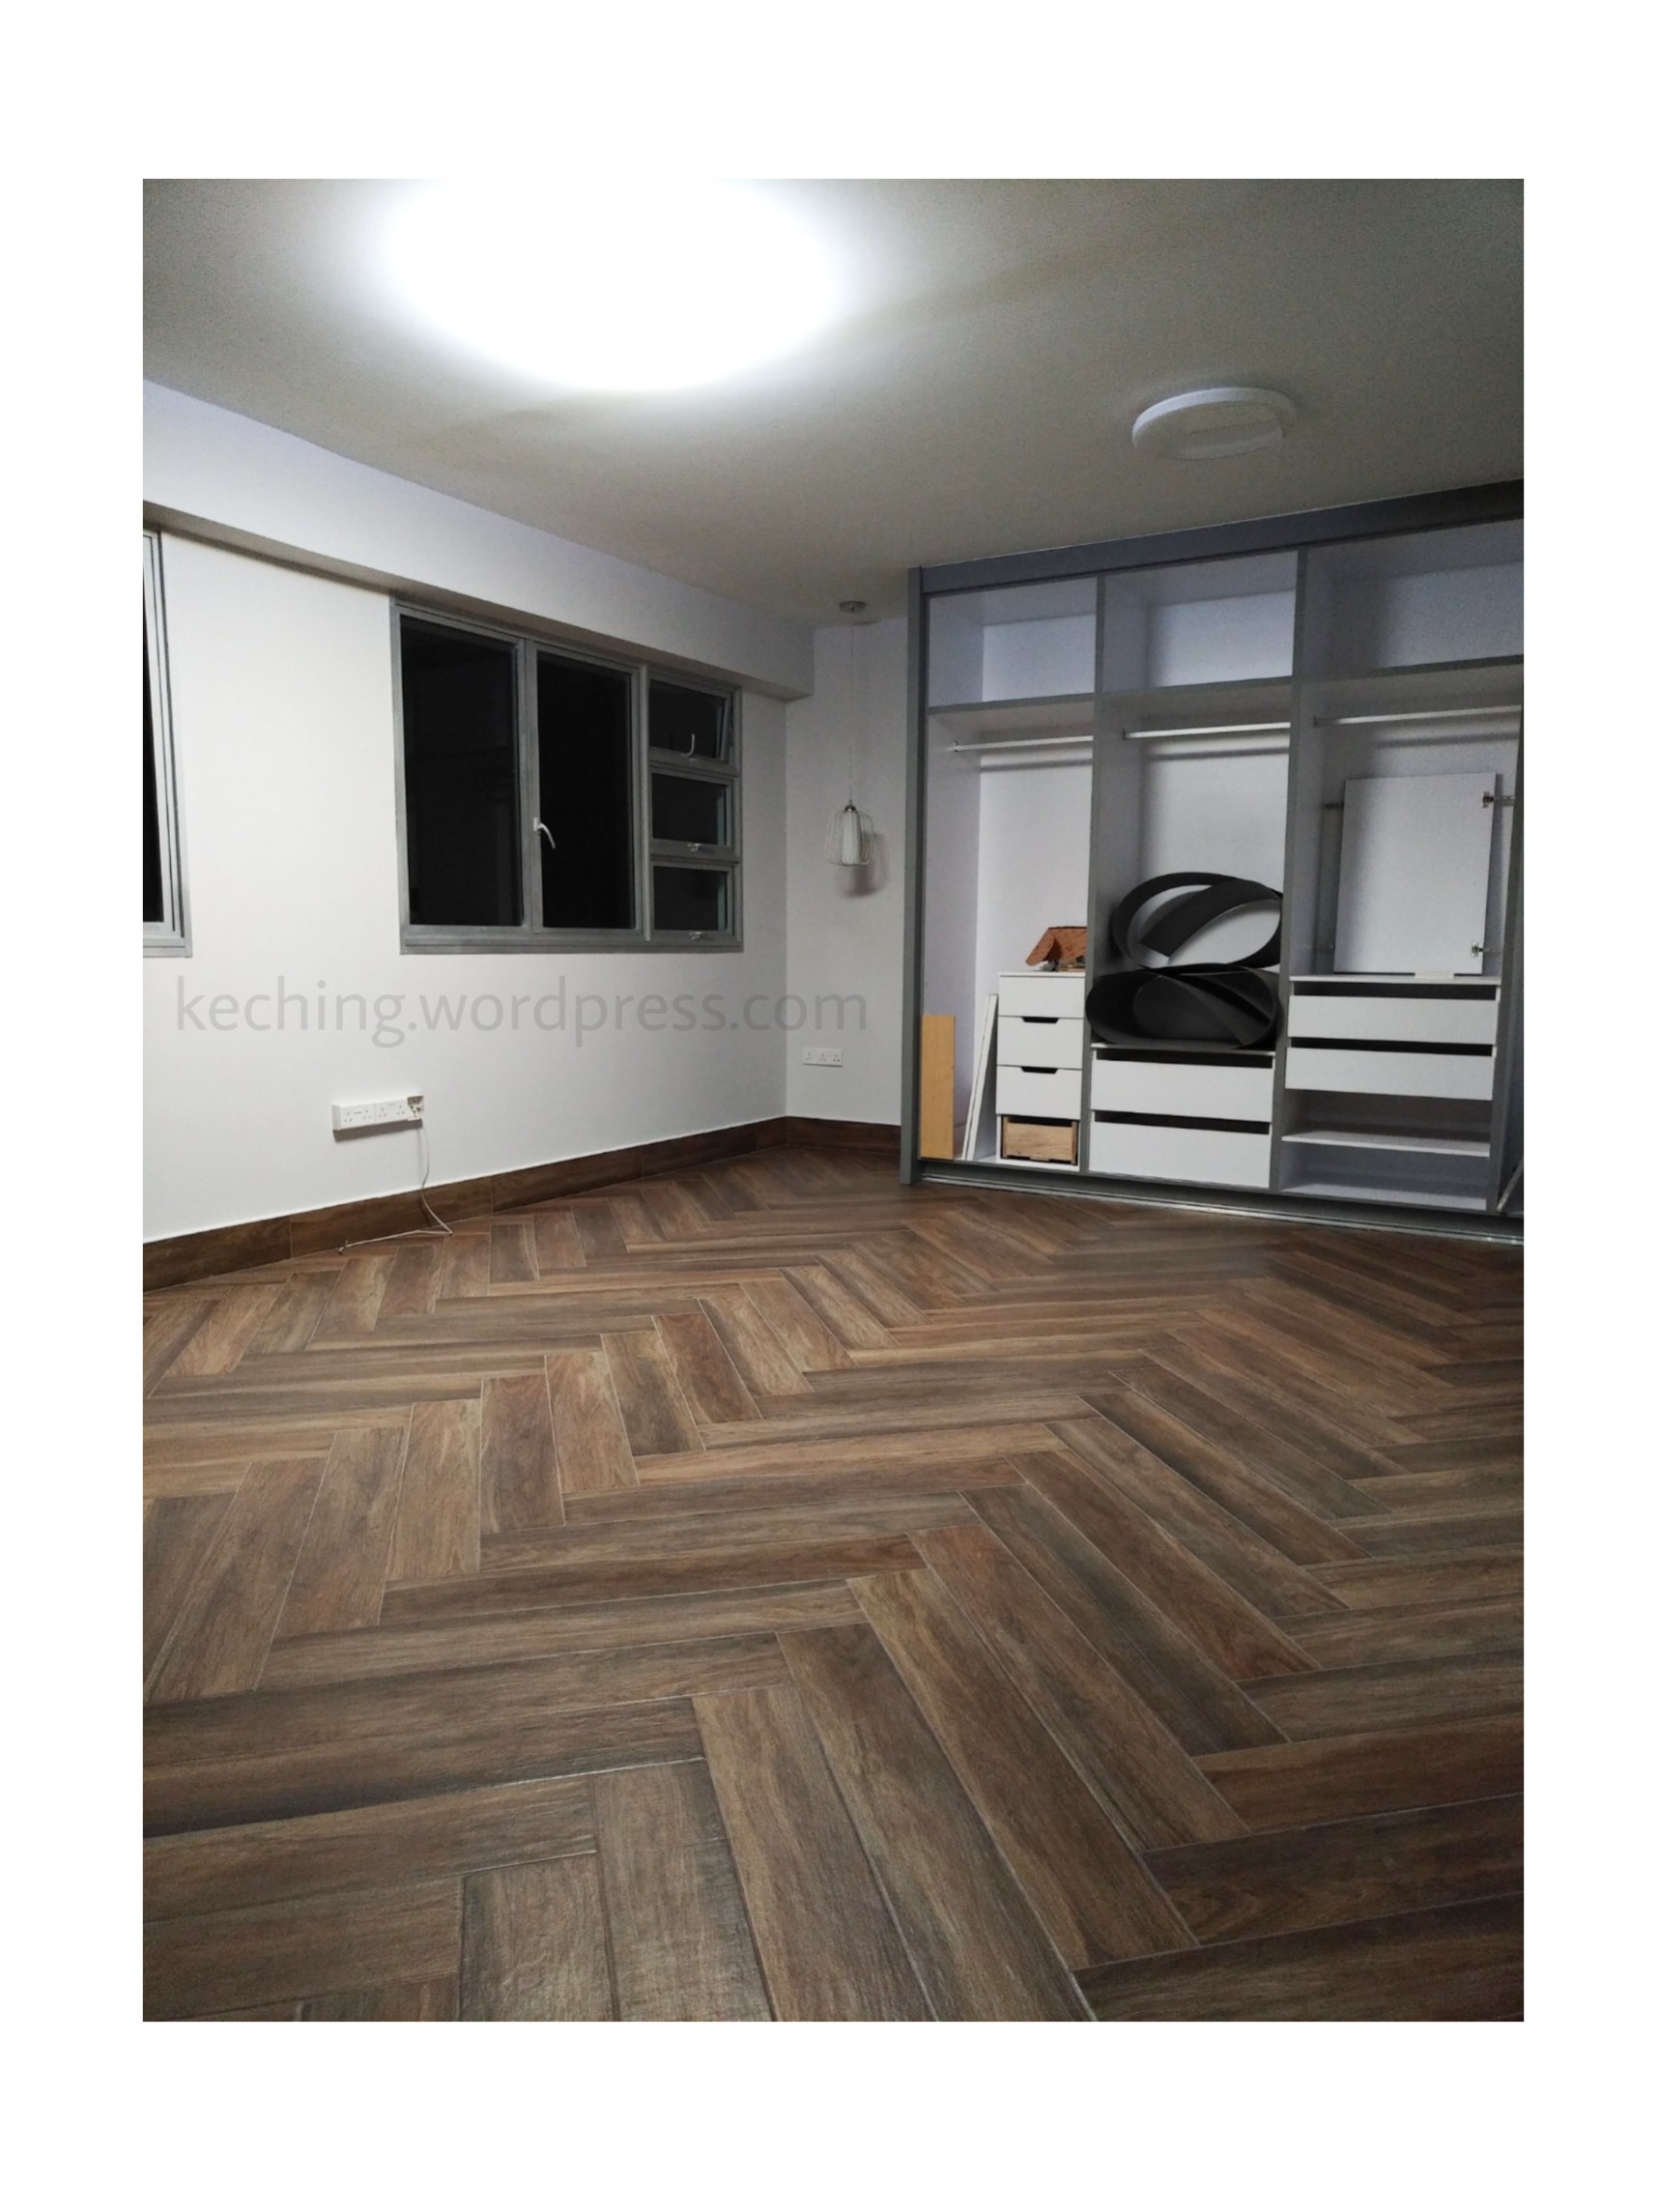
Wardrobe installation
The individual compartments have finally been assembled. The door remains. This is among the last time we will see the entire spread of our herringbone flooring. This unobstructed view will disappear once our bed is moved in.
Page 1 Page 2
